This is The Digital Story Podcast #542, July 26, 2016. Today's theme is "The Cameras of Summer." I'm Derrick Story.
Opening Monologue
Life is much different during the summer months compared to the rest of the year. I don't wear proper shoes most of the time. Long pants are reserved for business meetings and going out to dinner. And my wardrobe of camera gear definitely changes too. And that's the focus of today's photography podcast.
The Cameras of Summer
I'm pretty darn active this time of year. Most of my errands are on bike. I go hiking on the weekends. And any chance I get, I'm in the water.
As much as I love my E-M5 Mark II, it doesn't come with me on many of these adventures. My summer wardrobe consists of a tube of sunblock and the Olympus TG-4 16 MP Tough Camera. Let's take a closer look at it.
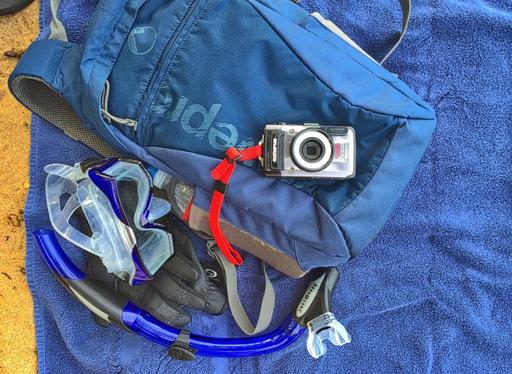
- 4X wide-angle optical zoom with fast f2.0 high speed lens
- Waterproof to depths of 50 feet, Freeze proof to 14 degrees F, Shockproof to 7 feet, Crushproof to 220 lb.
- RAW capture, Live Composite, Underwater modes with Underwater HDR
- Wi-Fi / GPS / e. Compass - serves as my watch and compass too
- 1080P HD video
- USB charging for on-the-go
- Earned a DP Review Gold Award in August 2015
I go into more detail about the virtues of tough cameras in the first story of today's podcast.
In the News
Flickr ownership changes hands as Verizon acquires Yahoo via DP Review.
Telecom giant Verizon will acquire Yahoo and its web properties, including Flickr and photo blogging site Tumblr, for $4.83 billion. It seemed possible that Yahoo might sell its photo-sharing sites separately, as the company announced in March that it was accepting bids for its web properties. Today's announcement confirms that both Flickr and Tumblr will remain a part of Yahoo as it changes hands to Verizon.
Verizon owns AOL and Huffington Post, a point that Yahoo CEO Marissa Mayer spins as a positive for her company's outlook. In a statement published on Yahoo today, Mayer emphasized that joining forces with AOL could help strengthen Yahoo's mobile offerings.
The Third Episode of Nimble Photographer Podcast will be Live this coming Friday
In the third episode, "Busted" that will soon be available for our Patreon members, I explore my untimely introduction to being a southpaw, and how that affected my nimbleosity.
Ultra Fast Nikon Tele
Petapixel just posted Nikon 105mm f/1.4 Lens Leaked, To Be World's Fastest 105mm saying that a new Nikon AF-S Nikkor 105mm f/1.4E ED lens has been leaked early, offering us a glimpse at the soon-to-be world's fastest 105mm prime lens. The full-frame prime N (Nano Crystal Coat) lens will have a gold ring and won't have Vibration Reduction (VR). Nikon's existing 105mm has VR but is slower at f/2.8. Digicame-info says the new 105mm will have an emphasis on bokeh quality.
Updates and Such
TheFlimCameraShop on Etsy
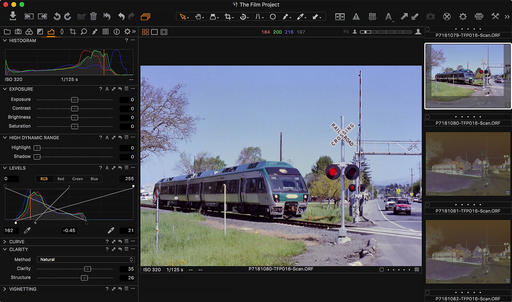
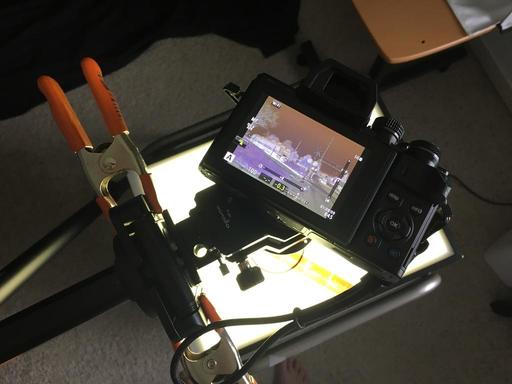
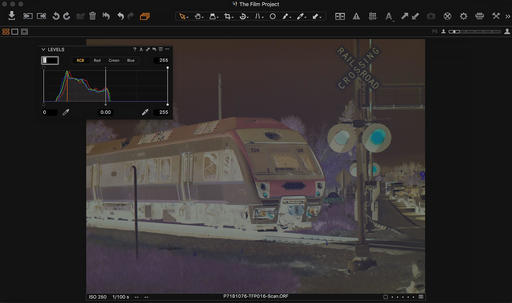
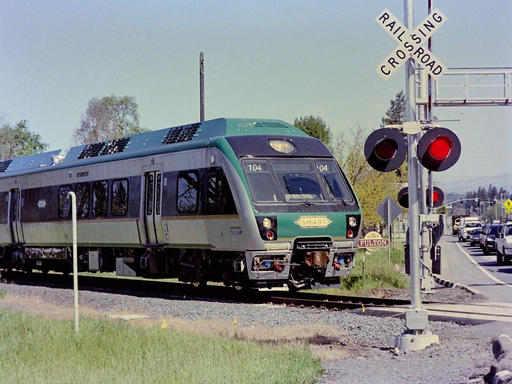
As part of the Film Project I've been working on since December, I shoot with a variety of SLRs so I can talk about the various experiences that I've had with them. Those cameras have been cleaned, tested, and seen at least one roll of film. Once I've completed what I needed to do for the book, I put many of them up for sale in TheFilmCameraShop on Etsy. If you haven't been over there for a look, I think you'll enjoy it. I have a tile on The Digital Story that will take you directly to the shop.
And finally, be sure to visit our friends at Red River Paper for all of your inkjet supply needs.
See you next week!
More Ways to Participate
Want to share photos and talk with other members in our virtual camera club? Check out our Flickr Public Group. And from those images, I choose the TDS Member Photo of the Day.
Podcast Sponsors
Red River Paper - Keep up with the world of inkjet printing, and win free paper, by liking Red River Paper on Facebook.
MacPaw Creators of CleanMyMac 3 and other great software for Apple computers. Visit www.macpaw.com today.
Hedge for Mac - The fast solution for moving photos and videos from memory cards to drives, or drives to drives for that matter. Learn more at Hedge for Mac.
The Nimbleosity Report
Do you want to keep up with the best content from The Digital Story and The Nimble Photographer? Sign up for The Nimbleosity Report, and receive highlights twice-a-month in a single page newsletter. Be a part of our community!
Want to Comment on this Post?
You can share your thoughts at the TDS Facebook page, where I'll post this story for discussion.