Not every camera bag is right for all situations. But over time, most photographers settle on a style that best suits their general needs. Aside from rollers, the basic designs are sling, shoulder, and backpack. Here's a closer look at each.
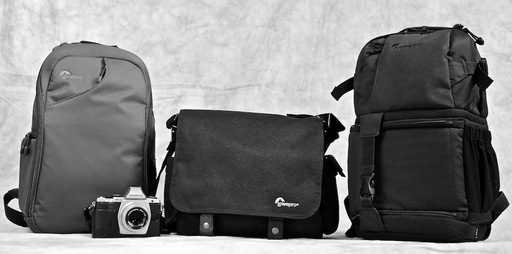 Three Types of Camera Bags - Sling (left), Shoulder, and Backpack.
The Camera Backpack
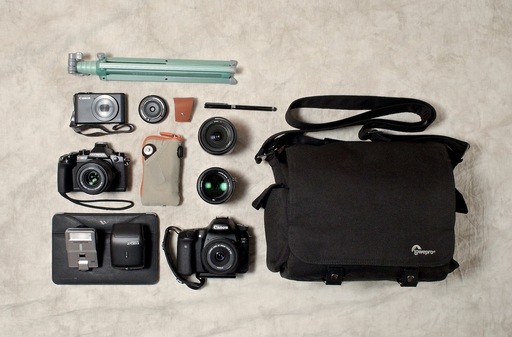
Backpacks, such as the Lowepro DSLR Video Fastpack 250 AW combine excellent storage capacity for your camera gear, laptop, and tablet with excellent comfort. Weight is distributed over both shoulders and hips (if you buckle the waistband). So you can explore for an entire day without much fatigue.
On the downside, access to your gear isn't as convenient as with shoulder and sling bags. And backpacks are sometimes problematic in crowded areas where you might accidentally bump others with it.
Best for... carrying gear from point A to point B, travel, hiking, and when you need to have lots of equipment with you over an extended period.
The Shoulder Bag
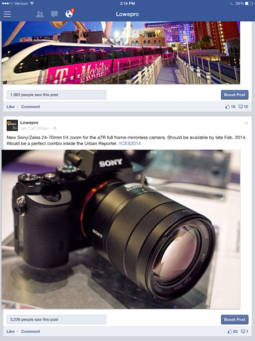
Shoulder bags, such as the Lowepro Urban Reporter are perfect during shoots when you need to access your gear quickly. You can position the bag to hang in the front while your working, then slide it around to your back while relocating to a different area.
Shoulder bags are not as convenient when walking long distances or transporting lots of gear. Because all of the weight is centered on one shoulder, photographers will tire more quickly.
Best for... quick access during a shoot and for working in crowded areas. Also a bit more stylish for urban shooters who also attend meetings.
The Sling Bag
Sling bags, such as the Lowepro Transit Sling, offer an alternative to the traditional backpack.
Slings provide faster access to gear, while maintaining backpack-like capacity, and to some degree, comfort if you use the supplied stabilizing strap that helps distribute weight off one shoulder. Worn properly, you can carry more gear for longer periods with a sling than a shoulder bag - but still not as long as a good-fitting backpack.
Best for... providing fast access to a moderate amount of gear. Slings are also well suited for those who prefer backpack styling over shoulder bags. They're easier to reposition in crowded areas than backpacks.
What Do I Use?
My everyday on-the-go bag is the Urban Reporter 150. When traveling or moving gear from point A to point B, I prefer the DSLR Video Fastpack 250 AW that also has a padded area for my 15" MacBook Pro. And when I'm on the trail, I love the Lowepro Photo Sport Pro 30L AW Backpack that not only protects my camera equipment, but has enough storage for an overnight campout.
This camera bags have a high Nimbleosity Rating. What does that mean? You can learn about Nimbleosity and more by visiting TheNimblePhotographer.com.
Want to Comment on this Post?
You can share your thoughts at the TDS Facebook page, where I'll post this story for discussion.