I became a Pentax fan (again!) when I reviewed the Pentax K-5 for Macworld Magazine. In addition to its outstanding image quality, the K-5 felt like a camera designed by photographers. I now use it as my "hiking camera" because it's compact, weather resistant, and accepts affordable zoom lenses that are designed for the outdoors.
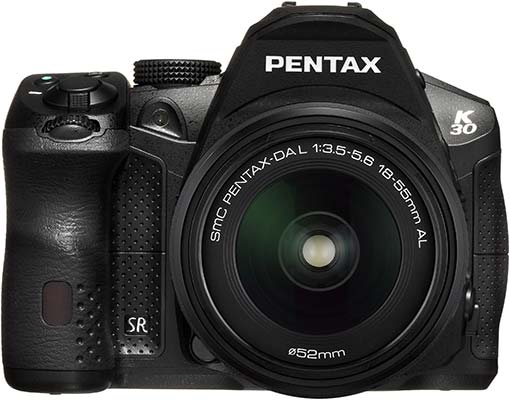
Now, we have more goodness coming our way with the just-announced K-30 and the 50mm f/1.8 prime. Both have reasonable price tags of $899 (K-30 with kit zoom) and $299 (50mm) respectively.
In addition to being great image making machines, I like the value that Pentax offers. For example, for $900 you'll be able to buy the K-30 with 18-55mm zoom (which is excellent). You can expand your capability by adding the Pentax DA 50-200mm zoomthat's also weather resistant for $215. Then, for your prime lens, get the new 50mm f/1.8 for (my guess) around $250. You have an excellent all weather kit with 3 lenses for a total investment of $1,365.
And if you're worried that because Pentax isn't part of the big 2, your investment might be at risk. Forget that. On the business side they have been making smart moves too.
So if you're a photographer that enjoys taking pictures in the great outdoors, I would definitely keep an eye on Pentax. They certainly have their eye on the ball.
The Digital Story on Facebook -- discussion, outstanding images from the TDS community, and inside information. Join our celebration of great photography!