This is The Digital Story Podcast #777, Feb. 9, 2021. Today's theme is "Protect Your Camera Gear from Theft" I'm Derrick Story.
Opening Monologue
Smash and grab is becoming more commonplace, and we can't take anything for granted when it comes to protecting ourselves and our cameras. On today's show I will share a few real life stories to illustrate this point, then review the steps we can take to circumvent criminal acts against us. Thanks for joining me.
Protect Your Camera Gear from Theft
I want to begin by sharing a couple stories that illustrate how bold thrives have become.
Gas Station Smash and Grab
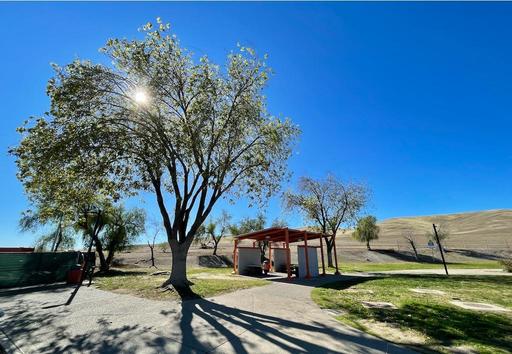
After our Bodega Bay workshop in 2019, one of our photographers stopped at a gas station on his way to the airport. His camera gear was in the back of a rental SUV that he locked when he went inside to get a couple things.
In just those few minutes, thieves smashed the back window of his rental and took all of his gear.
Photographers Robbed While Stuck in SF Traffic, Lose $7,000 in Camera Gear
As reported on Petapixel.
This may be the modern-day equivalent of a stagecoach robbery: a pair of photographers were just brazenly robbed while they were sitting in traffic in San Francisco. Robbers smashed their rear window and stole a bag filled with $7,000 in gear, and it was all caught on camera.
ABC7 reports that husband-and-wife real estate photographers Ben and Masha of Home Shots were waiting to get onto the Interstate 80 onramp at around 4:30 p.m. on Friday afternoon after finishing a photo shoot near Dolores Park.
As the video above shows, a dark Honda then pulled up alongside the photographers' Prius. A man jumped out, quickly smashed the rear window, grabbed the equipment bag that was in the trunk, hopped back in the car, and sped off.
The whole incident lasted about 10 seconds from start to finish, and it was caught on camera from behind by a Tesla driver named Alex, who then pulled over and exchanged contact info with the photographers.
Masha, who had been driving the car, had noticed the dark car following them after they had left the photoshoot.
Ben estimates that his stolen gear, which included a camera, lens, drone, and gimbal, was worth around $7,000.
Robbers Target Photo Shoot in San Diego Park, Shoot Man in Struggle
As reported on Petapixel.
A man was shot in a San Diego park this weekend after a group approached and attempted to steal the camera equipment being used.
FOX 5 reports that a 25-year-old man and a 24-year-old man were doing a photoshoot at around 6:49 p.m. on Saturday in Chicano Park of the Barrio Logan neighborhood when they were approached by six young people -- three males and three females in their late teens or early twenties.
When the group attempted to steal the gear, the two men fought back.
"A struggle ensued and during the struggle, one of the male suspects pulled out a gun and shot multiple rounds at the victims," San Diego Police Officer Robert Heims tells FOX 5.
Luckily, both of the victims escaped with their lives -- the suspects shot the 24-year-old in the lower abdomen and gave the 25-year-old a bloody lip before getting into a black Honda sedan and driving away. The gunshot victim was taken to an area hospital with a wound that isn't considered to be life-threatening.
San Diego gang detectives are now investigating the attempted robbery and assault.
Steps You Can Take to Protect Yourself
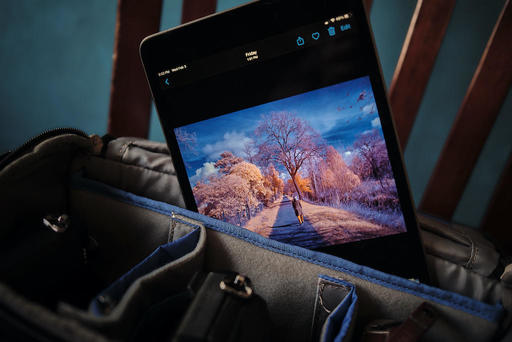
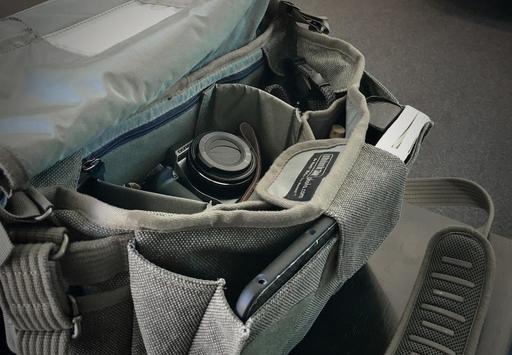
Nimble Photography is more than just traveling light to relieve tired shoulders, it's also practice to keep you inconspicuous while enjoying the hobby you love. My current recommendation of traveling with just a smartphone and a compact camera provides you with tremendous capability and no camera bag.
Camera Insurance can often be purchased as a rider to your existing home owners or renters policy and can help you replace gear if criminals successfully strike.
Keep Your Gear with You, even while driving is a necessary practice these days. I never leave my valuables in the car, even if I'm just dashing into the local convenience mart. While driving, I keep my stuff in the front seat by my side.
Be Urban Smart - Stay aware of your surroundings, stand tall, avoid vulnerable locations, always have a exit plan, and listen to your inner voice.
Lock Up Your Gear at Home - I have both a safe and a locking cabinet to slow down thieves who may be contemplating a crime against me.
With a little luck and by following these practices, you should be able to avoid the misfortune that I described at the top of the show. Be careful out there!
Royal Photographic Society makes 165 years of its Journal free online
You can read the article here on DP Review.
The Royal Photographic Society has digitized its archive and made issues of its magazine, the RPS Journal, free to read online. Visitors to the Society's website will be able to read issues dating right back to the first magazine that was published on 3rd March 1853. The frequency of publication has varied slightly over the years, but the RPS claims The Journal is the longest continuously published photographic periodical in the world. The current format of the magazine is published six times a year, and the free archive covers 1853 to 2018, said to be over 30,000 pages of searchable articles packaged into 158 volumes of publications.
The RPS covers a full range of photographic interests from professional, technical and scientific to pure enthusiast and artistic, and that breadth is reflected in the content of The Journal. It was the end of 1800's before pictures appeared -- and even then they are drawings of the photographs due to be shown in an exhibition -- and members had to wait until the 1920s before photographs were able to be printed on the pages.
The Journal's archive is a fantastic record of photographic technology as well as of changing styles and the growth of popularity of photography as a pass-time as well as a profession. Its advertising pages give us a running commentary of camera equipment and consumables over the last century and a half, regular picture-based features chart movements in technique and art, while the search feature will take you directly to coverage of major, and minor, photographers since the beginning of photographic time. You can even find results under 'Demolder'! For more information see the Royal Photographic Society's website.
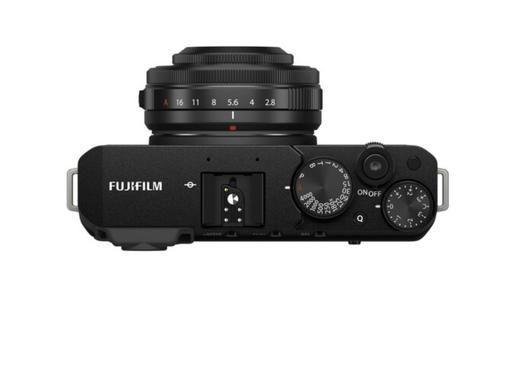
Urth Lens Mount Adapters for Vintage Optics to Mirrorless Cameras
I've been testing various lens mount adapters and wanted to mention to you one of my favorites: the Urth/Gobe line of Lens Mount Adapters. They are affordable, usually around $32, very well made, and you can find combinations that are difficult to locate elsewhere. For example, I bought a Pentax DA mount to Fujifilm X-Mount adapter that works fantastic.
Vintage lenses on mirrorless cameras are a great way to get the creative juices going. And these mounts make it a successful endeavor.
The New Donation Kit for Carefree Shipping of Found Film Cameras
We have more time around the house than ever. And you finally dove into that bedroom closet that's been begging for some organization.
If you found a film camera that you're no longer using, our new Donation Kit makes it easy to pack and ship. Just visit the Contact Form on thenimblephotographer.com, click the box next to Donating a Film Camera, and let me know what you have. In your note, be sure to include your shipping address.
If it's a camera we can use for the shop, I'll send you a Donation Kit that includes a USPS Priority Mail shipping box and prepaid label. All you have to do is tape it up, insert the camera, and add the label. USPS will pick up your shipment from the front door of your house during their regular mail delivery. It's that simple!
Your donation help get analog gear in the hands of aspiring fine art photographers, and the proceeds help support this podcast.
Virtual Camera Club News
Waiting List for a Second Session of Integrating iPhone into a Pro Photography Workflow Online Workshop
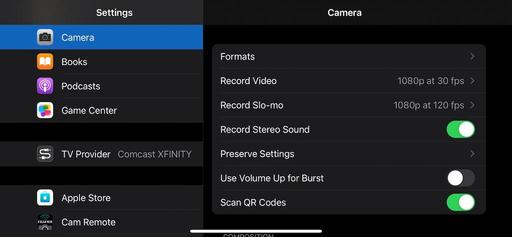
The first session of "Integrating iPhone into a Pro Photography Workflow" Online Workshop has sold out. But I've created a wait list for a second session that would begin in mid-February. If we get enough interest for a second session, I will open registration for it.
If you're interested in attending, just go to The Nimble Photographer and click on Workshops. There's no charge to get on the wait list.
In this workshop you will explore:
- Working with just one digital camera and an iPhone.
- Taking advantage of a versatile fast prime lens on your digital camera and using iPhone for additional focal lengths.
- Perfecting a RAW workflow with the iPhone.
- Leveraging Apple ProRAW for those who have iPhone 12 Pro.
- Building a kit that allows you to travel lighter without compromising capability.
- Post processing tips and techniques using Photos on Mac, iPad, and iPhone.
- Investigating other software and workflows to augment your imaging prowess.
Inner Circle Members: A big thanks to those who support our podcast and our efforts!
Affiliate Links - The links to some products in this podcast contain an affiliate code that credits The Digital Story for any purchases made from B&H Photo and Amazon via that click-through. Depending on the purchase, we may receive some financial compensation.
And finally, be sure to visit our friends at Red River Paper for all of your inkjet supply needs.
See you next week!
Product Links and Comments
There are product links in this article that contain affiliate tags. In some cases, depending on the product, The Digital Story may receive compensation if you purchase a product via one of those links. There is no additional cost to you.
You can share your thoughts at the TDS Facebook page, where I'll post this story for discussion.
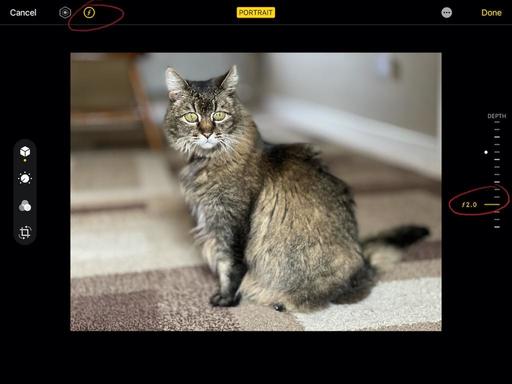
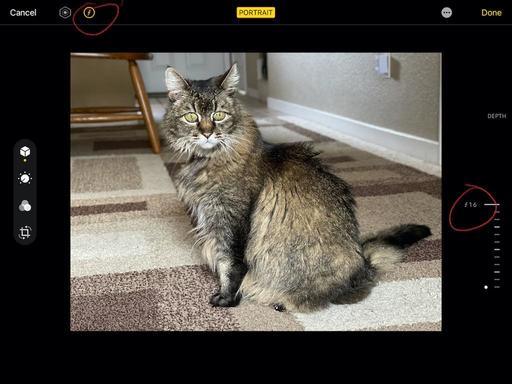
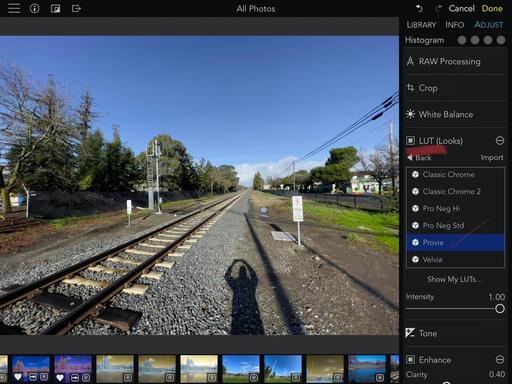
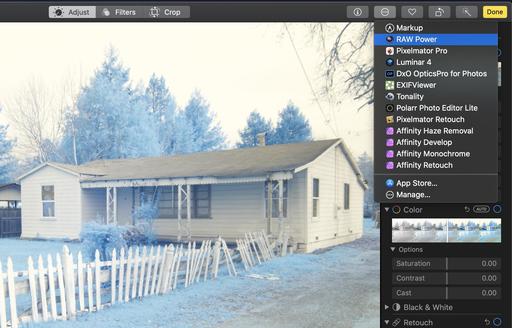
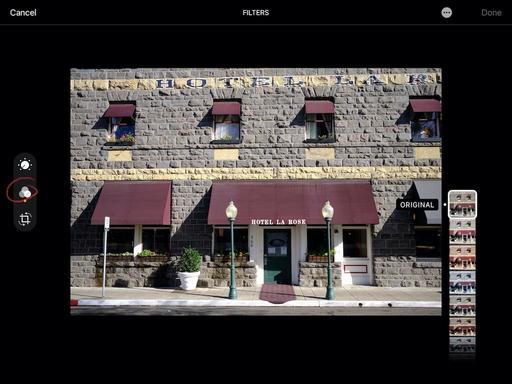 Tapping Filters in Photos for iOS
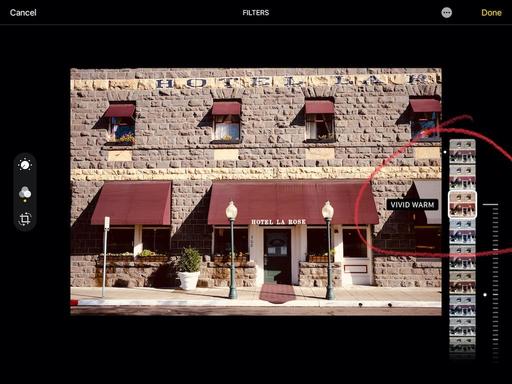
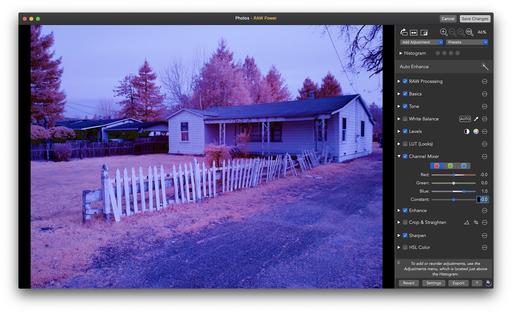
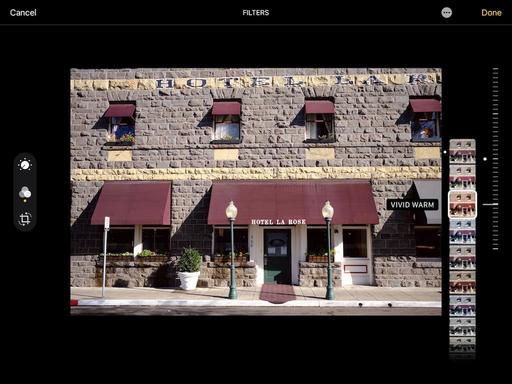 Adjusting the intensity of the applied filter.