Here's my list of tempting gift ideas for that special photographer in your life, and that includes you! We start with the super affordable Kingston card reader at $11.95 and work our way up from there. Some of these selections are my perennial favorites, while others are brand new for this year's Top 10.
Listen to the Podcast
You can also download the podcast here (26 minutes). Or better yet, subscribe to the podcast in iTunes.
The List (with links)

$11.95 -- The Kingston 19-in-1 USB 2.0 Flash Memory Card Reader. I've been using this reader for a few months now, and I love it. Everyone else likes it too because people are constantly asking me where I bought it.
$12.37 -- The Giottos AA1900 Large Rocket Blaster. Nothing works better than a Rocket Blaster for cleaning lenses and sensors. I'd love to have a dozen of them.
$16.49 -- Signed copy of The Digital Photography Companion. Just send me your mailing address and I will send you a signed author's plate for inside the book.
$21.95 -- The Joby GP1-E1EN Gorillapod Flexible Tripod for compact cameras. Super light, versatile and affordable. They also make bigger sizes for bigger cameras.
$23.25 -- The Pedco UltraClamp Assembly. With this device, you can convert any roller suitcase into a light stand or tripod, not to mention a table, chair, shelf, and dozens of other common items. Super handy.

$29.95 -- Lowepro Thermax Photo Gloves, Large for any cold weather activity where you still need to work delicate equipment. Soft, warm gloves made of Lycra, with DuPont® Thermax® to wick away moisture, and Control Dots to ensure a firm grip on delicate camera and tripod controls. Ideal for cold weather photography and bicycling.
$49.95 -- The Photoflex MultiDisc Reflector 5-n-1 Kit 22". You can tackle just about any outdoor portrait assignment with this super cool, super handy reflector and diffuser kit.
$89.95 -- The Lowepro Fastpack 250. For that shooter on the go who needs to carry a laptop too. Holds DSLR kit, personal items, and still fits anywhere on an airplane. My favorite bag.
$149.95 -- The Nikon 8221 Trailblazer 10 X 50mm All Terrain Binoculars. These terrific binoculars are great for outdoors, sporting events, and just about anywhere else you need a closer look at the action. They look great too!
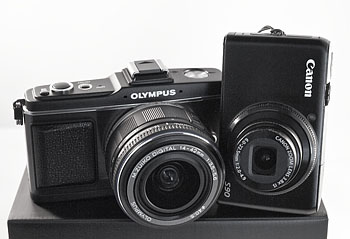
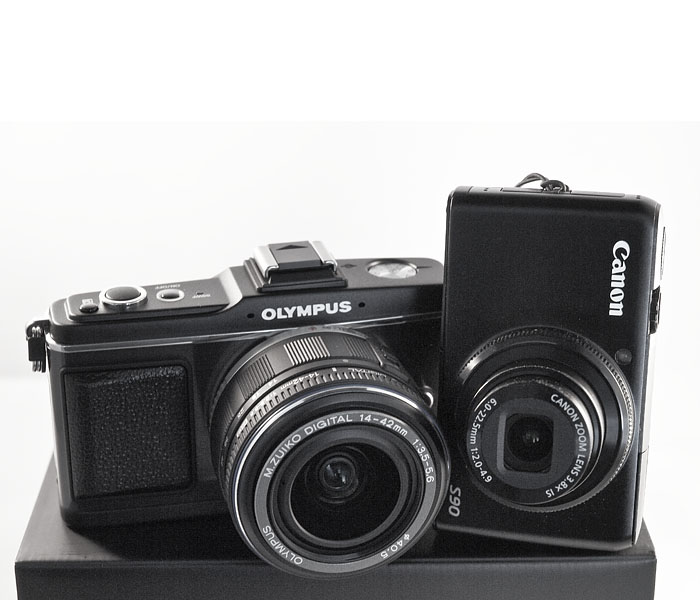
$429 -- The Canon PowerShot S90. I think it's the best subcompact on the market right now. Shoots high ISO, includes a fast f/2.0 lens, and is beautiful.
Monthly Photo Assignment
Wrinkles is the Nov. 2009 Photo Assignment. Keep in mind that side lighting increases texture and front lighting hides it. So you should be thinking angled lighting for this one. You can read more about how to submit on our Member Participation page. Deadline for entry is Nov. 30, 2009.
More Ways to Participate
Want to share photos and talk with other members in our virtual camera club? Check out our Flickr Public Group. It's a blast!
 Follow me on Twitter
-
Podcast Sponsors
SiteGrinder lets you take ownership of your websites. Effortlessly output pages right from Photoshop.
Red River Paper -- Try the $7.99 Sample Kit.
Add Magic to Your Slideshows -- FotoMagico presentations are so amazing that your audience will be asking how you did it.
Technorati Tags:
digital photography, podcast, technique, Technology, The Digital Story, tips