This is The Digital Story Podcast #738, May 12, 2020. Today's theme is "Thriving in the New Normal." I'm Derrick Story.
Opening Monologue
A big part of our well being is the health of our artistic pursuits. Beyond finding ways to put food on the table and ensuring shelter overhead, the question lingers, "There's got to be more to life than this." Those of us who love photography know that it's changing. Big conferences and classes are going away. Physical workshops are being challenged. And even flying to a pretty place is looking pretty sketch these days. Welcome to the new normal. And here's how we're going to make it work to our advantage.
Thriving in the New Normal
Communication is a key to adjusting to changes in a relationship. If your wife has to leave for a long business trip, then figuring out how to maintain the connection should be part of the plan. It's easy when you can see each other daily. Distance makes things more difficult. Figure out a plan.
Many of us are feeling a distance between our art and our daily lives. In my case, I'm not spending time with other photographers, I'm not traveling, and I'm not being hired to take pictures. Your particular variables might be a bit different, but I bet you have many of the same feelings.
So, what do we do? Here are five ideas that I think will help us move forward the new normal as photographers.
Five Possible Ways to Thrive in Pandemic Life
- More Self Assignments - Just because we don't have the physical freedom that we once enjoyed, that doesn't mean the we're confined creatively. We can explore how to stir those embers by creating self-assignments and seeing them through. If we're successful, we'll enjoy both the fruits of our efforts and a level of self-satisfaction for the accomplishment.
- Branch Out into Different Types of Photography - When I was working with Skylum, over 80 percent of our customers focused on landscape photography. But there are so many other disciplines within the craft. For example: night photography, close up photography, microscope photography, still lives, and on and on.
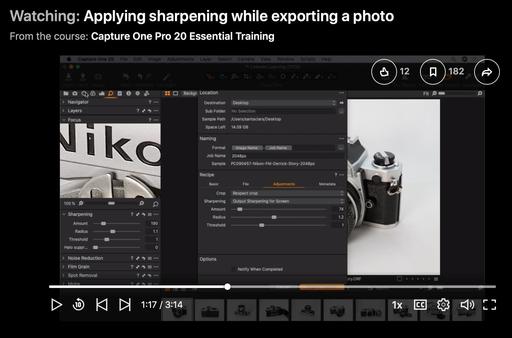
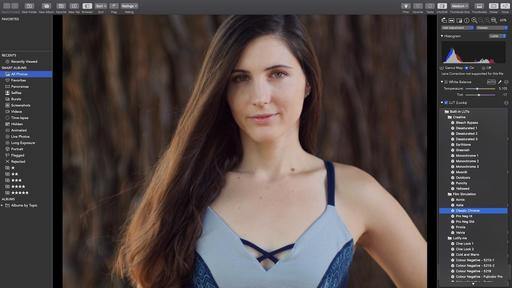
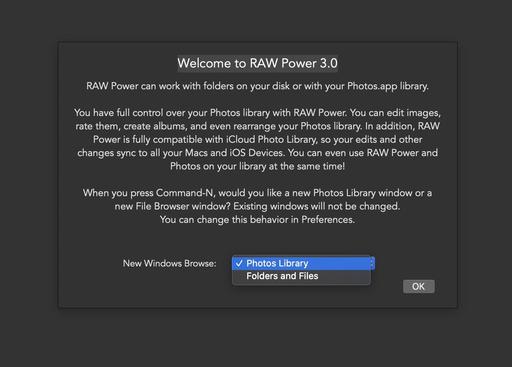
- Improve Post Processing Skills - This is an area that practically every photography can get better doing.
- Explore Movie Making - Our cameras are fantastic video recording devices. But many photographers don't really explore their movie making capabilities.
- Join Online Courses - If your embrace a new endeavor, then you probably want to learn more about the tools required to do it. For example, learning movie making might involve finally learning Final Cut X as well. Online courses are perfect for software attaining software knowledge.
I think the earlier that we accept that things have changed, and in some ways forever, the sooner we can start to move into the new spaces that will satisfy us creativity. And to be honest, I don't have time to sit around and hope that the things I miss return. Do you?
And when we can have some of those things back, whenever that is. I will be happy. But I will also bring a new set of skills to the table to augment the things I loved before. Who knows, I may even find a new favorite thing that I never acknowledged before.
This is truly a chance to grow. I say, let's start right now.
The New Donation Kit for Carefree Shipping of Found Film Cameras
We have more time around the house than ever. And you finally dove into that bedroom closet that's been begging for some organization.
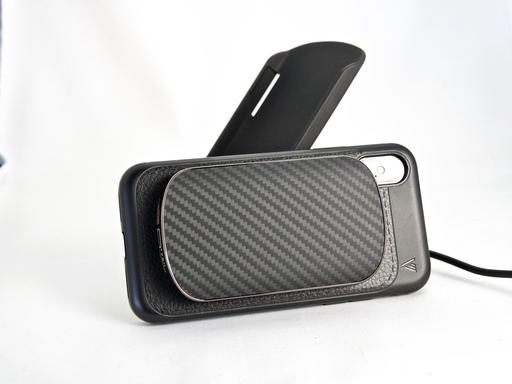
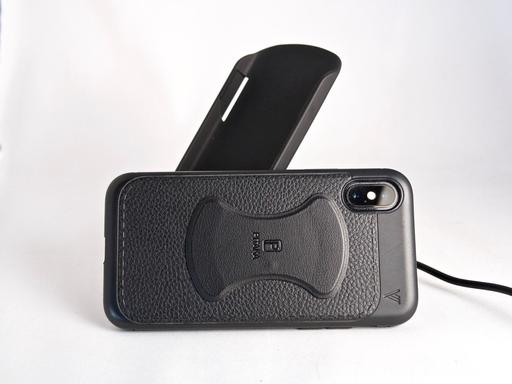
If you found a film camera that you're no longer using, our new Donation Kit makes it easy to pack and ship. Just visit the Contact Form on thenimblephotographer.com, click the box next to Donating a Film Camera, and let me know what you have. In your note, be sure to include your shipping address.
If it's a camera we can use for the shop, I'll send you a Donation Kit that includes a USPS Priority Mail shipping box and prepaid label. All you have to do is tape it up, insert the camera, and add the label. USPS will pick up your shipment from the front door of your house during their regular mail delivery. It's that simple!
Your donation help get analog gear in the hands of aspiring fine art photographers, and the proceeds help support this podcast.
Adobe's 12th Annual 99U Creative Conference will be free and virtual this year
You can read the story on DP Review..
Adobe has announced its 12th Annual 99U Creative Conference, which is usually a paid, in-person event, will be hosted on Adobe Live for free as a virtual event this year amidst the ongoing COVID-19 pandemic.
Tickets for the annual event normally cost around $1,000, so being able to take in the event for free, in the comfort of your own home, is quite the discount. This year's event will take place on Wednesday June 17 and will feature a mix of keynotes, creative workshops and masterclasses throughout the day. The presentations will be available stream via Adobe Live or available on-demand shortly after completion of each event.
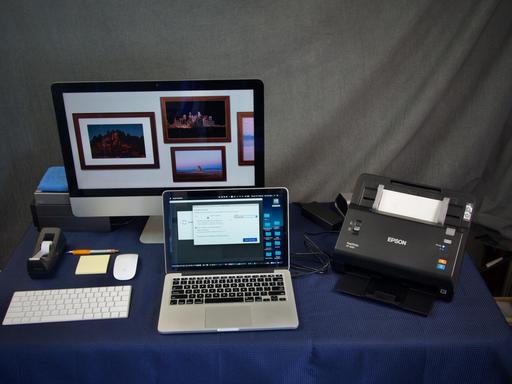
Digitizing Family Memories Course Now Available Online
Each of the four classes will outline a specific set of steps for you to accomplish. By the end of the course, you will have an organized digital archive of your most valuable family images.
You can sign up for the course by visiting the Workshops page on The Nimble Photographer. The course fee is a reasonable $45. It includes the 4 class videos, class notes, and access to the class forums that are a part of each movie.
Updates and Such
Inner Circle Members: A big thanks to those who support our podcast and our efforts!
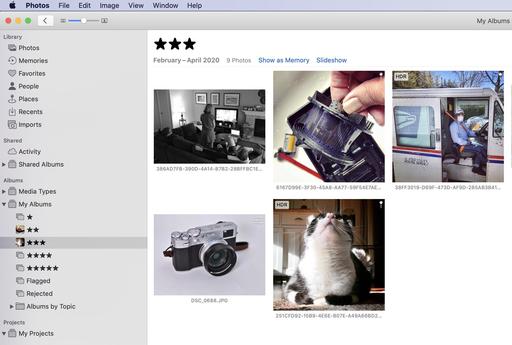
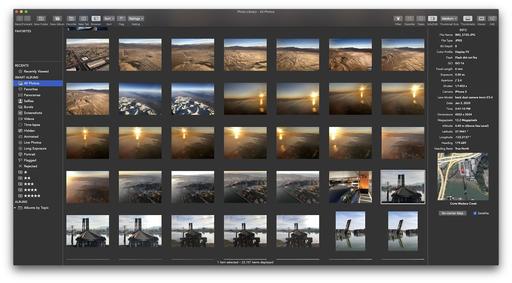
How to Watch Photos for macOS Catalina and iPadOS - Learn everything you need to know about Photos for the Mac and iPad by checking out my latest course on LinkedIn Learning and on lynda.com. This course is perfect for Mac and iPad based photographers who shoot with iPhone, Mirrorless, and DSLR cameras. It covers both photography and movies. And if I say so myself, it's a lot of fun.
B&H and Amazon tiles on www.thedigitalstory. If you click on them first, you're helping to support this podcast. (The Digital Story is supported by its audience. When you purchase through links on our site, we may earn an affiliate commission.) And speaking of supporting this show, and big thanks to our Patreon Inner Circle members:
Affiliate Links - The links to some products in this podcast contain an affiliate code that credits The Digital Story for any purchases made from B&H Photo and Amazon via that click-through. Depending on the purchase, we may receive some financial compensation.
And finally, be sure to visit our friends at Red River Paper for all of your inkjet supply needs.
See you next week!
More Ways to Participate
Want to share photos and talk with other members in our virtual camera club? Check out our Flickr Public Group. And from those images, I choose the TDS Member Photo of the Day.
Podcast Sponsors
Red River Paper - Keep up with the world of inkjet printing, and win free paper, by liking Red River Paper on Facebook.
The Nimbleosity Report
Do you want to keep up with the best content from The Digital Story and The Nimble Photographer? Sign up for The Nimbleosity Report, and receive highlights twice-a-month in a single page newsletter. Be a part of our community!
Want to Comment on this Post?
You can share your thoughts at the TDS Facebook page, where I'll post this story for discussion.