This is The Digital Story Podcast #680, March 26, 2019. Today's theme is "Who Would Want the Olympus OM-D E-M1X?" I'm Derrick Story.
Opening Monologue
For a Micro Four Thirds camera, it's big. For a non-full frame body, it's expensive. When I tried to squeeze the OM-D E-M1X into my camera bag, it didn't fit. It is the least nimble Olympus camera I have ever held. It's like I requested a Jetta and they handed me the keys to a Caravan. So, reluctantly, I packed it up anyway, and hit the road. Here's what I discovered along the way.
Who Would Want the Olympus OM-D E-M1X?

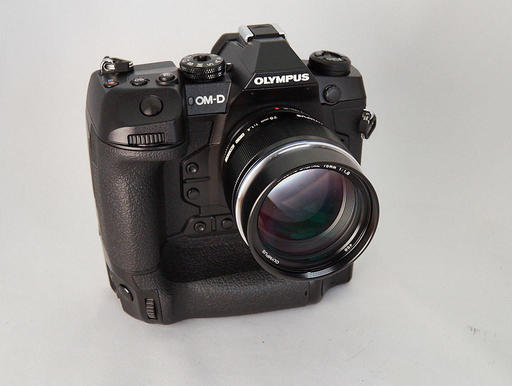
Being a taller than average guy, I have pretty good sized hands. But when I warp my fingers around the grip of the Olympus E-M1X ($2,999), I suddenly feel a bit shorter. Putting it bluntly, this thing is a handful.
I put the camera to my eye and look through the viewfinder. It is clear and crisp with excellent readouts. I press the shutter button halfway, and the image snaps into focus. Yes indeed, it is fast.
The drive is in High Speed mode. I full press the shutter button and the camera records 15 frames in one second. RAW+Jpeg, it doesn't care. It sounds like a machine gun from a war movie. It's actually kind of exciting.
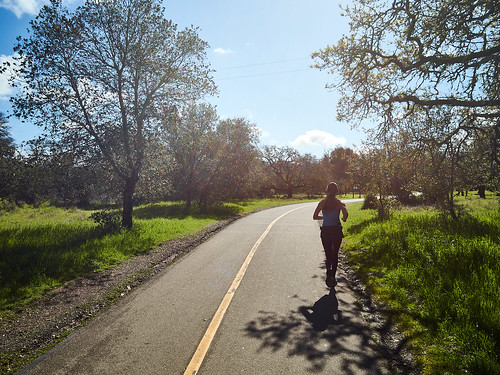
I decide to take it with me on a walk. Hundreds of frames later, I think to myself, "My word, this thing is a beast."
You're probably familiar with the specs already, so let's just recap the highlights of the OM-D E1MX.
- 20.4MP Live MOS Micro Four Thirds Sensor
- Dual TruePic VIII Image Processors
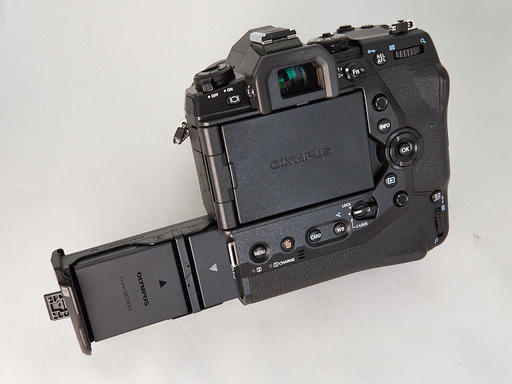
- Integrated Vertical Grip, Dual Batteries
- 2.36m-Dot 0.83x Electronic Viewfinder
- 3.0" 1.037m-Dot Vari-Angle Touchscreen
- DCI 4K/24p & UHD 4K/30p Video Recording
- 5-Axis Sensor-Shift Image Stabilization
- 15 fps Shooting and Expanded ISO 25600
- 121-Point All Cross-Type Phase-Detect AF
- Weather-Sealed Construction
So this leads us to the question, who is this camera for? I have five scenarios where I think the E-M1X is a good choice.
- The Need for Speed - If you're a sports photographer who wants to shoot mirrorless, this camera is perfect.
- Former DSLR Photographers Who Like a Good Handle - For those who have moved over from bulky DSLRs and feel that many mirrorless cameras just feel and look too small, this is your camera.
- Outdoor Photographers Who Need Strong and Long - Combine dual batteries with robust weather sealing, and you have a camera that can last all day in the nastiest of conditions.
- Photo Nerds Who Want to Geek Out - There is a ton of technology in the E-M1X. Handheld HiRez shot, Live ND Filter shooting, built-in GPS recording, configurable dual SD card slots, and more.
- Those Who Want the Best Micro Four Thirds Camera - Even if you don't care about the previous four reasons, but are someone who insists on owning the best in its class, that indeed would be the OM-D E-M1X.
Truly, it is not a camera for everyone. But for certain types of photographers, I think it's a worthy investment.
Olympus 12-200mm f/3.5-6.3 First Impressions: The all-in-one vacation zoom for MFT stretches its legs
This is an excerpt discussing the $899 Olympus 12-200mm f/3.5-6.3 from an article on Imaging-Resource.com.
In terms of initial handling, the lens feels terrific in the hands. It's very light for such a long-zooming lens, weighing in at just 16oz (455g). The 12-100mm Pro tips the scales at almost 20oz (561g) and that's with less zoom range, but of course that lens has on-board IS and a beefier build, not to mention the constant f/4 aperture, so we're talking about different animals here. And yet, for the 12-200mm to come in at 16.6x zoom and weigh only 1lb is, well, a neat feat for the Olympus engineers!
The zoom and focus rings are amply textured and certainly straightforward to operate. They don't rotate with the buttery smoothness of the Zuiko Pro lenses, but again that's not their intended market first and foremost, nor price point. It does feel quite well-built though, even if not a Pro lens. The zoom functionality, while not internal like some high-end zooms (meaning the lens doesn't change size as you zoom) is still smooth enough to be reassuring.
Autofocus operation with the E-M1 II proved quick and capable. No surprises to report here on this first impressions pass, and this combination locked focus quickly on my intended subjects. The only time this didn't happen was shooting the setting moon, as the combo struggled in twilight and I ended up using manual focus. But I've had that issue on many a camera and lens combo, including with some high-end full frame cameras, and virtually always manually focus the moon regardless of camera body, so this isn't a big deal at all.
Do You Have a Film Camera that Needs a Good Home?
Over the last year, I've received donations from TDS members who have film cameras that need a good home. What I do is inspect the items, repair and clean as I can, then list them in TheFilmCameraShop where I can find a good home for them. If you're interested in donating, please use the Contact Form on TheNimblePhotographer site. And thanks for you consideration!
TDS Workshops Update
Sonoma Coast Workshop Update
I've secured a beautiful home for us just south of Bodega Bay. This will serve as our headquarters during the event. There's plenty of room for our classroom and presentation work, plus beautiful areas for relaxing, and even sleeping accommodations for those who wish to stay there.
We've started registrations for Sonoma Coast Exploration, and it looks like we have two seats open. So I've updated the inventory on the reserve list page. And you can place your deposit if you want to join us. If you do, you'll have an incredible photography experience.
Updates and Such
Inner Circle Members: A big thanks to those who support our podcast and our efforts!
B&H and Amazon tiles on www.thedigitalstory. If you click on them first, you're helping to support this podcast. And speaking of supporting this show, and big thanks to our Patreon Inner Circle members:
And finally, be sure to visit our friends at Red River Paper for all of your inkjet supply needs.
See you next week!
More Ways to Participate
Want to share photos and talk with other members in our virtual camera club? Check out our Flickr Public Group. And from those images, I choose the TDS Member Photo of the Day.
Podcast Sponsors
Red River Paper - Keep up with the world of inkjet printing, and win free paper, by liking Red River Paper on Facebook.
Portfoliobox - Your PortfolioBox site is the best way to show off your best images.
The Nimbleosity Report
Do you want to keep up with the best content from The Digital Story and The Nimble Photographer? Sign up for The Nimbleosity Report, and receive highlights twice-a-month in a single page newsletter. Be a part of our community!
Want to Comment on this Post?
You can share your thoughts at the TDS Facebook page, where I'll post this story for discussion.
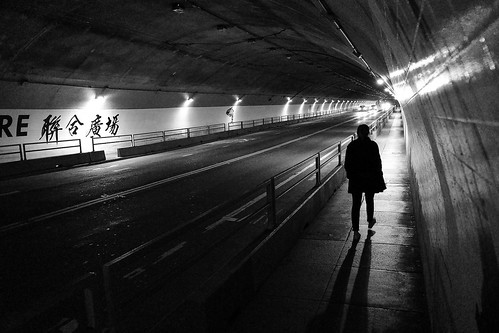
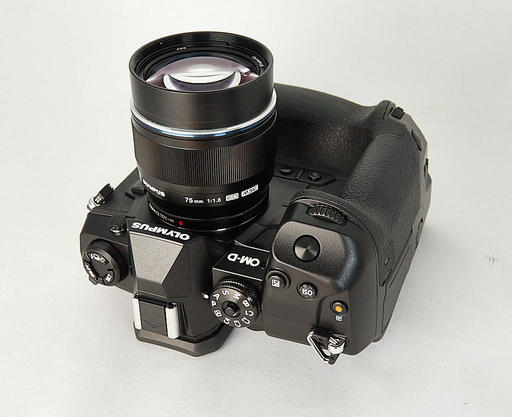
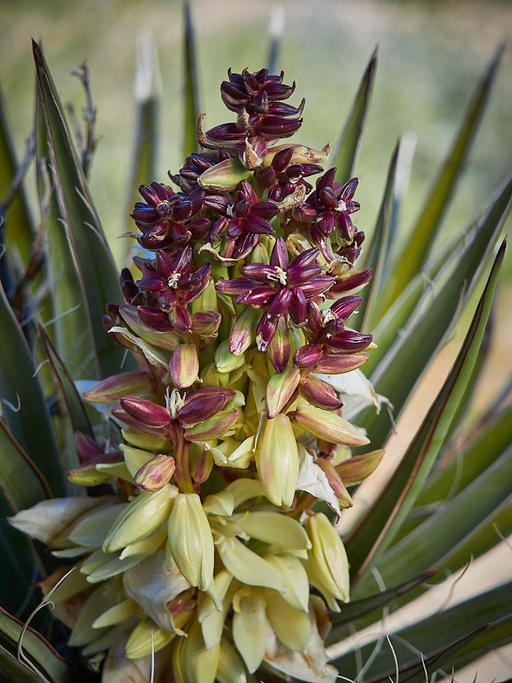
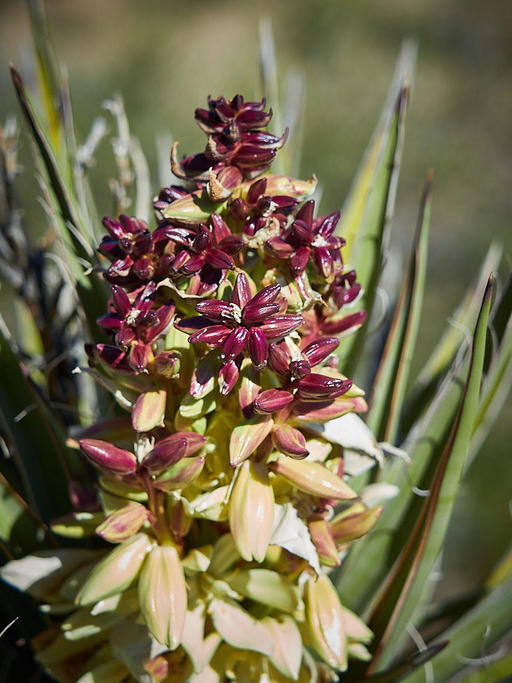
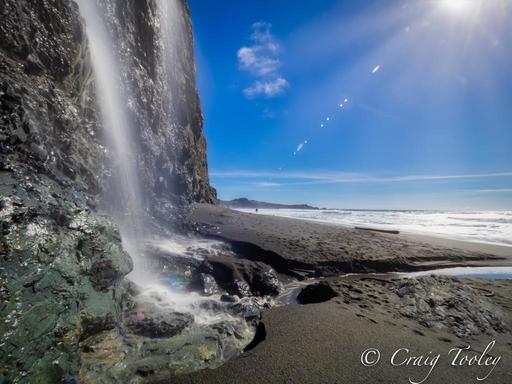 Exposure time: 1/4th of a second, handheld.
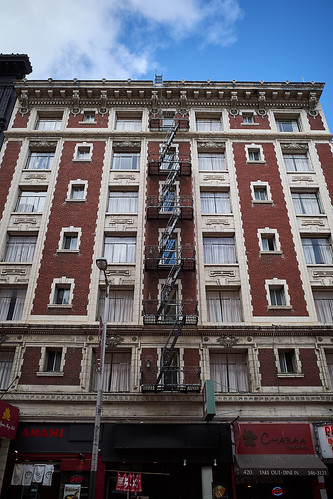
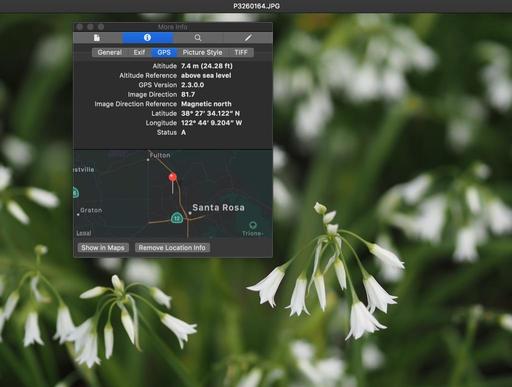
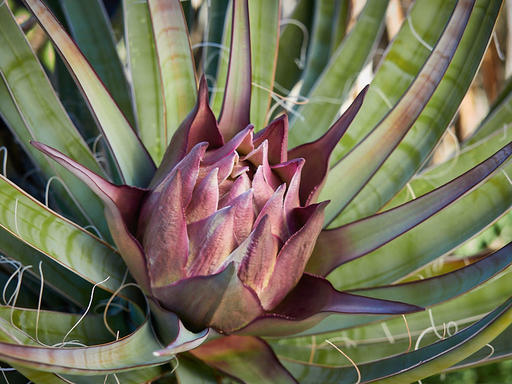
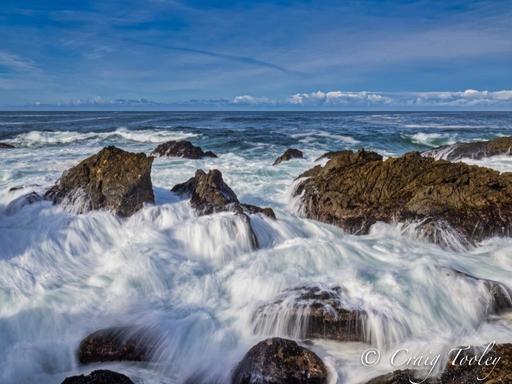 Long, handheld exposure and GPS metadata.
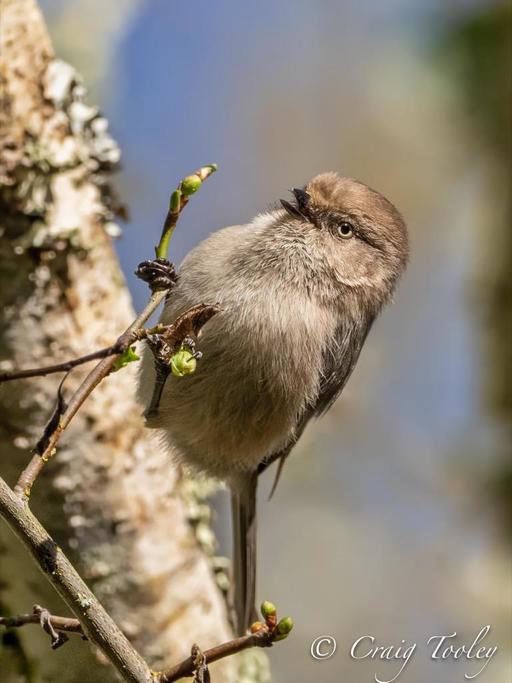 Olympus 300mm f/4 with 1.4X tele-extender - handheld.