This is The Digital Story Podcast #616, Jan. 2, 2018. Today's theme is "Pick One from Each." I'm Derrick Story.
Opening Monologue
We spend a lot of time discussing the art and science of photography. As we should. This is our chosen craft. But to be a truly effective artist, we need to address issues beyond aperture settings and sensor size. I've identified 5 key areas that can help us become more efficient and effective in 2018. And as a result, better content creators as well.
Pick One from Each
These five key areas are definitely slanted toward photographers. But with a few tweaks, could be applied to any creative endeavor. Each needs to be accomplished before the end of 2018. Let's take a look at them.
Create a New Revenue Stream - Yeah, I know, you already have a full time job or are retired. Great. If we've learned nothing else from 2017 is that these situations can turn on a dime. It take but only a minute to lose a revenue stream, but usually weeks, months, or even years to create a new. Start one now. Here are some ideas.
Experiences Over Things - I'll discuss new gear in a moment. But this is more about focus. Using resources to facilitate experiences instead of just accumulating possessions creates an energy that fuels us in nearly every area of our life. I'm suggesting workshops, social groups (in person), personal projects, a camera buddy, and day trips.
Fix or Improve One Valuable Relationship - Unfortunately, the people in our lives often become collateral damage when bad things happen to us. Many of these relationships can be repaired or improved. Pick one, and take steps to make it better. You will feel lighter.
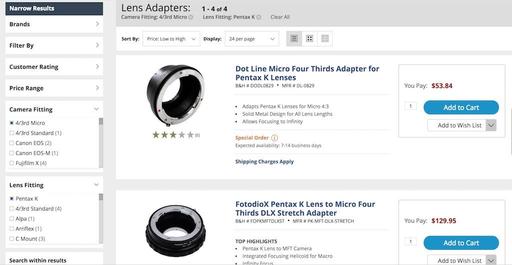
Decide What Equipment You Need to Move Forward - Don't wait until you're tempted by the latest new thing. Take a look at your craft and identify the soft spots. Then plan for and purchase the gear that will help you strengthen those areas.
Improve Your Physical Well Being - Fatigue makes cowards of us all. Whereever you are with your physical well being right now, you can improve it. Look at diet, exercise, and daily habits in general. I recommend physical activity first thing in the morning, then one other time over the course of the day. Each session can only be 15-20 minutes. You will be delighted with the results.
Update Your Camera Metadata
Take a minute tonight to update the copyright imprint on each of your cameras to 2018, double check the timestamp, and create new 2018 metadata templates for Lightroom and Capture One Pro.
The 2018 Nimble Classroom Series
The 2018 Nimble Classroom Series begins in February. Here are the first three sessions:
- Layers in Capture One Pro 11 - Feb. 10
- BUILD YOUR DIGITAL DARKROOM WITH PHOTOS - MARCH 10
- Digital Asset Mgmt with Luminar - April 21
You can sign up right now for each of these and reserve your spot. Only 6 participants per class.
Updates and Such
Three new training videos are now posted for our Patreon Inner Circle Members:
- Tips for Importing Images into Photos for macOS
- Using Gradient Masks in Luminar
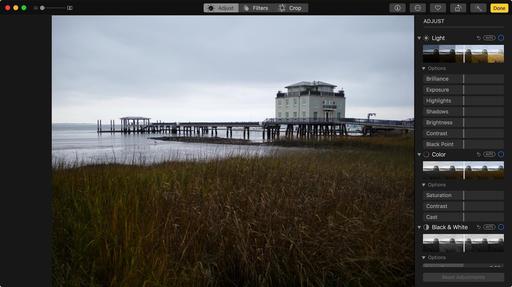
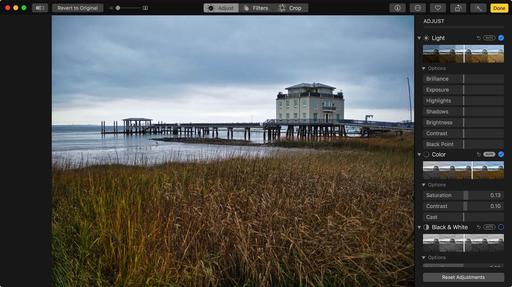
- Working with Light Adjustments in Capture One Pro
You can become a member of our Inner Circle by clicking on this link or by clicking on the Patreon tile that's on every page of The Digital Story.
B&H and Amazon tiles on www.thedigitalstory. If you click on them first, you're helping to support this podcast. And speaking of supporting this show, and big thanks to our Patreon Inner Circle members:
And finally, be sure to visit our friends at Red River Paper for all of your inkjet supply needs.
See you next week!
More Ways to Participate
Want to share photos and talk with other members in our virtual camera club? Check out our Flickr Public Group. And from those images, I choose the TDS Member Photo of the Day.
Podcast Sponsors
Videoblocks - Go to videoblocks.com/digitalstory to get all the stock video, audio, and images that you can imagine for just $149. Save on millions of studio-quality clips, tracks, and graphics.
Red River Paper - Keep up with the world of inkjet printing, and win free paper, by liking Red River Paper on Facebook.
The Nimbleosity Report
Do you want to keep up with the best content from The Digital Story and The Nimble Photographer? Sign up for The Nimbleosity Report, and receive highlights twice-a-month in a single page newsletter. Be a part of our community!
Want to Comment on this Post?
You can share your thoughts at the TDS Facebook page, where I'll post this story for discussion.
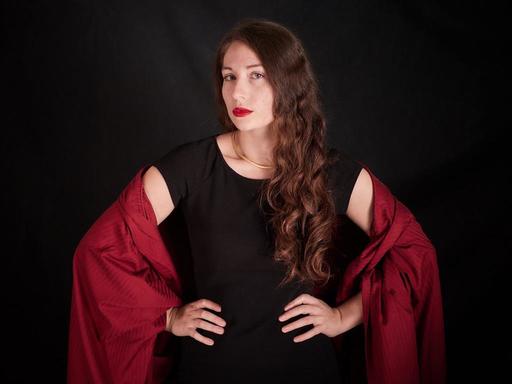
 Pentax-M 135mm f/3.5 portrait lens.