This is The Digital Story Podcast #574, March 7, 2017. Today's theme is "Capturing RAW HDR with Your Smartphone." I'm Derrick Story.
Opening Monologue
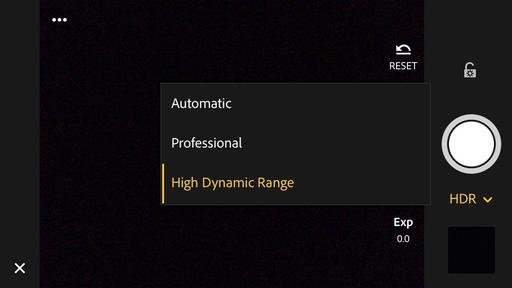
Adobe just announced a Lightroom Mobile update that includes an HDR feature that makes use of the Raw capture capability of the latest mobile devices. The app instructs your cameraphone to scan the scene to determine the exposure range, then it captures 3 DNG files that it uses to build the HDR image. We wanted to learn more about this, so we invited Adobe's Josh Haftel to the show to explain how this all works. And that's our lead story for today.
Capturing RAW HDR with Your Smartphone
After capture the files are automatically aligned, merged, de-ghosted, and tone-mapped. The end result is a 16-bit DNG that combines the benefits of the Raw file format and HDR, and can be processed in the same way as the HDR technology in Adobe Camera Raw and Lightroom.
Compared to existing smartphone HDR modes, this method offers better dynamic range, according to Adobe. Members of Adobe's Creative Cloud service get the additional benefit of automatically syncing files and edits with their desktop.
The algorithms of new HDR mode do require powerful hardware and are therefore limited to a relatively small number of devices, though. On iOS it works with all devices that are capable of capturing DNG files, such as iPhone 6s, 6s Plus, 7, 7 Plus, iPhone SE, or the iPad Pro 9.7. On Android at this point only the Samsung Galaxy S7, Galaxy S7 Edge and the Google Pixel models are supported. However, Adobe says it is working on getting the software to run on a wider range of devices.
This description is from the DP Review article, Lightroom Mobile update brings Raw HDR capture mode.
Hitting the Road with the MeFOTO Roadtrip Air
As you're listening to this podcast, I've already left Santa Rosa for a road trip to Southern California. Packed among my gear is a brand new MeFOTO Roadtrip Air that will be my three-legged companion for the next several days.
Just to give you a bit of background about this super nimble tripod, it's distinguishing features include:
- Super Fast Setup with the new HyperLock Leg System. Setup is as easy as 1,2,3: 1 - Hold tripod leg and twist counterclockwise until it stops (4 clicks), 2 - Pull the leg to the desired length, 3 -Twist leg clockwise until it stops. (How easy is that?)
- Perfect for Selfies - removable telescoping center column converts to a Selfie Stick with included smartphone holder and Bluetooth remote!
- Ultra lightweight - 30 percent lighter than classic MeFOTO models
- Available in Backpacker, RoadTrip, GlobeTrotter models and 7 colors.
I'll share my initial shooting experiences with it next week. If you want to learn more about the MeFOTO line of tripods, look for the colorful tile on all the pages of the thedigitalstory.com. And if you decide that you want one for yourself, use coupon code THEDIGITALSTORY to save 10 percent and receive free shipping.
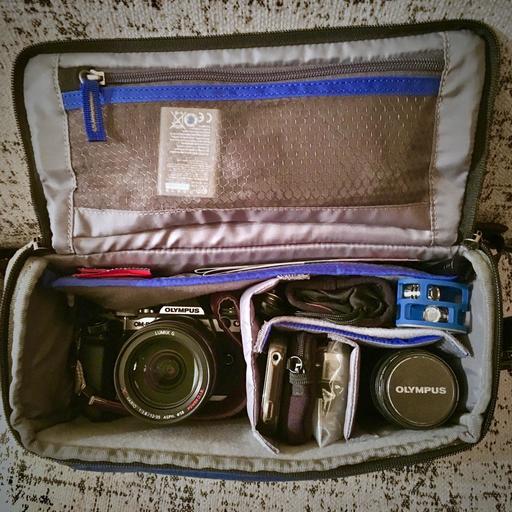
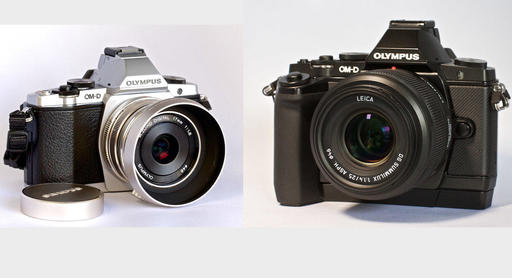
My First Experience with Olympus PRO Advantage Camera Service
On Feb. 27, I shipped my Olympus OM-D E-M5 Mark II via USPS Priority Mail to Hackensack NJ for my first service using their PRO Advantage plan.
The $99 annual plan includes two Clean and Check services that include the following checkpoints:
- Exterior cleaning
- Firmware upgrade
- Auto Focus accuracy check
- Image stabilizer check
- Function check
- Sensor and optical check
The procedure goes like this. First you call Olympus at 1-800-260-1625, Option 4 to log in the repair order, get a service number, and the address to ship the camera to.
Then you send off the camera with that information, plus your PRO Advantage service coupon in the box. Once they receive the camera, they acknowledge the possession via email.
The service took one day, then I received it back on Monday, March 6. The camera was packed nicely, and everything looked great. The only gotcha was that my settings had been wiped out via the firmware update. So I had to spend a few minutes getting everything programmed back to my personal preferences.
This service seems like a good option for the growing numbers of pro photographers using Olympus gear.
Updates and Such
Big thanks to all of our Patreon members! I was able to pay for the podcast server and the backup system from last month's pledges. Your contributions are making a positive impact.
We still have one seat open for our TDS SF and Road Trip workshops. If you'd like an invitation to either event, visit the TDS Workshops Page and use the Send Me Info form.
B&H and Amazon tiles on www.thedigitalstory. If you click on them first, you're helping to support this podcast. And speaking of supporting this show, and big thanks to our Patreon Inner Circle members.
And finally, be sure to visit our friends at Red River Paper for all of your inkjet supply needs.
See you next week!
More Ways to Participate
Want to share photos and talk with other members in our virtual camera club? Check out our Flickr Public Group. And from those images, I choose the TDS Member Photo of the Day.
Podcast Sponsors
MeFOTO Air Tripods - MeFOTO Air Tripods are a nimble photographer's dream.
Red River Paper - Keep up with the world of inkjet printing, and win free paper, by liking Red River Paper on Facebook.
The Nimbleosity Report
Do you want to keep up with the best content from The Digital Story and The Nimble Photographer? Sign up for The Nimbleosity Report, and receive highlights twice-a-month in a single page newsletter. Be a part of our community!
Want to Comment on this Post?
You can share your thoughts at the TDS Facebook page, where I'll post this story for discussion.
 Noise Reduction in the DxO OpticsPro for Photos editing extension.
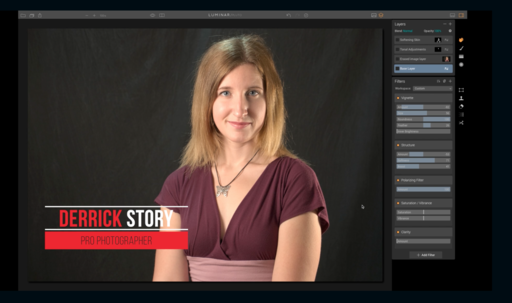
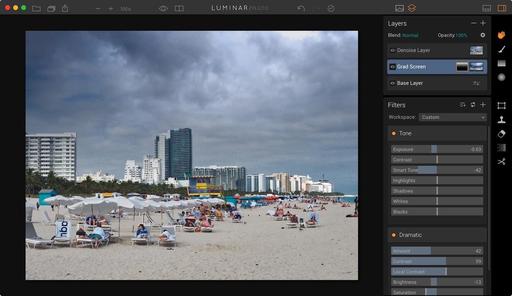
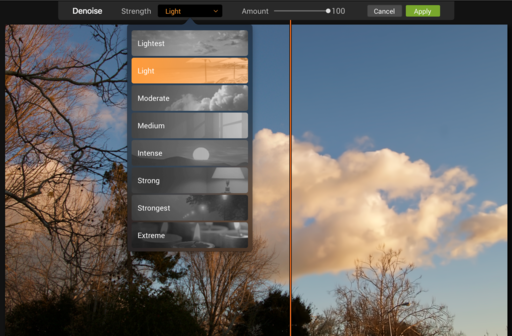 The noise reduction tool in Luminar.