Since the demise of Aperture, I haven't been able to settle on a single photo editing/managing app for my work. The closest I've come to a groove is using a combination of Capture One and Lightroom for my pro assignments, and Photos with its wonderful editing extensions for my personal work.
You may be thinking, "Why Photos? It's just a consumer app for iPhone-toting snap shooters, right?" Well, if you haven't looked at it for a while, there's more going on there than you might realize.
Photos is wonderful for my travel, family, and creative photography. Since I use iCloud backup, I never have to worry about losing a shot. My Photos library is constantly updated on all of my devices. And there are lots of great tools for editing and sharing.
That last point is where many photographers might pause. Stay with me for a minute. My view is that the Photos workflow, which includes a few choice Editing Extensions, is robust enough for enthusiast photographers. And it's fun. Very fun.
Let's start with those Editing Extensions.
Editing Extensions
Photos is an extensible app. That means it plays nice with other software, yet maintains a consistent user interface. I take advantage of this design and depend on a handful of Editing Extensions to provide the functions that are not available in the basic Photos app. My favorite Editing Extensions are:
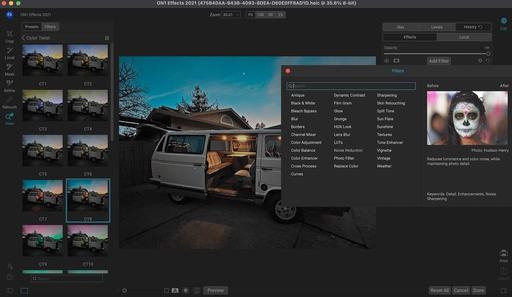
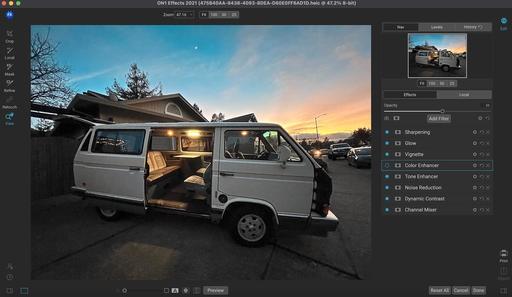
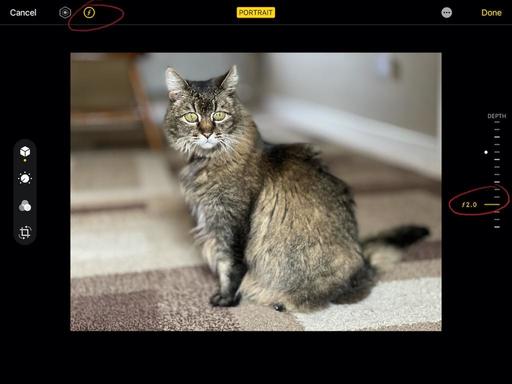
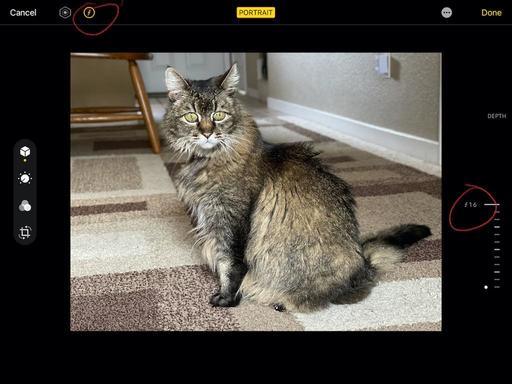
- Nitro - A well-rounded image editor that stays current with RAW profiles from new cameras, plus has RAW fine-tuning, great selection tools, and a wealth of editing adjustments.
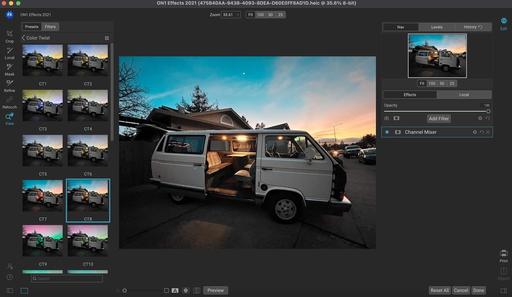
- Luminar Neo - Fantastic for creative image editing, featuring a wealth of AI-powered tools, filters, and effects.
- ON1 Effects - Amazing collection of presets for landscape, portrait, and urban photography. Each effect can be customized or combined with others. Plus a great slate of adjustment filters.
- ON1 Noise AI - Powerful AI-powered noise reduction and sharpening.
- Markup - Built-in Apple extension for adding text and shapes to pictures.
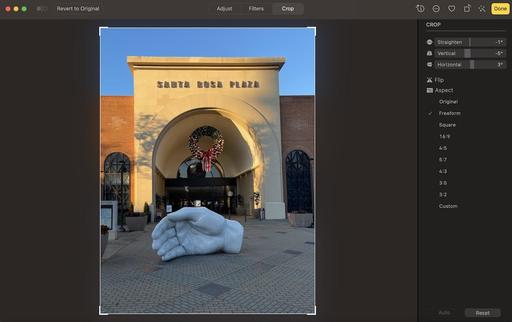
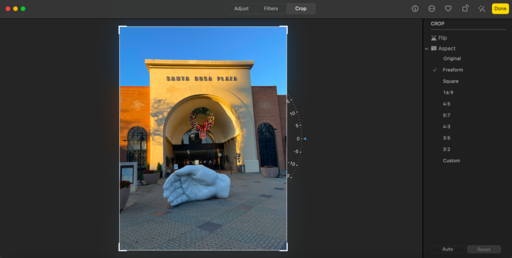
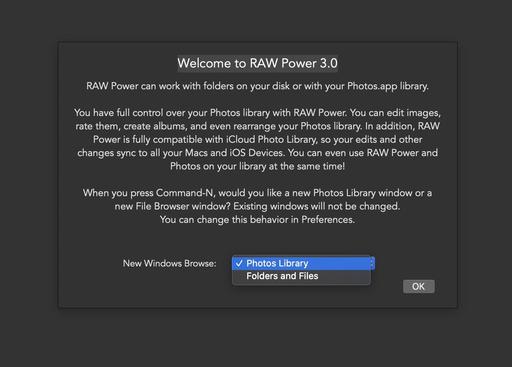
 Choosing an Editing Extension from within the Photos app.
Enabling an Editing Extension is easy. Download the software, then launch the Photos app. Select a picture from your library, go to Edit mode, then click on the 3 dots (...) in the upper right-hand corner. Choose the Editing Extension you want from the pop-up menu.
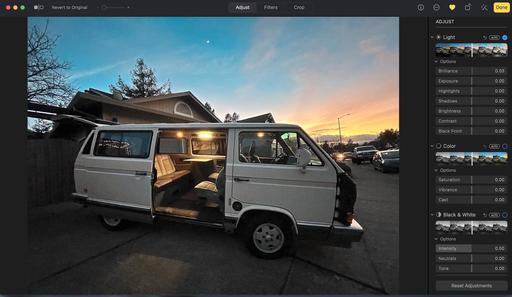
Your image will then be transported to the new editing environment, where you have options available via that app. Make your enhancements, then click the Save Changes button. Your improved picture will be returned to the Photos library.
You can continue editing with the Photos adjustment tools, share the image, or, if you want, revert to original. You can see the before and after versions of the picture by pressing the M key.
Editing Extensions provide you with a host of cutting-edge tools while still enjoying the benefits of the Photos workflow.
Hiding and Showing Screenshots
The good news is that every picture you take with your iPhone goes into your Photos library. But that's the bad news as well, right? If you're like me, your iPhone is a screen-capturing beast recording receipts, notifications, memes, and more. Screenshots are handy, but boy, they can sure clutter up a pretty Photos library.
Fortunately, you can tame the screenshot beast. Start by going to View > Screenshots and uncheck it. This hides screenshots from your browsing library, so all you see are your pretty pictures.
 Managing screenshots in Photos.
But fear not! Your screenshots are still readily accessible. Go to the left column > Media Types > Screenshots and click. Presto! All of your screenshots are captured in one easy-to-browse gallery.
Object Recognition Searches
Here's a question for the class: Raise your hand if you love keywording your pictures. OK. I see a few hands, but not many.
I'm hands down on this one. There are better things to do with my time.
Thanks to an ever-improving object recognition engine in Photos, we can find pictures in our libraries by simply typing what we're looking for.
If I want to find a picture with an American flag in it, I go to the Search box in the upper right corner, type "flag," and hit return.
A host of flag shots will appear. I scroll through the images and pick the one I want.
Sometimes I don't get the results I'm looking for. Recently, I wanted to see the black & white pictures in my library. So I typed "black & white" in the Search box.
I was aghast by the terrible results! Then I realized that maybe I need to think more like a computer. So I tried again, this time typing "monochrome" in Search.
Bingo! All of my black & white pictures appeared.
 Searching for black & white photos via the term, "monochrome."
The lesson for me was that if I don't get what I want on the first try, rethink the search term, and try again.
It's kind of fun, actually. And for me, far more enjoyable than keywording.
Create a Memory Movie and Export It
When Memories first appeared in Photos, many of my photographer friends said, "Yeah, that's cute. But it's not really useful for me." Apparently, Apple didn't pay attention to those sentiments because they kept evolving Memories into something that is useful. Case in point: Memory Movies.
These one-minute gems on a topic of your choosing can be quite heart-warming, illuminating, or shocking (depending on the subject). And they can be saved and shared or embedded in other slide shows and movie presentations.
Try creating one now. Go to File > New Memory Movie. Enter a descriptive word or phrase, such as "sunsets." Photos will comb your library for interesting images on that topic, build a movie, add music, and play it for you.
 Describe the memory you want, and Photos will create a movie of it.
If you prefer a different soundtrack than what Photos selected, you can choose a different one by clicking on the music note icon in the lower left corner. You can also add filters or bring in additional frames.
Then go to File > Export > Export Memory Movie to create a standalone video that can be shared or embedded in other projects.
I'm telling you... These are fabulous.
Removing Duplicates from Your Library
The only thing more boring than keywording is hunting down duplicates in your library and extinguishing them. Thank goodness Photos will do that for you.
Start by locating the Utilities folder in the left-hand column, then click on Duplicates beneath it. You'll see all of the duplicate images that Photos has identified in your library.
There are two basic types: exact copies, or pictures that appear to be the same, but have different resolutions or other variables. If you Select All (CMD-A), Photos will ask you if you want to consolidate the exact copies only or all of the images that have been identified.
Here's what I suggest. On the first pass, choose Merge Exact Copies. Those are safe, and they will greatly reduce the number of pictures in your Duplicates album. Then, I would review the remaining pairs individually and decide to either merge them or leave them alone.
 Merging duplicates in a Photos library.
Photos will choose the higher quality version with the highest resolution. The lesser version will be moved to the trash, and it will be held in limbo for 30 days before final discarding. You can review your trash at any time to either save a photo or get rid of it permanently.
Tidying up your duplicates is the digital version of spring cleaning. And it feels just as good.
Final Thoughts
The not-so-hidden agenda with this article was to encourage you to take a closer look at the Photos app, especially if you haven't done so for a while. In addition to the features I've discussed here, I'm confident you'll unearth more hidden gems.
Happy hunting!