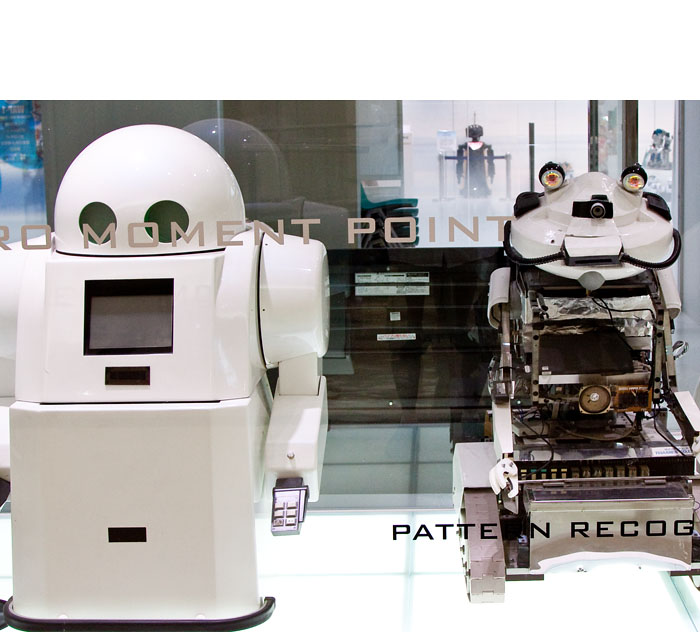
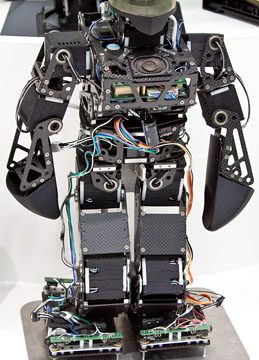
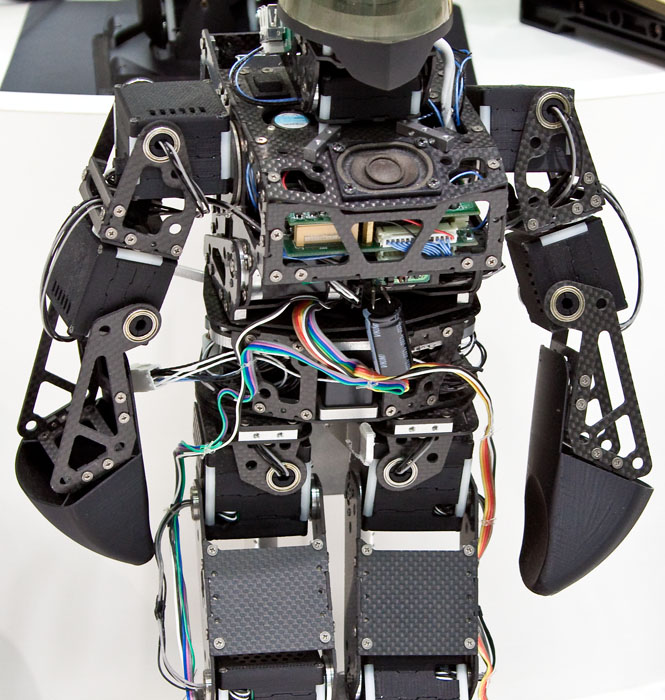
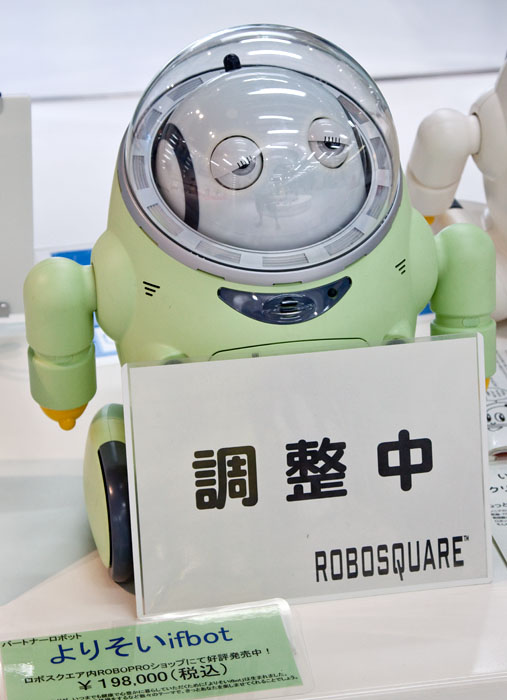
Inside what looks like a typical shopping mall, within walking distance of the Fukuoka Tower, is one of the most amazing retail establishments I've ever visited: Robosquare. It's a combination of tech museum, research facility, and toy store for geeks. In the spacious visitor area there are dozens of robots on display. Some are for sale; others are just to marvel at. Off to the side behind glass windows is an assembly and research area where you can watch technicians work on various robotic projects. Everywhere you turn, there is something to excite the senses.
It was a lucky find for me. I had been traveling on my own during this visit in Fukuoka. But there were times when I would end up at the same places as my shipmates. People would spot me, we'd compare notes on the day, then go our separate ways.
I had already been to the top of Fukuoka Tower, and I was hanging around downstairs contemplating where to go next. It was hot outside, so I wanted to make a good decision before leaving the comfortable air conditioned environment where I had just finished lunch. At that point I spotted a few of my comrades getting ready to go up the tower. They were part of an excursion. A few in the group hated heights and had asked for something else to do while the rest took the elevator to the top. The tour guide lived locally and suggested the Robosquare. As they were dashing off to see the robots, one of them mentioned the diversion to me. "Perfect," I thought. So I dashed off with them. The beauty of my situation, however, was that I could stay there as long as I wanted. They had to rejoin the tour 20 minutes later. It took me an hour to pull myself out of the store.

Part of what kept me engaged were the three demonstration areas that had robots in action. One in particular, the baby seal, was impressive. This robot had been developed to comfort the elderly who were in extended care facilities, often without companionship. The seal could locate people in the room, make eye contact, then interact with them. If the person pet the seal, it would really turn on the charm. The combination of movement and sound were very compelling, enhanced by the thick fur that felt so good to stroke. Within minutes, I felt better myself, and I was in great shape to begin with. What a truly marvelous invention.
Then, after I had looked over every display twice, I went to the shopping area where there were plenty of projects to take home and build. I opted for a couple car kits and a robotic pencil sharpener. They'll make great presents for a couple of boys back home. But there was plenty more, including Lego Mindstorms, robotic arms, and simple kits too.
As I walked out with my purchases, I was thinking that sometimes you just need to be in the right spot at the right time. Robosquare was definitely a good spot for me.
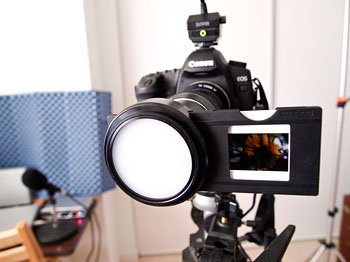
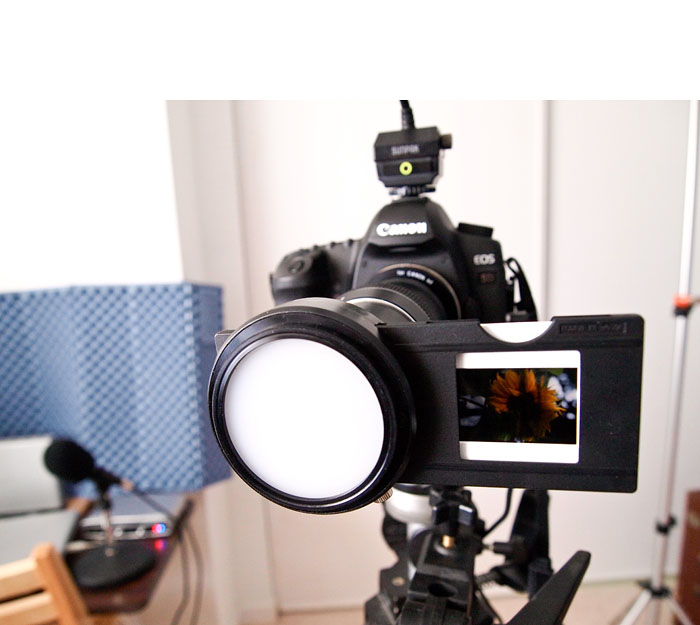
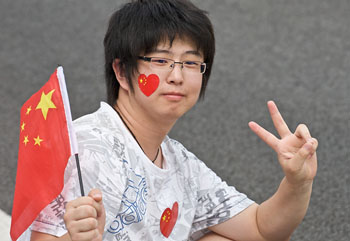
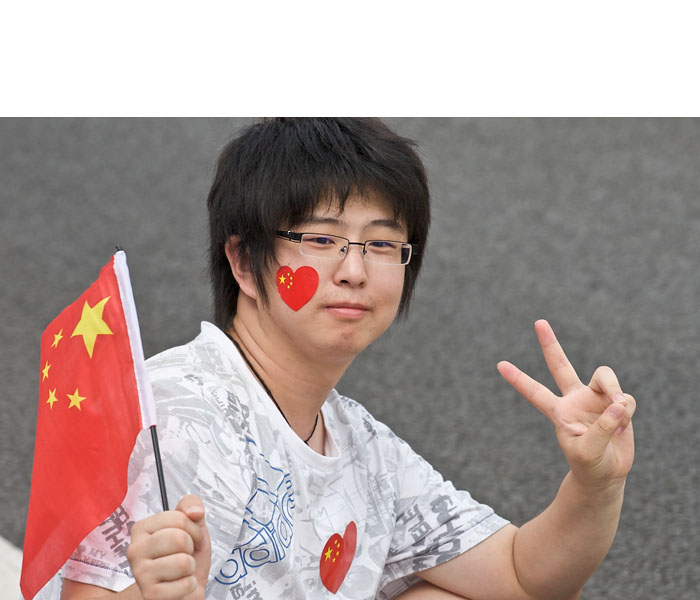
Photos by Derrick Story, captured with a Canon T1i DSLR. For more photography from Asia, visit the TDS Flickr page.
Previous Stops on Eastern Journey
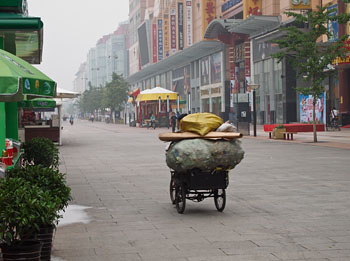
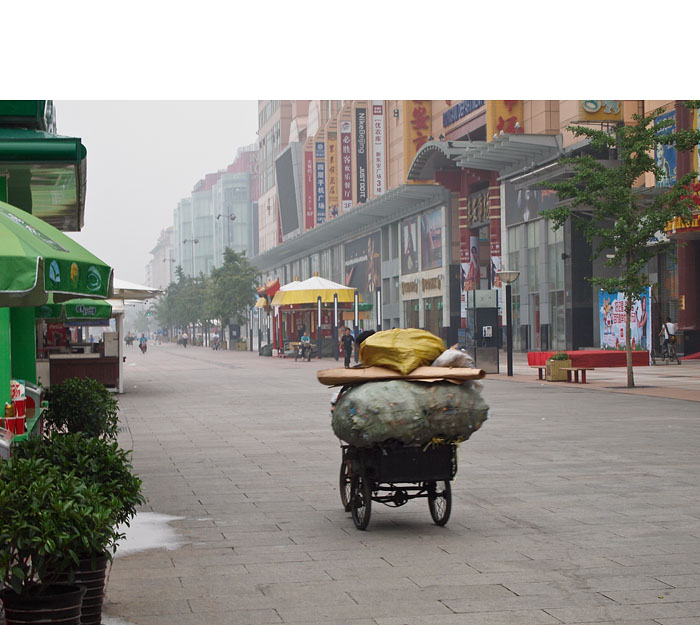
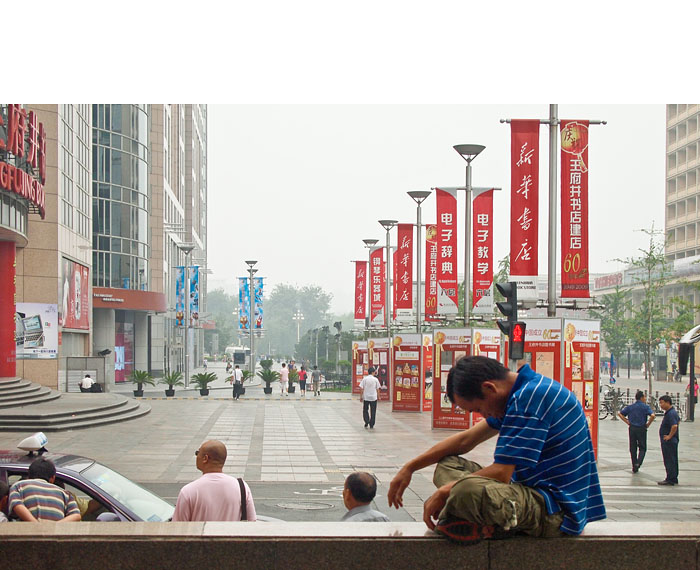
Early Morning on the Beijing Streets
"Field Notes from Asia Shoot" - Digital Photography Podcast 185
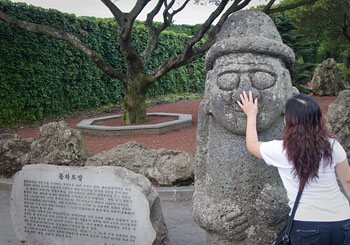
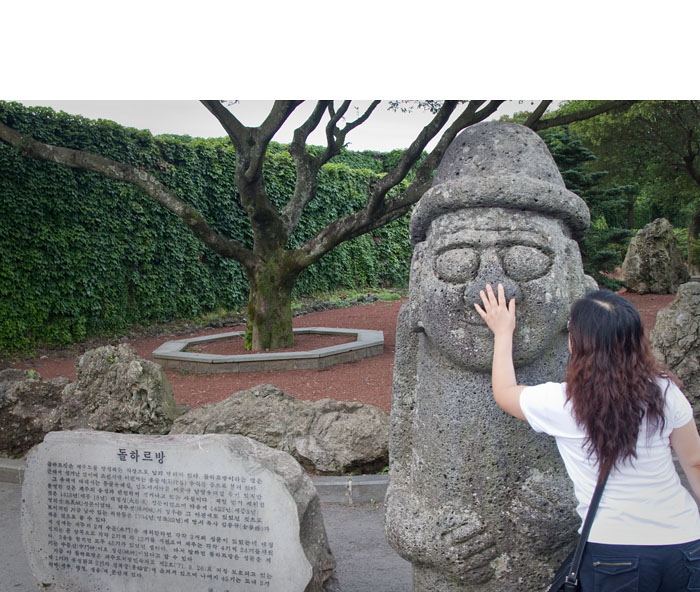
If You Want a Boy, Visit Jeju and Touch Dol Hareubang
-