This is The Digital Story Podcast #562, Dec. 13, 2016. Today's theme is "My Best (and Worst) Decisions in 2016." I'm Derrick Story.
Opening Monologue
They are no cookbooks for entrepreneurs. Our recipes for survival consist or an alchemic mixture of ideas, guesses, bandwidth, finances, and luck. Over a 12-month period, I typically have two bad ideas to every good one... and that's a good year. So here's how I fared in 2016.
My Best (and Worst) Decisions in 2016
2016 was a challenge on many fronts. In addition to our cultural turmoil, business was nearly as volatile. In January, c't Digital Photography Magazine closed operations in North America, costing me my editor job. In September, Rocky Nook eliminated my contract position, all against the backdrop of change in my world of photography and writing.
I pride myself in reinvention before the fall. And I had already started working on new projects to shore up the losses. But like the Titanic itself, it takes time to turn these things around.
Here's a review of my ideas that worked, and of course, those that didn't.
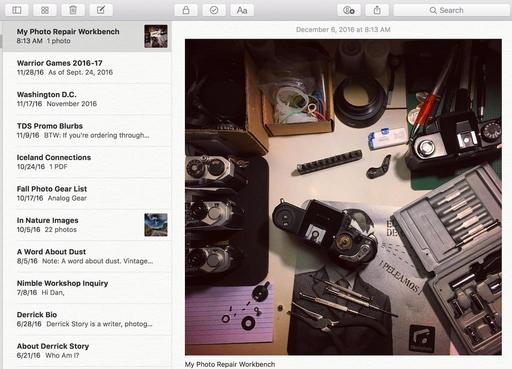
- Good Idea: TheFilmCameraShop on Etsy - I was accumulating a lot of analog gear as part of The Film Project (book to come in 2017). And although I liked it all, it was practical to keep everything. So I built TheFilmCameraShop to pass on quality gear those who have an interest in analog photography. The shop is both efficient and it helps offset the costs of my projects related to film photography.
- Bad Idea: The Nimble Photographer 1-Day Workshops - After having a great success in June as part of Out of Chicago, I thought we could take our nimble show on the road. The problem is, it's hard to find dependable partners on the road. After a couple months of struggling, I decided to stroll off into the sunset with this idea.
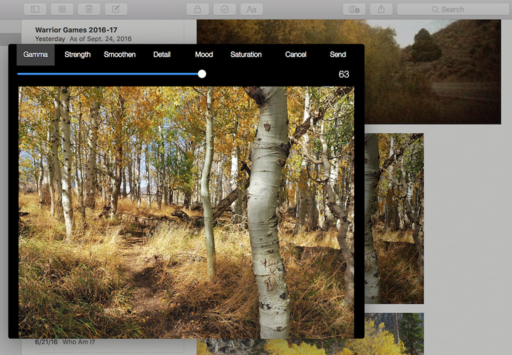
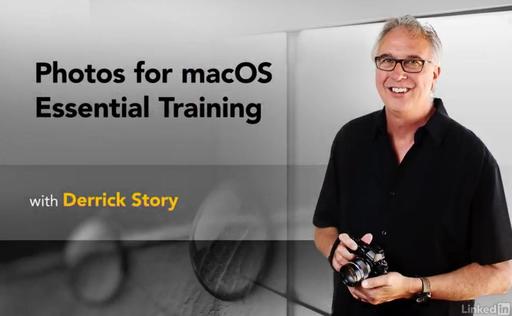
- Good Idea: The Apple Photos Book for Photographers - Despite the momentum against this app by older photographers, younger shooters seem to appreciate the value of the cloud-integrated application. I too see the promise in Photos and have jumped in with both feet, writing this book for Rocky Nook Publishing, and creating in-depth video training for lynda.com. Currently Photos is responsible for my most popular titles on lynda, and the book is off to a solid launch.
- Bad Idea: Reinvent the Wedding - I closed down this website in 2016, and no one noticed. I thought wedding photography was primed for a new, more nimble approach. I couldn't be more wrong. What people really want is free wedding photography. And you don't need a website to give away your work.
- Good Idea: Patreon and the Inner Circle - I love this podcast and want it to have a long, creative future. And for those of us who have share this sense of community, Patreon has proved to be a win/win way to help keep the show on the air. The service is run professionally, it has lots of features for both patrons and artists, and most important, we have a water cooler now to gather around.
- Bad Idea: Partnering with Other Podcast Networks - Generally speaking, I think business partnerships can help you get to the next level, provided they are prepared to be a fully functioning, committed partner. I was approached on two occasions to move The Digital Story to a new home. One I considered (and did due diligence) and the other I didn't. As it turned out, both were bad ideas. I learned that no one cares about your creations as much as you do. I'm better off to go it alone with this show.
- Good Idea: Increase My Photography Assignments - Shooting my commercially and for personal projects is still the bedrock of my business. Not only does it produce a revenue stream, it is the source of ideas for my other projects. When photography is my focus, good things seem to happen in my life.
- Bad Idea: Looking for Work via Online Services - It's so tempting trying to find a good part time gig to supplement the other projects. But the problem is, most available work these days in my world is entry level and low paying. And the fact of the matter is, just one new good idea can generate as much revenue as a year of soul-crushing part time work for an uncaring employer.
In the News
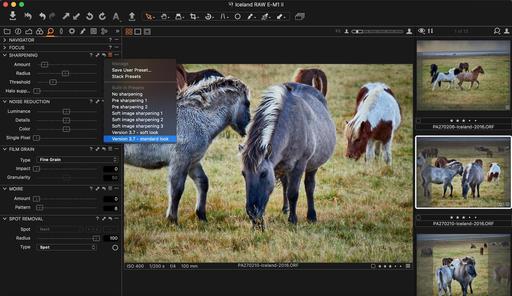
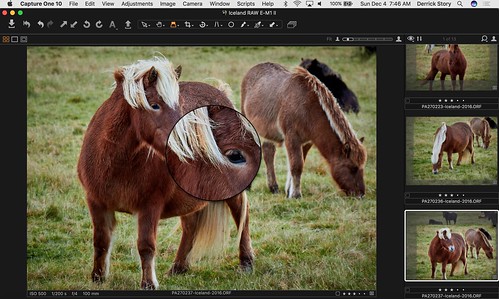
Lightroom Gets an Update - There are two main new features in the Dec. 2016 update:
(1) Some things are now faster (sweet!). According to Adobe, "...You should notice improvements in image editing responsiveness when background tasks (such as Preview Generation) are running, moving files between folders, running catalog backups."
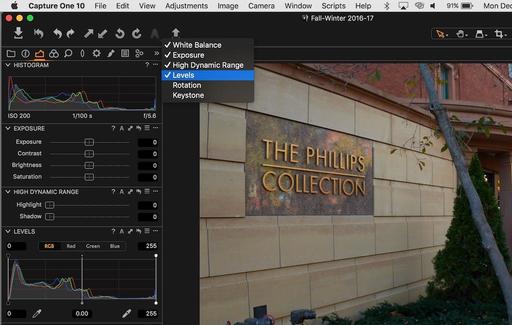
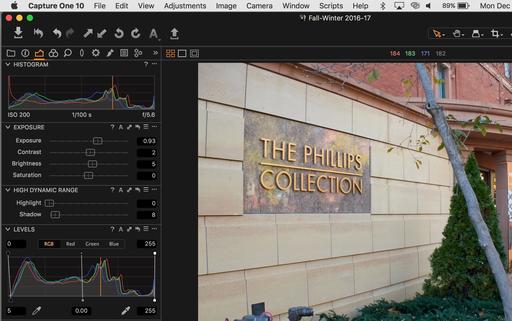
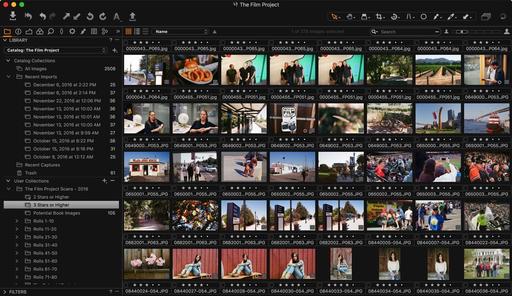
(2) The ability to choose any image as a "Reference Image" (an image that you need to post process to look like a another image). Then, you can open an unprocessed image right beside it, so you can edit this photo live while using the other photo as a reference. This will make more sense when you see it (below). Thanks to Scott Kelby's Lightroom Killer Tips.
Recipients of the Signed Copy of the Apple Photos Book for Photographers
I have 3 signed copies of The Apple Photos Book for Photographers that I will send to the following virtual camera club members who tweeted about the book: Scott Katzenoff, Mark Malter, and John Davis (ladies, where were you?!)
Updates and Such
Big thanks to all of our Patreon members! I was able to pay for the podcast server and the backup system from last month's pledges. Your contributions are making a positive impact.
The 2017 Workshop Season is posted. I've sent responses to those who signed up on the reserve list. If you haven't received a confirmation yet, please send me mail at derrick@thedigitalstory.com. Reservation forms for the SF Workshop are going out soon.
B&H and Amazon tiles on www.thedigitalstory. If you click on them first, you're helping to support this podcast. And speaking of supporting this show, and big thanks to our Patreon Inner Circle members.
And finally, be sure to visit our friends at Red River Paper for all of your inkjet supply needs.
See you next week!
More Ways to Participate
Want to share photos and talk with other members in our virtual camera club? Check out our Flickr Public Group. And from those images, I choose the TDS Member Photo of the Day.
Podcast Sponsors
MindShift Gear - MindShift Gear is a group of committed professional photographers and product designers who support conservation and protection of our natural resources and planet.
Red River Paper - Keep up with the world of inkjet printing, and win free paper, by liking Red River Paper on Facebook.
The Nimbleosity Report
Do you want to keep up with the best content from The Digital Story and The Nimble Photographer? Sign up for The Nimbleosity Report, and receive highlights twice-a-month in a single page newsletter. Be a part of our community!
Want to Comment on this Post?
You can share your thoughts at the TDS Facebook page, where I'll post this story for discussion.