I love the metadata that cameras write to our digital files... most of the time. But every now and then a camera includes information that I don't want, and have a hard time getting rid of. Case in point: the "Image Description" field automatically populated by Olympus digital cameras.
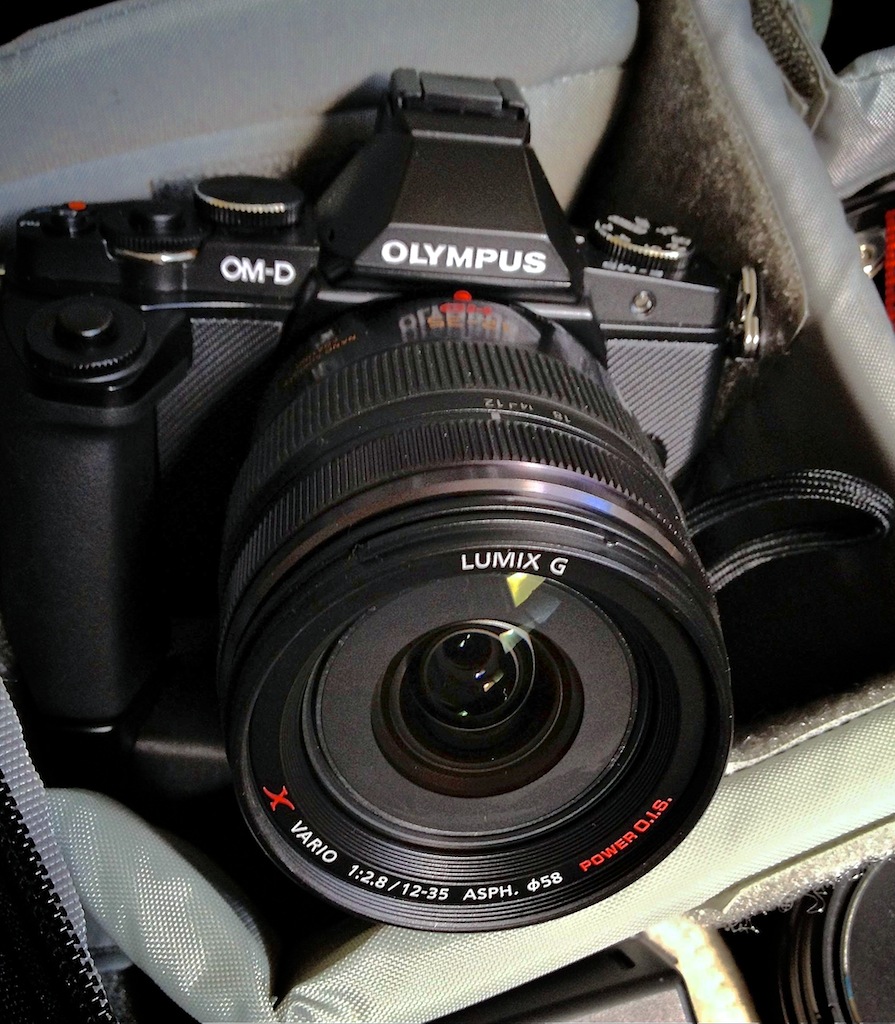
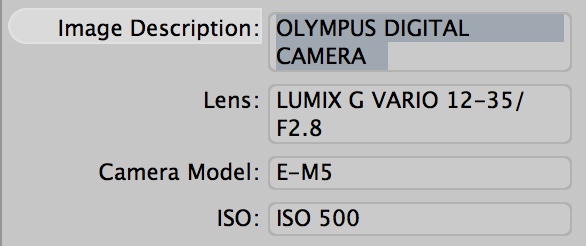
For reasons unknown to me, the Olympus OM-D insists on writing (in upper case no less): OLYMPUS DIGITAL CAMERA in the "Image Description" field of the EXIF data. And it just so happens that this is the field that Google+ reads for the caption information.
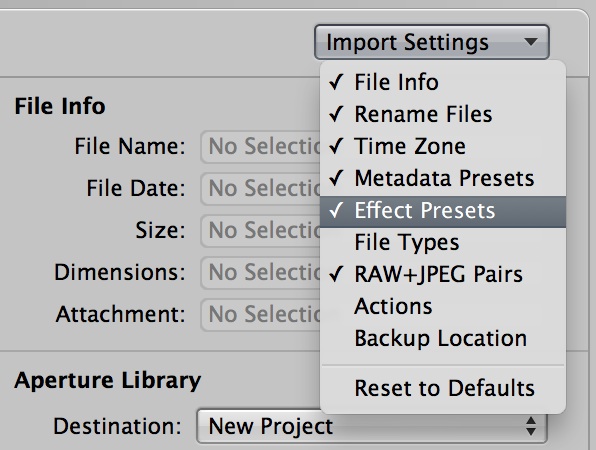
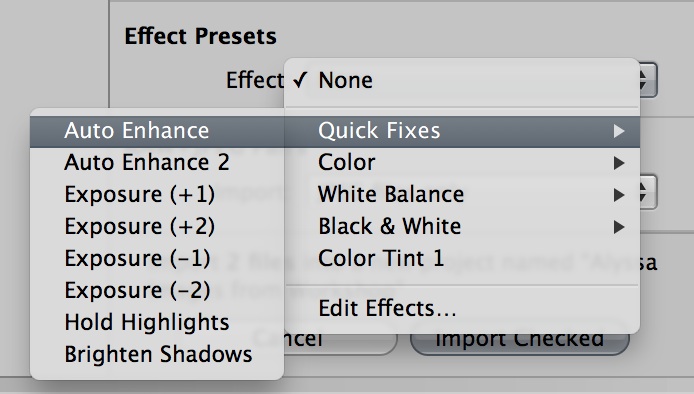
To make matters worse, Aperture 3 views this information as EXIF data and won't let me edit it away (as illustrated in the screenshot). So if I go straight from Aperture to Google+, I get that ugly all caps description for my photo.
Fortunately, there are workarounds. I can:
- Edit the information out in Google+ by clicking on the picture, then clicking on the Edit hyperlink next to the description.
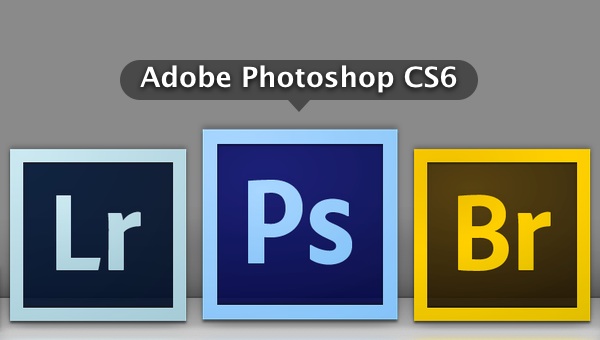
- Open the image in Photoshop, go to File Info, and edit the metadata.
- Shoot with a different camera.
Why Photoshop lets me edit the "Image Description" field and Aperture does not is a mystery to me. And while we're at it, why Olympus puts that data there in the first place is even more annoying.
My hope is that Apple allows me to edit that field in a future version of Aperture, or Olympus stops adding it. In the meantime, thank goodness for Photoshop. It's an extra step, but at least I can edit the metadata before sending the image out into the world.
You can find more photo tips and "photography how tos" on my Pinterest page.