This is The Digital Story Podcast #628, March 27, 2018. Today's theme is "The 50-50 Rule." I'm Derrick Story.
Opening Monologue
Digital photography has had a tremendous impact on our workflow. Now, not only are we creatives behind the camera, we must also be technicians in front of the computer. But how much of each? In this week's podcast, I explore the division of labor during the process of creating artistic images. And I explain what I call the 50-50 Rule.
The 50-50 Rule
When I used to shoot weddings with my 35mm film cameras, we would work like dogs all day and into the evening. But once we were finished shooting, I would put all the film in a giant envelope, drop it off at my lab, and go have a 1am breakfast before falling into bed.
Then we began the transition to digital. And before long, I found myself spending hours in front of the computer, long after the wedding had completed, finishing the job. I didn't get paid any more, and in fact, prices began to fall. And that's when I realized that digital photography was going to change my life as a creative.
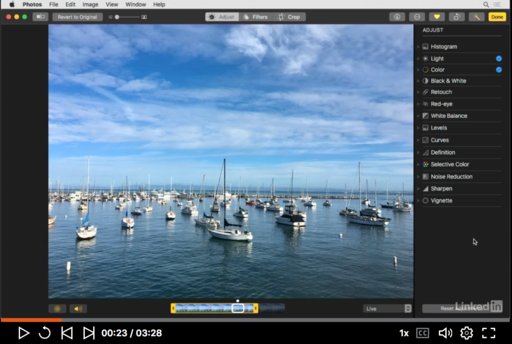
I agonized over learning Photoshop. Fortunately, apps like Aperture and Lightroom burst on to the scene to save me. But to this day, I know that if a photo is going to be competitive with others online, it will require post production.

And when I started to think about it, I realized that photography is now a 50-50 proposition. Half the creative process is at capture, and the other half is post. Most of us are stronger at one side or the other. And one of our challenges as an artist is to identify the aspect that requires the most improvement, then take the steps to improve in that area.
Rumor: Canon full-frame mirrorless already 'being used by select pro photographers'
DP Review reports that "a full frame mirrorless camera is well into its development cycle," and is in fact being used by "select Canon pro photographers" in the field." Canon Rumors is "very confident we're going to see something announced before the end of Q1 in 2019," while other outlets have predicted something for Photokina in September.
Apple's Camera Shutter Sound Was Recorded From a Canon AE-1
F-Stoppers reports: "In a recent interview with CNBC, the Apple sound designer behind many of the iconic beeps and bloops on the Mac, Jim Reekes, shares the origin of their naming and compositions. As it turns out, it's a film camera from the 1970s that was personally owned by Reekes since high school behind the ubiquitous iPhone camera click and screenshot sound effect on Mac. It was recorded from a Canon AE-1 and then slowed down to create the custom sound we know today. Even to this day, Reekes still seems to not be used to his recording being played everywhere he goes."
Do You Have a Film Camera that Needs a Good Home?
Over the last year, I've received donations from TDS members who have film cameras that need a good home. What I do is inspect the items, repair and clean as I can, then list them in TheFilmCameraShop where I can find a good home for them. If you're interested in donating, please use the Contact Form on TheNimblePhotographer site. And thanks for you consideration!
Dates Announced for the Burney Falls and Lassen Volcanic National Park Workshop
We have our cabin reservations secured for Sept. 27-29, 2018 for the Burney Falls and Lassen Volcanic National Park Workshop. Here's more about it.
Aerial Photography Workshop Update
Public registration is now open for the Sonoma Country Hot Air Balloon and Drone Photography Workshop, June 8-10, 2018. We're combining two very fun aerial activities into one workshop. Be sure to get on the Reserve List for this one!
Come Join me at the Skylum Photography Public Group
I'm now moderating the Skylum Photography Public Group, and I would love to have interested members from our audience join me there.
Updates and Such
You can become a member of our Inner Circle by clicking on this link or by clicking on the Patreon tile that's on every page of The Digital Story.
B&H and Amazon tiles on www.thedigitalstory. If you click on them first, you're helping to support this podcast. And speaking of supporting this show, and big thanks to our Patreon Inner Circle members:
And finally, be sure to visit our friends at Red River Paper for all of your inkjet supply needs.
See you next week!
More Ways to Participate
Want to share photos and talk with other members in our virtual camera club? Check out our Flickr Public Group. And from those images, I choose the TDS Member Photo of the Day.
Podcast Sponsors
Red River Paper - Keep up with the world of inkjet printing, and win free paper, by liking Red River Paper on Facebook.
The Nimbleosity Report
Do you want to keep up with the best content from The Digital Story and The Nimble Photographer? Sign up for The Nimbleosity Report, and receive highlights twice-a-month in a single page newsletter. Be a part of our community!
Want to Comment on this Post?
You can share your thoughts at the TDS Facebook page, where I'll post this story for discussion.
 Beach Bike - iPhone X back dual camera 6mm f/2.4 - Photo by Derrick Story
 Cairns on the Manoa Falls Trail. (Gaelic for heap of stones.) Leica D-LUX. Photo by Derrick Story.