This is The Digital Story Podcast #538, June 28, 2016. Today's theme is "Chicago Takeout." I'm Derrick Story.
Opening Monologue
During my week in Chicago, I've learned a lot of things, talked with many people, and have taken many, many pictures. For those of you who joined me here, you know it was a rich, memorable experience. For those who couldn't make it, I have a takeout order for you. And that's the focus of today's show.
Chicago Takeout
I have an hour left before I have to check out of the Travel Lodge on Wabash in downtown Chicago. You'll hear the grinding wheels of the train in the background as it rolls by my window. And I'm sure housekeeping will tap tap tap on my door at least once.
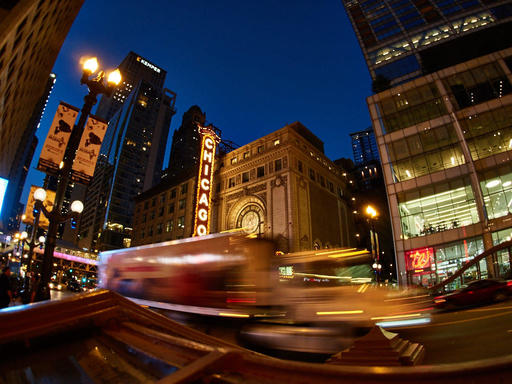
But before they reclaim the room for the next visitor to this great city, I want to share a few of my favorite moments from my week teaching at Out of Chicago.
- The State of Mirrorless - Olympus, Panasonic, Sony, and Fuji were all sponsors and here showing their wares. But what really impressed me is that nearly all of the speakers and a large percentage of the attendees were carrying mirrorless cameras. Mirrorless is alive and well, and it's thriving in urban photography.
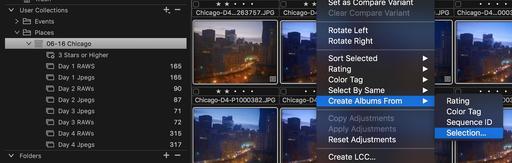
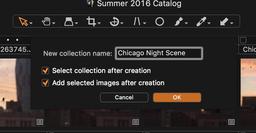
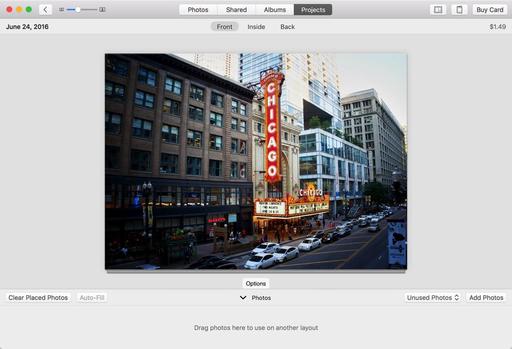
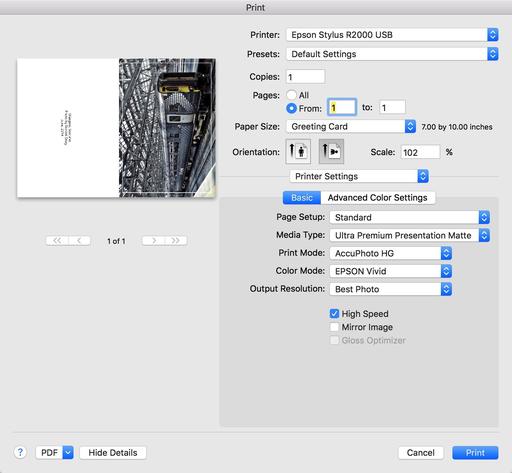
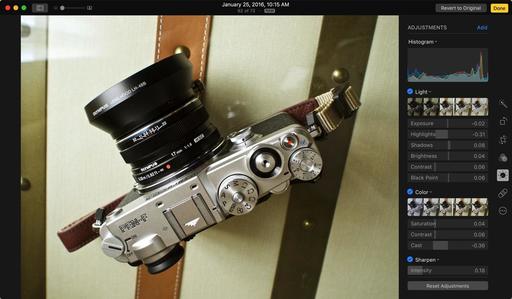
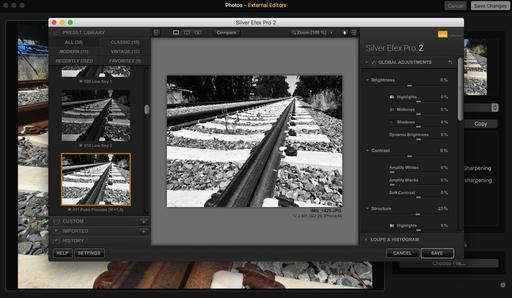
- Packed Sessions for "Beyond the Pixel, Your Photography as Art" - I thought that my talks on going from digital capture to inkjet print would go over well, but I had not ideal that I would pack a double classroom, not once, but twice during the conference. I began the story with a silver gelatin print that I had made in 1988, and described my journey with printing. I then walked through a demo for making fine art greeting cards with Lightroom or with Photos for OS X.
- The Nimble Photographer Workshop - I debuted this workshop in Chicago because I wanted to see how a one-day event would go. Based on my experience, I will be repeating this workshop in the future. My favorite parts where "What's in my Bag" by participants, and the MacGyver session.
- Film is not Dead - I totally enjoyed conversation after conversation where someone was telling me how they dug out their film camera from the closet and are planning shoots with it. Everyone one of them said that theAnalogstory was their inspiration.
- Midwest Photographers - Of all the great things that happened this week, meeting dozens of members of our virtual camera club who work and shooting in Illinois, Minnesota, Wisconsin, Michigan, Iowa, Indiana, Kentucky, and throughout the heartland of our country, was the biggest thrill of all.
In the News
The 'Warm-to-Cold Fader' Puts Color Temperature Control Onto a Filter via PetaPixel.
If you like to physically control as many of the settings on your camera as possible, the ICELAVA Warm-to-Cold Fader is right up your alley. This neat little lens accessory puts color temperature control onto a variable filter you simply twist to adjust.
Color temperature isn't something we think about much these days, given how easily it's adjusted in post (you ARE shooting RAW right?). But having a physical filter that lets you warm up or cool down your image gradually could definitely come in handy.
Hedge Adds Log Files
We have some great news to share today. Next to releasing Hedge 1.3.2 with some small improvements and fixes, we also have a bigger thing coming: Transfer Logs.
Transfer Logs Beta - We've been working hard the last few weeks to add a new Feature to Hedge Beta: the much-requested log files. Now it's also possible to see which files were copied, when they were copied, and what the source and destination hashes are. Give Hedge 1.4ß a go. Let us know what you think, so we can make it even better!
Free Test Ride - Not sure how much Fast Lane and the other Premium features will help you? We now have a week-long license available for you. Yep, it's free.
Keep these three things in mind...
- Hedge is the fastest app for importing and backing up media on macOS.
- Import multiple sources to multiple destinations, at the same time.
- Every file copied by Hedge is cross-verified with the original.
There's a free version and a premium version. Use this URL, hedgeformac.com/tds and save 20 percent off the price of the pro version that provides the full Hedge experience with Fast Lane copies, unlimited simultaneous transfers, plus NAS and RAID support.
New lynda Title
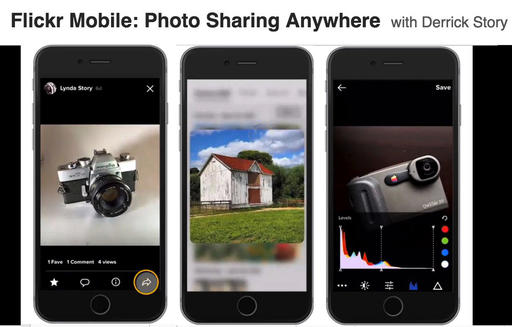
We've just released, Flickr Mobile: Sharing Photos Anywhere. I had so much fun recording these movies, working only with my iPhone, iPad and Android tablet. It was a true nimble-rush. And I think you'd enjoy watching this training.
Fujifilm Instax Printer SP-2
Fujifilm Instax Printer SP-2.
Updates and Such
Just Released!: The Apple Photos Book for Photographers
You can get your eBook copy of The Apple Photos Book for Photographers for $15 by using the checkout coupon: APPLE15. That saves your 5$ off the price.
And finally, be sure to visit our friends at Red River Paper for all of your inkjet supply needs.
See you next week!
More Ways to Participate
Want to share photos and talk with other members in our virtual camera club? Check out our Flickr Public Group. And from those images, I choose the TDS Member Photo of the Day.
Podcast Sponsors
Red River Paper - Keep up with the world of inkjet printing, and win free paper, by liking Red River Paper on Facebook.
MacPaw Creators of CleanMyMac 3 and other great software for Apple computers. Visit www.macpaw.com today.
Hedge for Mac - The fast solution for moving photos and videos from memory cards to drives, or drives to drives for that matter. Learn more at Hedge for Mac.
inkdot Metal Prints Brilliant, affordable, and archival. Visit ink dot.com/metal-prints today.
The Nimbleosity Report
Do you want to keep up with the best content from The Digital Story and The Nimble Photographer? Sign up for The Nimbleosity Report, and receive highlights twice-a-month in a single page newsletter. Be a part of our community!
Want to Comment on this Post?
You can share your thoughts at the TDS Facebook page, where I'll post this story for discussion.