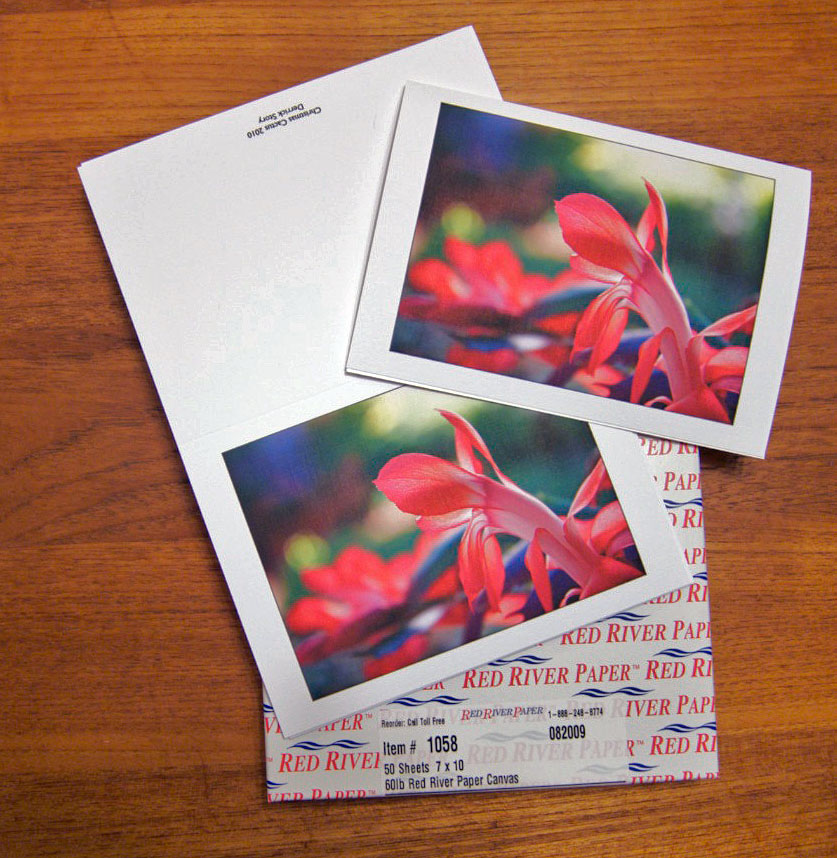
I keep a box of prints handy for reference. It consists of a few images printed on 3 or 4 different surfaces. When I'm thinking about which stock to use for a photo that I want to run through my Epson, I pull out my box of sample images. It helps me decide where to start by actually looking at the same photographs on different papers.
Being able to touch the prints is an important part of the process. It's easier to hold them at different angles and feel the texture of the paper.
I also use this sample kit when clients are asking about output. It's much easier for them to decide when they can examine the various options in person.
The Digital Story on Facebook -- discussion, outstanding images from the TDS community, and inside information. Join our celebration of great photography!
The iPhone display is so beautiful. Wouldn't it be great to use it as a control panel for your DSLR? Now, thanks to enlight photo, you can.
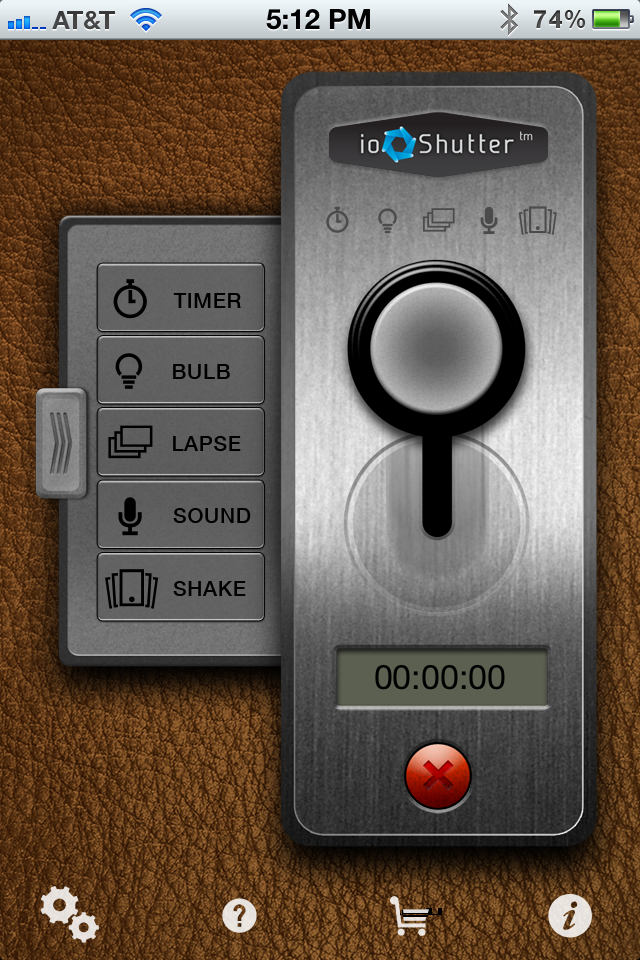
The ioShutter Release Cable ($69.99) with accompanying iOS apps (free "lite" version, or the "pro" that costs $9.99, shown in the illustration to the right ) enables you to shoot with your DSLR in a variety of ways:
Standard remote release. Press the button on the iPhone screen and the camera takes a picture.
Timer mode. With the free lite app you have countdown of 20 or 60 seconds. In the pro version, the timer is completely programmable.
Bulb mode. In the lite version, you can set exposure for 60, 90, or 120 seconds. In the pro version, it is completely programmable.
Time lapse. In the light version you have options of "every 5 seconds for 5 minutes," "every 5 seconds for 10 minutes," or "every 30 seconds for 10 minutes." In the pro version this is programmable.
Sound trigger. In the lite version you clap you hands to fire the camera. In the pro version you can set the decibel level.
Shake. In the light version you have "shake to take." In the pro version you have much more control.
How it Works
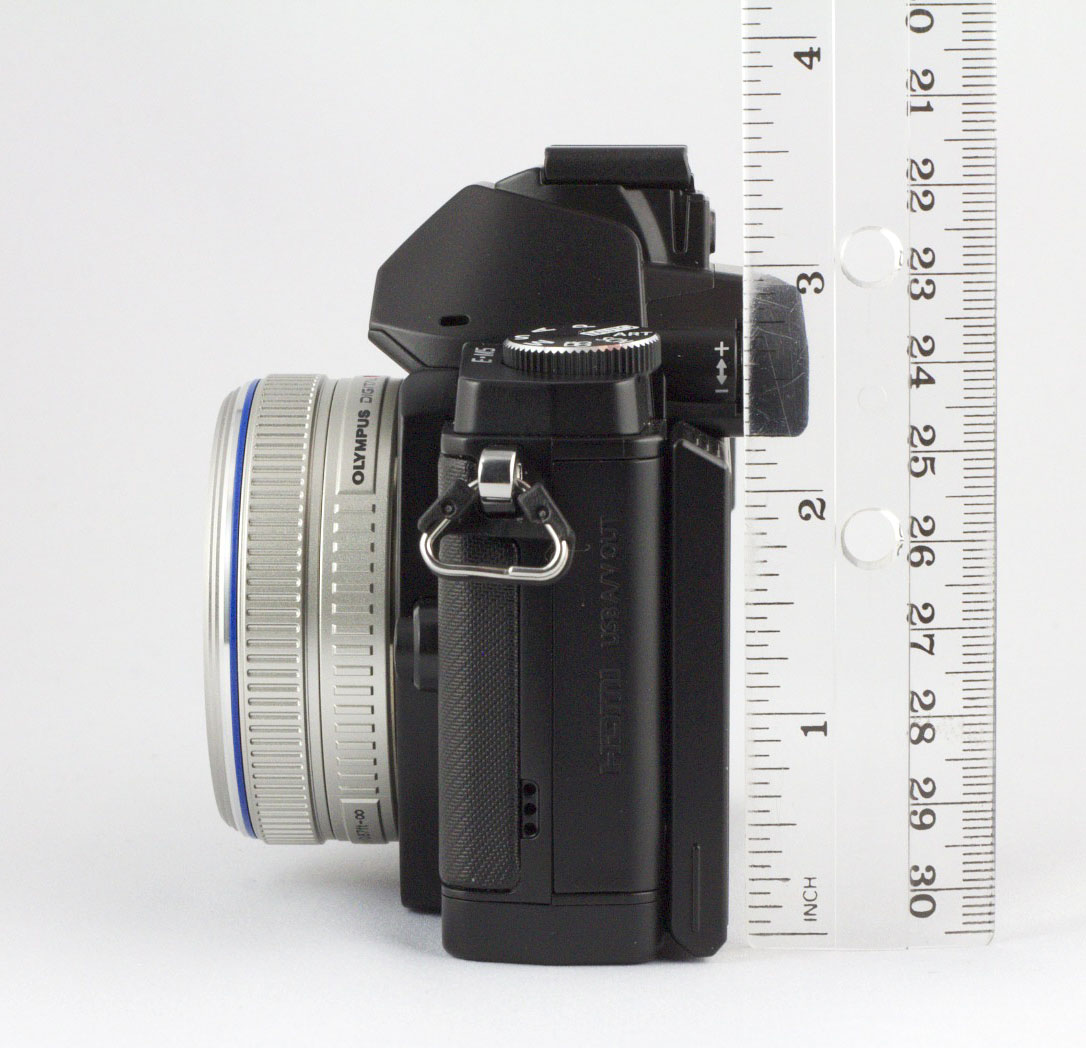
The system works like this. You buy either the E3 shutter release cable that fits Canon Digital Rebels, Canon 60D, Pentax K-5, and other cameras that use the mini-jack type socket. Or you can purchase the N3 shutter release cable that works with the Canon 5D series and pro Canons that use the larger socket connector for remote releases. Plug one end of the cable into your camera and the other end into the headphone jack of the iPhone. Fire up either of the iOS apps, turn on the camera, and start shooting.
I tested the E3 release with a Canon T1i and a Pentax K-5, using both the lite and pro iOS apps. All of the functions worked as advertised. There were no glitches at all with the Canon, and only one with the Pentax -- it would sometimes automatically go to burst mode when using the sound trigger. Aside from that nit, performance was solid.
If you get a phone call while using the ioShutter, you have to disconnect it from the headphone jack to communicate with the caller. I learned this one the hard way.
Time Lapse Test with Canon T1i
All of the functions of the ioShutter are useful, but the one that most will be interested in is the time lapse control. I tested this with the pro version of the app connected to the T1i. I programmed an exposure for every 4 seconds.
Lowepro Flipside Sport 10 Liter.
Keep in mind that if you want full programmability for your time lapse work, you have to pony up the additional $9.99 for the pro version.
Bottom Line
The ioShutter works as advertised. If you have a compatible camera, and an iPhone in your pocket, then all you have to carry is this light cable. By doing so, you have access to a variety of handy controls.
The $69.99 price tag is inline with cable releases that provide similar functionality. I do think, however, that the $9.99 price tag for the pro version of the iOS app is steep, especially after just shelling out $70 for the cable itself. You can use the free app, but if you want to use the time lapse function, you really need the pro version for maximum control. I think a fairer price tag for the pro version would be $2.99 or even $4.99.
That being said, I like the flexibility of packing just this light cable, yet having a variety of triggering functions available, that I can control via the lovely iPhone interface.
Nimbleosity Rating: 3.5 (out of 5). Rating move to 4 if pro app price was reduced.
The Digital Story on Facebook -- discussion, outstanding images from the TDS community, and inside information. Join our celebration of great photography!
Another point that I want to add focuses on the lights. I've been using the Lowel Ego lights for my table top work. They're affordable and work great.
To support the entire project, I use a 60" folding table.There's just enough room for my lights and portable light box kit. When I need to clear the area for other types of shooting, everything folds up and stores out of the way.
Table top photography can be both creative and productive. Something to consider.
The Digital Story on Facebook -- discussion, outstanding images from the TDS community, and inside information. Join our celebration of great photography!
Adobe just released ACR 6.7 that includes RAW support for 9 new cameras plus 30 new lens profiles. Heavy hitters are included such as the Canon 5D Mark III, Nikon D800, and Olympus OM-D. Plus Creative Suite 6 is now available.
Would you like to improve your B&W photography? I have a webinar coming up on May 23, "A Fresh Look at Familiar Subjects in B&W." It's free, but you have to reserve your seat in advance.
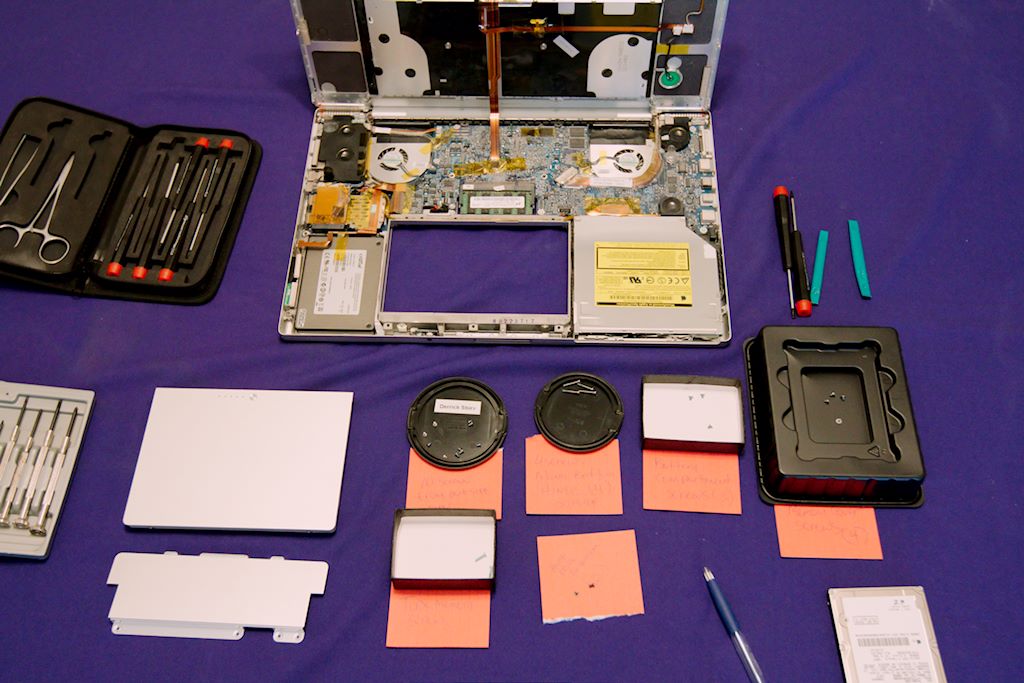
I like my vintage 2008 17" MacBook Pro (MBP). But it had become too tired to run Aperture and manage my extensive photo library. Rather than give up on this otherwise beautiful machine, I decided to replace the traditional hard drive with a new Crucial Solid State Drive (SSD). Now that the project is completed, I have to say, the results have exceeded my expectations.
Preparing for the hard drive replacement.
Basic Specs for the Mac
Even by today's standards, the MBP 17" has decent specs. At its heart beats a 2.5 GHz Intel Core 2 Duo processor. I have 4 GBs of DDR2 SDRAM for memory, and a NIVIDIA GeForce 8600 GT graphics card with 512 MBs of memory onboard to process the images. Plus this MBP has a beautiful matte finish LCD display that was one of the first LED models that Apple shipped. I love editing photos on this screen. (It's worth keeping for the monitor alone.)
Other goodies include a SuperDrive for both CD and DVDs, 3 USB ports, FireWire 800 and 400 ports, plus an excellent sound system. Like I said earlier, way too good of a machine to give up on quite yet.
But its Achilles heel was the 200 GB Hitachi internal hard drive. It was slowing down my entire system. Aperture in particular was painful. I could barely perform the simplest image edit without a spinning beach ball.
The Upgrade to Solid State
Since Aperture is constantly hitting the hard drive, I thought moving to Solid State might help. In part, this belief stems from my excellent experience using the current MacBook Air. I thought that if I "air-i-fied" my MBP, I might be more satisfied with its performance.
After I received the Crucial SSD, I watched "How to replace your 17" Mac Book Pro hard drive:"
Then I retrieved my Newer Tech 11-Piece Computer Tool Kit and spread everything out on a covered table. Once all the screws were removed, I was careful when lifting the keyboard. There's a ribbon cable that connects it to the mother board that I didn't want to damage.
I keep all the various sets of screws separate and labeled. This makes reassembly much easier (without any extra parts). The entire operation lasts about 30 minutes. I take my time when taking apart computers...
New SSD in place. Now all I have to do is put everything back together.
Adding Software
Fortunately I have a copy of Snow Leopard on DVD, so I held down the "C" key and booted the laptop from it. I used Disk Utility to format the Crucial SSD for Mac OS X Journaled. Then I installed the operating system itself.
Once I had Snow Leopard on the SSD, it was just a matter of running updates so I could eventually access the Mac App Store to download Lion and install it. After that, I used the App Store to redownload Aperture, and the rest of my software. (I have a few hints about bringing Aperture up to speed that I will cover in another article later this week.)
And That Old Toshiba Hard Drive I Removed...
Even though I had backed up my files on an external hard drive before installing the SSD, I still wanted that old Toshiba available in case I had forgotten something. So I pried open an LaCie Rugged portable unit that had a failed hard drive in it, pulled out the bad hard drive, and replaced it with the unit I had removed from the laptop. I now have all of my previous files available.
Beter Performance, Indeed
The 2008 MacBook Pro is like a new computer. It's currently handling an Aperture library containing 50,000 referenced images with very little effort. I can now edit RAW files from my 5D Mark II without those long delays I was previously experiencing. I love working on this big boy again.
The entire project cost me less than $275. (You can't get an iPad for that amount, let along a big 17" matte screen workhorse.) And performance is so much snappier than before. I'm definitely enjoying this ride.
The Digital Story on Facebook -- discussion, outstanding images from the TDS community, and inside information. Join our celebration of great photography!
On Saturday, May 19, I'll be in San Jose, CA speaking for TWiP and SmugMug on How to Pack a KILLER Camera Bag, then on Tuesday, May 23 at 10am PDT, I'm conducting an online webinar titled, A Fresh Look at Familiar Subjects in B&W. Both events are free, but you do have to reserve your spot for the webinar (do that right now!)
The engagements are also listed on the Events tab of The Digital Story Facebook Fan page, the best place to stay in touch with upcoming activities. Here's a brief look at the two talks for May.
How to Pack a KILLER Camera Bag - May 17
Ever wondered how exactly to pack a perfectly prepared camera bag for that next trip?
Photography and travel seem to go together like Starbucks and mobile devices. You can enhance your adventures by following a handful of basic tips for packing your gear.
Professional photographer Derrick Story will show you the things he's learned while covering assignments in Asia, North America, and Europe. He'll show you why he believes that the "nimble photographer" is a happy photographer.
And the best part is, following his advice, you'll travel smarter and have all the equipment you need to get the shot.
The second best part, our friends at Lowepro are donating a couple pro bags to raffle off that evening.
A Fresh Look at Familiar Subjects in B&W - Webinar -May 23
There are those subjects that we expect to see in black and white: landscapes, street shots, and editorial portraits. And then those we don't - such as the blaring lights of Las Vegas.
In this webinar sponsored by Nik Software and Lowepro, Derrick Story will show you how he uses Silver Efex Pro 2 to present a fresh look at familiar subjects. Derrick will explain how he uses Silver Efex Pro 2 in his overall photo management workflow, and present a few tips from his experience that you might apply to your own work. He will also share some of his favorite Lowepro bags and why they make working out of them in the field easier and more efficient.
I'm hoping that you can join me for one or both of these events, and be sure to say "hi!"
The Digital Story on Facebook -- discussion, outstanding images from the TDS community, and inside information. Join our celebration of great photography!
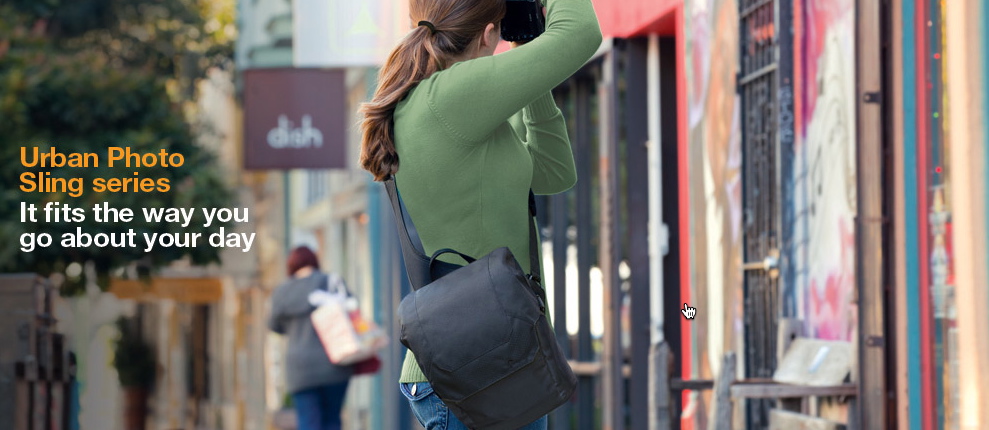
Nimble photographers who like sling bags and want to carry their iPad with them, might want to investigate the new Lowepro Urban Photo Sling.
This street camera bag has two loading options, three wearing options, and a dedicated tablet computer sleeve. It comes in two sizes: Urban Photo Sling 250 (Pro DSLR without grip with attached 70-200mm lens plus accessories) or the smaller 150 (DSLR with attached 55-200mm lens plus accessories).
The Digital Story on Facebook -- discussion, outstanding images from the TDS community, and inside information. Join our celebration of great photography!
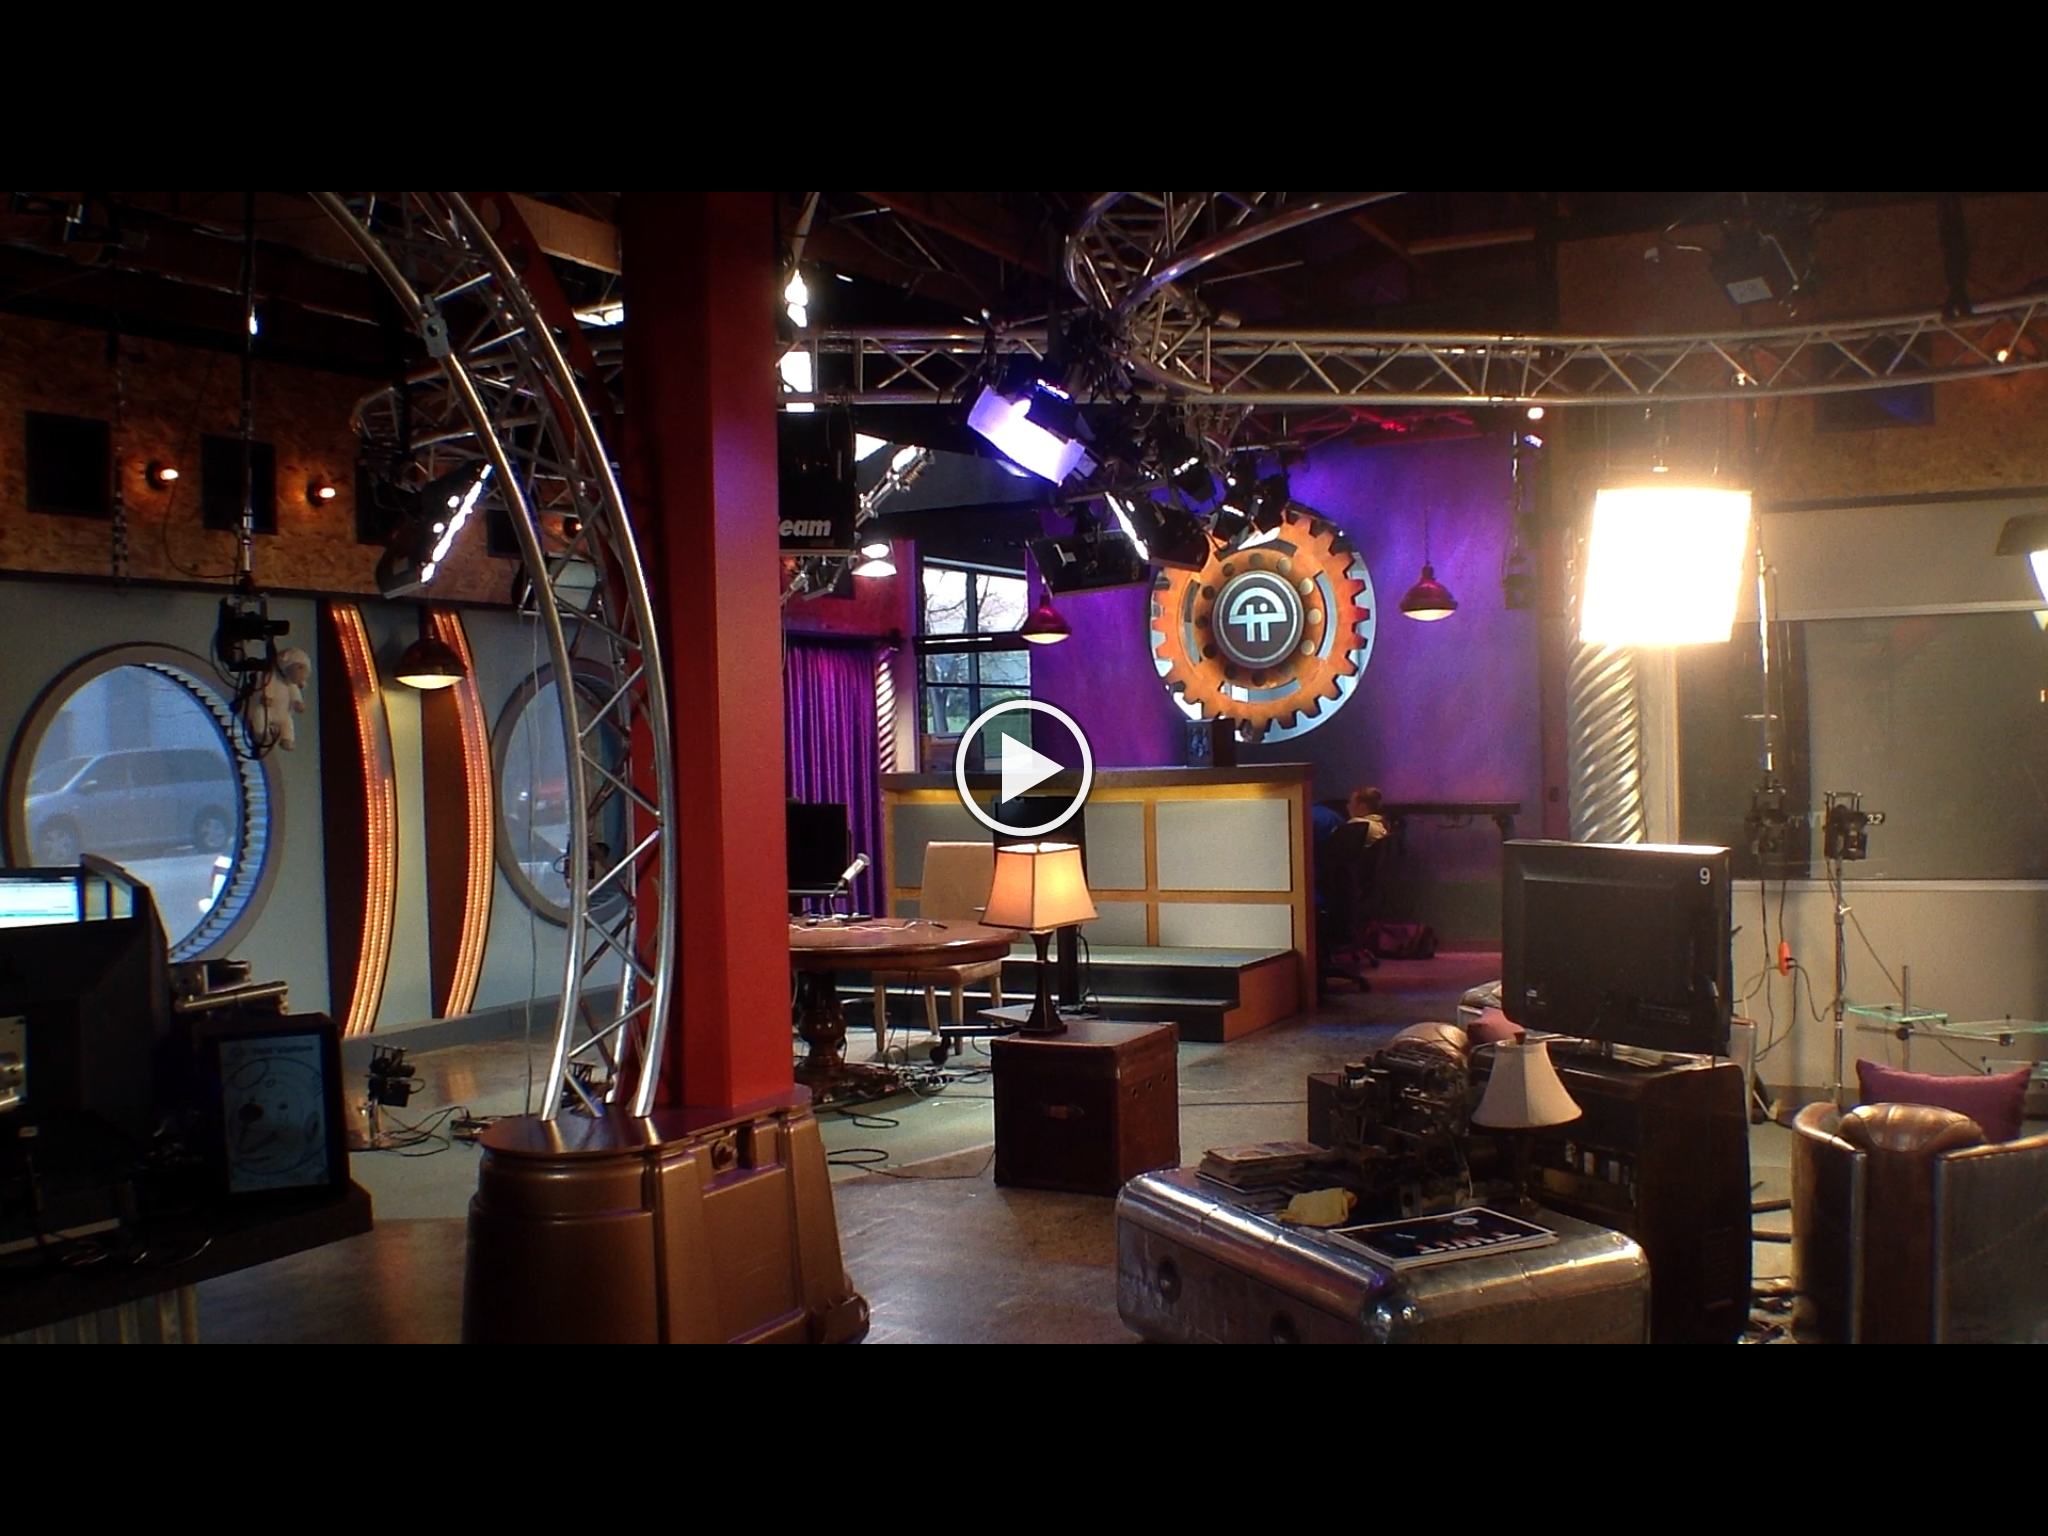
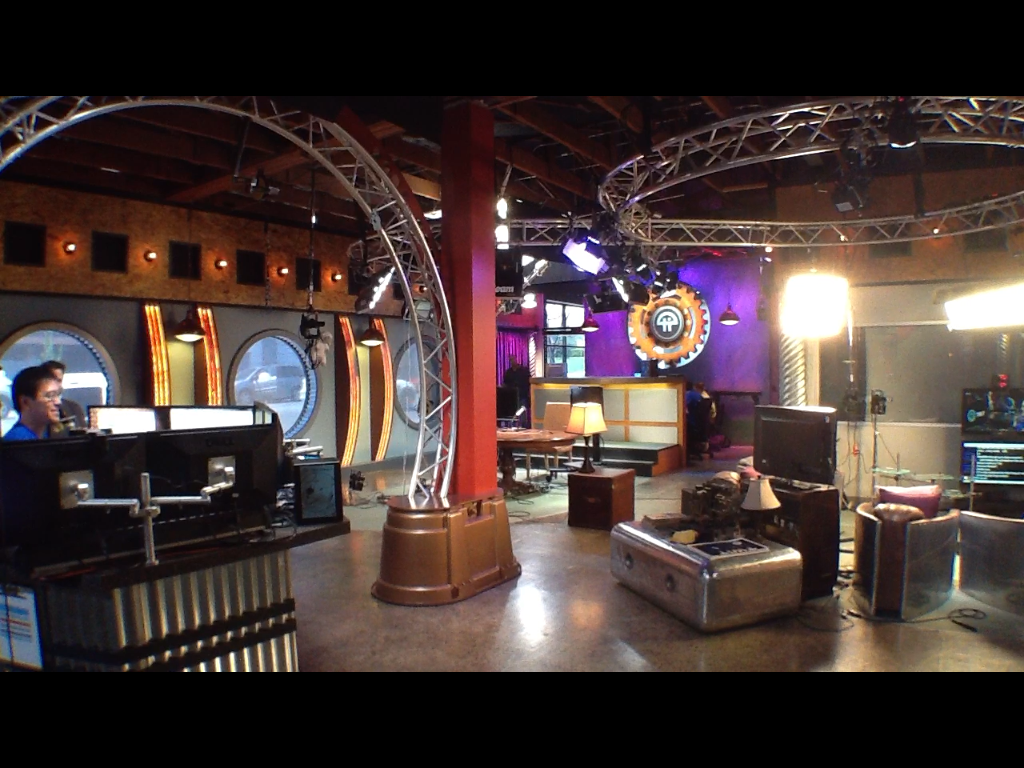
One of the reasons that I had to get my hands on The new iPad was for a time-lapse movie project I'm working on. Yesterday, while at the TWiT Brick House shooting some test video, I decided to record sequences with both the iPad 2 and The new iPad to see how much difference there really was.
Screen capture from recorded video using the iSight camera on The new iPad. Click on image for full resolution version.
Screen capture from recorded video using the built-in camera for the iPad 2. Click on image for full resolution version.
I mounted each tablet to a sturdy tripod using the Makayama Movie Mount and recorded existing-light sequences. I then made a screen grab from each movie and posted them here without any editing.
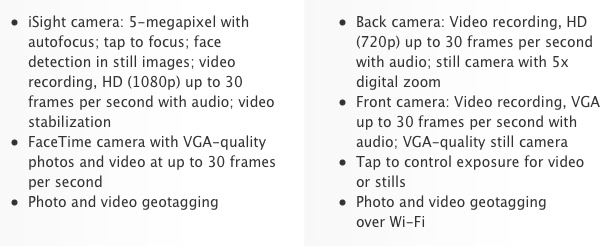
Between the improved camera and denser screen resolution of The new iPad, you can see a noticeable difference in detail between the two images. Here are the camera specs for the two iPads, with the iPad 2 specs on the right.
So in low-light situations where you need to milk as much quality as possible out of the video capture, there is definitely a difference between the iPad 2 and The new iPad. Is it worth the upgrade price? That depends on the projects you have at hand.
The Digital Story on Facebook -- discussion, outstanding images from the TDS community, and inside information. Join our celebration of great photography!
For the March 2012 Photo Assignment, TDS shooters focused their lenses on the "windows of the soul"...or a twist on that concept. See for yourself in our gallery, Eyes. And which one will be the SizzlPix Pick of the Month?
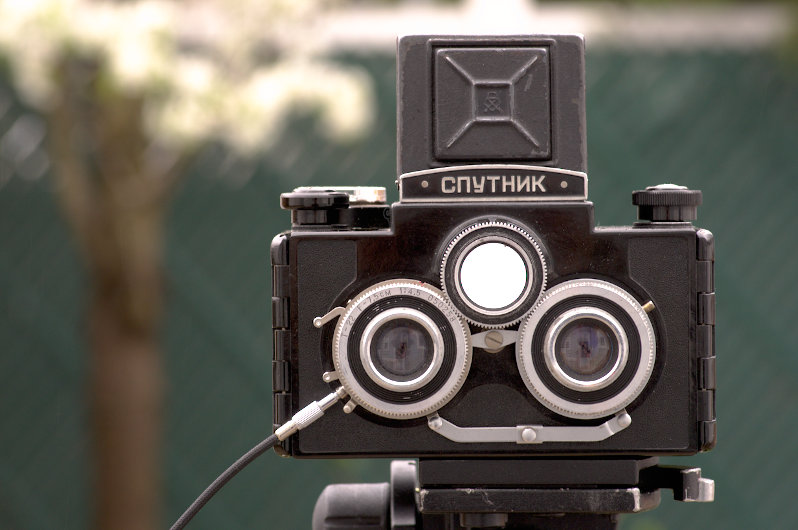
Photo by Brian Reynolds. "This is the GOMZ/LOMO Sputnik that I use to make Medium Format stereo slides. This was taken with a Pentax K-5 and a smc PENTAX-D FA 100mm F2.8 Macro lens. It was processed with LightZone to adjust the exposure, color balance, and sharpness." To see all of the other terrific shots from March, visit the Eyes gallery page.
Participate in This Month's Assignment
The May 2012 assignment is "Action." Details can be found on the Member Participation page. Deadline is May 31, 2012.
Please follow the instructions carefully for labeling the subject line of the email for your submission. It's easy to lose these in the pile of mail if not labeled correctly. For example, the subject line for this month's assignment should be: "Photo Assignment: May 2012." Also, if you can, please don't strip out the metadata. And feel free to add any IPTC data you wish (These fields in particular: Caption, Credit, Copyright, Byline), I use that for the caption info.
Good luck with your May assignment, and congratulations to all of the fine contributors for March.
SizzlPix Pick of the Month for the Feb. Photo Assignment
Congratulations to Carl Shortt, Jr. for his Rule of Thirds image of an outdoor portrait. Carl will receive a SizzlPix for his winning image, selected by the good folks at SizzlPix.
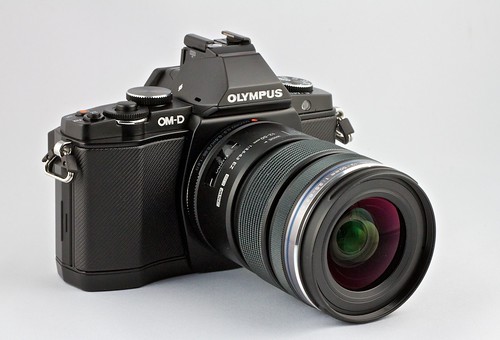
The Olympus OM-D E-M5is about ready for its North American release. I've spent a few weeks with this beautiful micro four thirds system camera, and walk you through its highlights and a few of my nits. Then I switch gears to a handful of photo accessories that I've enjoyed using lately. Plus, there's a new photo assignment this month! All this and more with TDS Podcast Episode 323.