Photographers aren't the easiest bunch to buy for, especially on a tight budget. That's why I've published the TDS Gift Guide for Photographers. Here are 12 items, ranging from $25 to $329, that are sure to please the shooter in your life... even if that's you.
Cowboy Studio Wireless Flash Triggers $25
Have an older flash that you really like, but it just doesn't fit with your new camera gear? For less than $25 you can use that light again with the Cowboy Studio Wireless Hot Shoe Flash Trigger/Receiverkit. It brings wireless flash photography to just about any flash/camera combination.
Purchase: CowboyStudio NPT-04 4 Channel Wireless Hot Shoe Flash Trigger Receiver
Background article on Flash Triggers
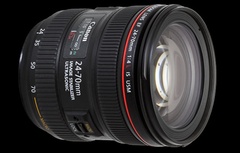
Canon 40mm Pancake Lens $149
After a week of shooting with the Canon 40mm EF f/2.8 STM lens,I have to say this is one enjoyable little prime. At half the size of the 50mm f/1.8, it focuses quieter, is built sturdier, and is ever bit as sharp.
Purchase: Canon 40mm EF f/2.8 STM Lens
Background article on Canon 40mm pancake lens.
NEEWER 48 LED Ring Light $32
I've been having a blast with the $30 NEEWER 48 LED Ring Lightthat mounts directly to my macro lens and is powered by 2 AA batteries. Sound too good to be true? It isn't.
Purchase: NEEWER 48 LED Ring Light
Background article on NEEWER 48 LED Ring Light
SizzlPix Holiday Special 50% Off Second Image
SizzlPix are like Retina displays that you can hang on the wall. High Definition images fused into polished aluminum. A SizzlPix gift defies words; you have to see it to believe it.
Purchase: SizzlPix.com and enter "TDS" in the comments field to receive your 50 percent discount on the second image ordered. Offer good through the end of Dec. 2012.
Flashpoint 24" One Handed Reflector and Calibration Target $19.95
I love working with disc reflectors, but I don't always have an assistant to hold them for me. I found the Flashpoint 24" Triangular Collapsible Disc that has a rigid design and can be held by one hand. It's silver on one side, providing lots of fill light. And on the other side it has black, white, and gray segments that can be used for establishing exposure and for color balance in post.
Purchase: Flashpoint 24" One Handed Reflector
Background article on Flashpoint reflector.
Lowel Ego Lights Kit $100-200
Lowel Ego Lights are affordable soft lights that can be used for portrait and product photography, as well as video recording. Each lighting unit consists of two custom 27W screw-in compact daylight fluorescent lamps that are balanced at 5000 degrees color temperature.
Purchase: Lowel Ego Lights
Background article on Lowel Ego Lights
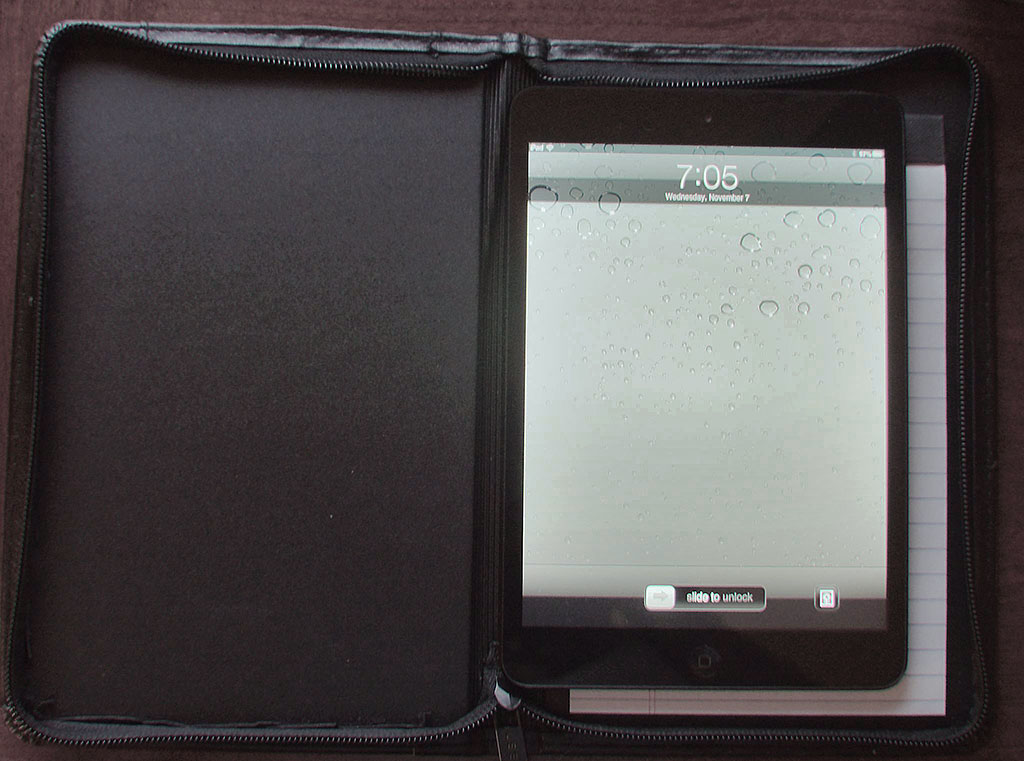
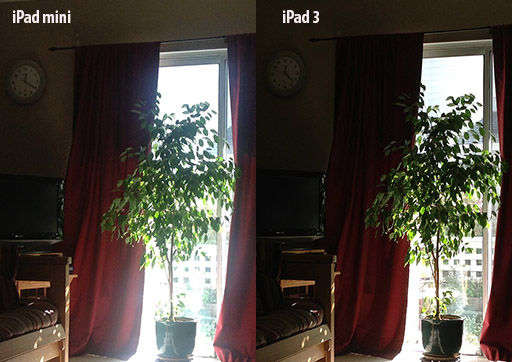
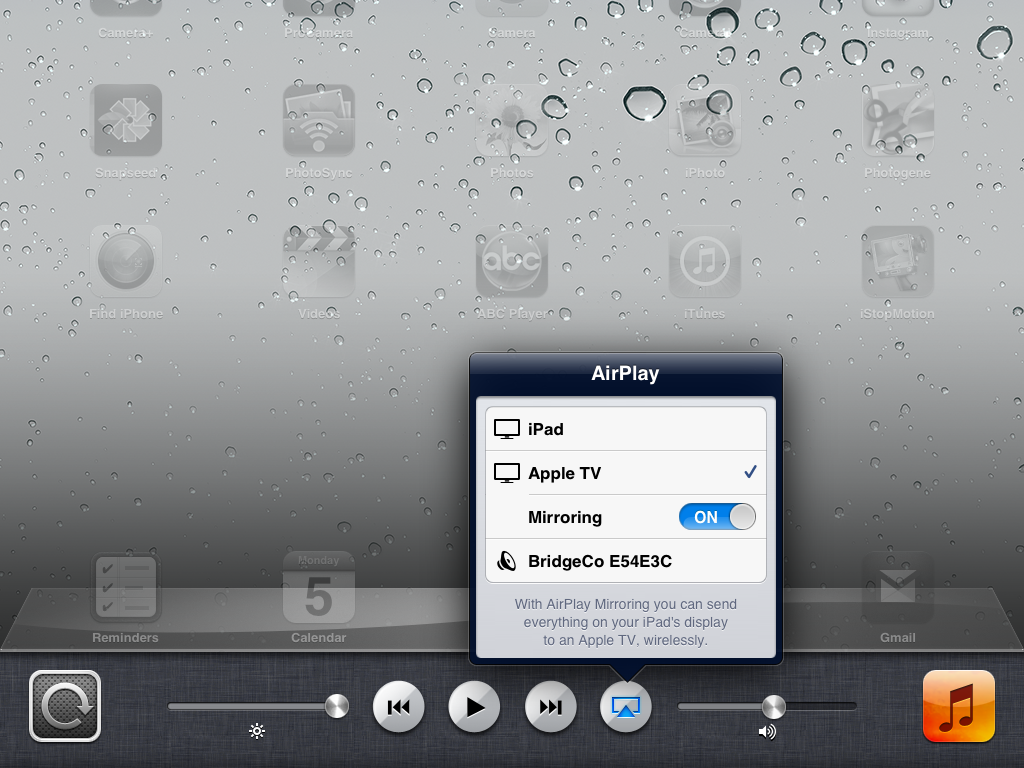
iPad mini $329
Taking pictures with the iPad mini is more enjoyable and less awkward than with its bigger brother, the full sized iPad. As I suspected when I originally wrote about necessary features for the mini, the built-in camera is important. And thankfully, it works well.
Purchase: iPad mini overview page
Lowepro Photo Hatchback $89
This multi-use backpack is great for camera gear, a day at the beach, or just bumming around town. Plus it has a dedicated iPad protection sleeve.
Purchase: Lowepro Photo Hatchback 16L AW Camera Bag - Galaxy Blue
Background article on Lowepro Photo Hatchback
GorillaPod Focus with Ballhead X $149
The GorillaPod Focus with Ballhead X is no chimp. At the top of the Joby product line, this tripod combines stability and flexibility in a package that only weighs 762 grams, less than 2 pounds. Yet it can stabilize a camera rig up to 11 pounds.
Purchase: GorillaPod Focus with Ballhead X
Background article on GorillaPod Focus with Ballhead X
Rogue Master Lighting Kit $199
The Rogue Master Lighting Kit provides the nimble photographer with a variety of flash modifiers and gels in kit that occupies about as much space as a full size laptop computer. I recently shot a portrait session using just two Canon Speedlites with FlashBenders attached.
Purchase: Rogue Master Flash Lighting Kit with Softbox, Bounce Diffuser, Reflectors, Grid and Gel
Background article on Rogue Master Lighting Kit
Samyang 7.5mm Fisheye Lens for M 4/3 $299
A great way to shake things up photographically is with an ultra wide lens. I recently had a chance to experiment with the Samyang 7.5mm f/3.5 UMC fisheye lens for micro four thirds on my Olympus OM-D. Samyang makes this lens in various mounts, so they most likely have one for your camera too.
Purchase: Samyang 7.5mm f/3.5 UMC fisheye lens
Background article on Samyang 7.5mm Fisheye Lens for M 4/3
Olympus 15mm f/8 Body Lens Cap for M4/3 $59
If you like pancake lenses, you're going to love this. The just-announced Olympus BCL-15mm f8.0 Body Cap Lens is literally the size of a body cap, yet transforms to become a fixed focus snapshot lens that's a blast to shoot with. The lens is just 9mm thick, and when the cover is in place (to protect the glass), it looks like a body cap for your micro four thirds camera.
Purchase: Olympus BCL-15mm f8.0 Body Lens Cap for Olympus/Panasonic Micro 4/3 Cameras
Background article on Olympus 15mm f/8 Body Lens Cap
Listen to the Podcast
You can also download the podcast here (31 minutes). Or better yet, subscribe to the podcast in iTunes. You can support this podcast by purchasing the TDS iPhone App for only $2.99 from the Apple App Store.
Monthly Photo Assignment
Flash is the Nov. 2012 Photo Assignment. You can read more about how to submit on our Member Participation page. Deadline for entry is Nov. 30, 2012.
More Ways to Participate
Want to share photos and talk with other members in our virtual camera club? Check out our Flickr Public Group. And from those images, I choose the TDS Member Photo of the Day.
Podcast Sponsors
Red River Paper -- Keep up with the world of inkjet printing, and win free paper, by liking Red River Paper on Facebook.
Make Your Photos Sizzle with Color! -- SizzlPix is like High Definition TV for your photography. Special this month, order one SizzlPix and get the second one for 50%. Put "TDS" in the comments field of your order.
Need a New Photo Bag? Check out the Lowepro Specialty Store on The Digital Story and use discount code LP20 to saven 20% at check out.
Technorati Tags:
digital photography,
podcast,
technique,
Technology,
The Digital Story,
tips