I like the concept of the micro four thirds system. Having a handful of these lenses already, I want to use them on a variety of cameras such as the Olympus E-P1 and the newly announced Panasonic GF1. In addition to some nice Olympus glass I already have, I've had fun playing with the micro four-thirds adapter that lets me mount older Zeiss lenses on new bodies.
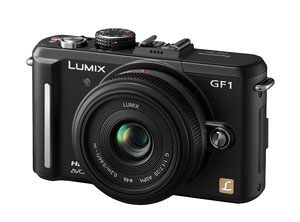
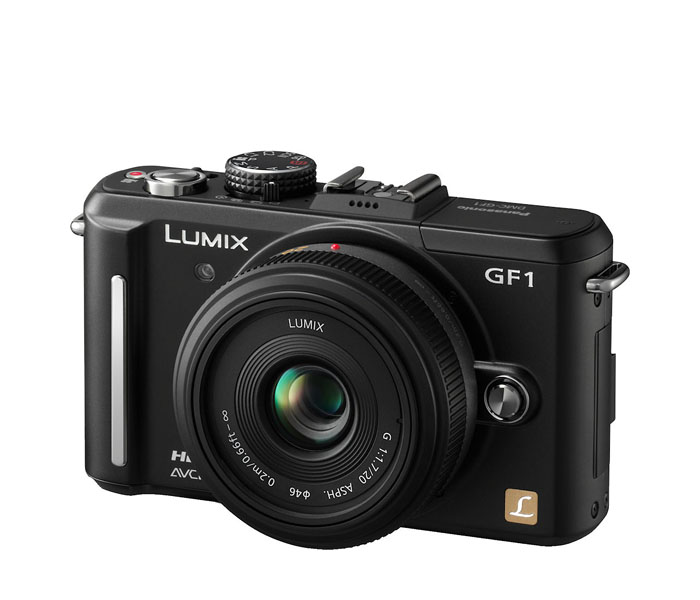
Seems to me, however, there's a little kink in micro four thirds compatibility with the new Panasonic GF1. The GF1 does not have sensor based image stabilization like the E-P1. Panasonic has opted to put the stabilizer in the lens that way Canon and Nikon do on their DSLRs. The difference is, I never expected to mount a Canon lens on a Nikon body. The promise of the micro four-thirds "standard" (for me anyway) was the ability to share great lenses across various bodies made by different manufacturers.
Of course, technically, I can still mount an Olympus 17mm pancake lens on the GF1. But it won't be stabilized. And I don't know how well it will focus with the GF1's contrast AF detection system. And as of right now, I'm not sure if Panasonic will honor the lens correction information in the Oly 17mm firmware.
Going the other way, I've read some reader reports that using Panasonic lenses on the E-P1 seem to work well. Examples include the Panasonic 45-200mm zoom. The E-P1 also seems to read the lens correction data in the Panasonic lens firmware, which is an important benefit of the standard.
Summing up, I think the hope of interoperability between Panasonic and Olympus micro four thirds lenses is still alive. But I am concerned about the image stabilization issue. I think IS is one of the best developments in modern photography, and I prefer the sensor-based implementation of it for micro four thirds cameras. I understand that camera manufactures want to put their vision of the best product possible on the market. I just hope that Olympus and Panasonic can do so while keeping the promise of the micro four thirds standard.
-