Like many digitally curious photographers in the early 1990s, I tried my hand at Kodak Photo CDs. I couldn't afford an expensive film scanner at the time, so I would have Kodak scan my negatives as part of the film finishing process. I would receive back from the lab the prints, negatives, and yes, a CD with high resolution scans of my images.
Now, 13 years later, I'm looking at that stack of CDs in my studio and thinking that I should import my pictures into an Aperture library. After all, who knows how long those discs will last?
The first thing I discovered is that Aperture can't import directly from a Kodak Photo CD. The encoding was proprietary, and Aperture can't read the file format. "Rats!" I thought. But then I remembered that iPhoto could once read those discs. I gave it a try, and sure enough, iPhoto imported the "16-base" versions of the images on the Kodak Photo CD. The resolution was a decent 3072 x 2048 with a file size around 7 MBs. Not bad, even by today's standards. There was no useful metadata to speak of, but I could fix that later in iPhoto or Aperture. I put the Photo CD images in a iPhoto custom album.
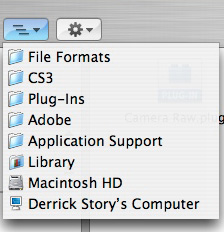
I then opened Aperture, selected File > Import > Images... and pointed to my iPhoto Library folder. Aperture (in its infinite wisdom) reads the custom albums you create in iPhoto, and it allows you to import pictures organized by album. I chose the iPhoto album that I had created for the Kodak Photo CD, renamed those awful Kodak file names with Custom Name with Counter, added some metadata, and clicked Import.
I've now safely relocated all of my Kodak Photo CDs into my Aperture Library for my 1990 images. That wasn't so bad after all...
Technorati Tags:
digital photography, The Digital Story, Kodak Photo CD