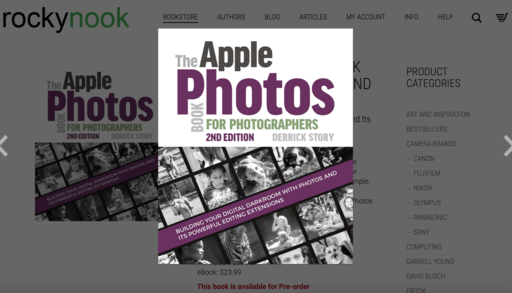
This is The Digital Story Podcast #626, March 13, 2018. Today's theme is "The Anti-Zoom Challenge." I'm Derrick Story.
Opening Monologue
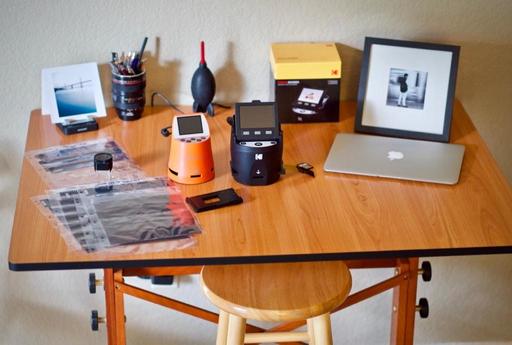
I have three lenses sitting on my drafting table at the studio: 28mm, 45mm, and 85mm. And each day, when I go for my walk to deliver orders from TheFilmCameraShop, I pick one. And everything that I shoot for the next 40 minutes is with that focal length. In today's TDS podcast, I discuss why I think this practice has made me a better photographer.
The Anti-Zoom Challenge
All three of those lenses are Zeiss that mount to my full frame Contax 35mm cameras. Each has a maximum aperture of f/2.8 and must be manually focused. I also have a couple Zeiss zooms, but I don't use them for this exercise. "Why would that be?" you might ask.
My all-time favorite manual focus lens is the Zeiss Tessar 45mm f/2.8. It's a pancake lens that is beautifully sharp and has a unique quality. Among other things, it has forced me to get closer to strangers than I might have wanted to, and at other times, encouraged my to find another angle far enough back to accommodate a very large subject. That lens makes me creative. And once the juices are flowing, more creativity follows.
Just when I start to get comfortable, I'll switch to the 85mm Sonnar. Because its maximum aperture is f/2.8, it's relatively compact and is easy to bring along for street photography. The world looks much different through the Sonnar, and suddenly, I'm challenged all over again. I find myself taking shots that I had overlooked dozens of times before.
It's exciting to shoot with one lens. Themes develop, ideas flow, and there's a continuity among the shots that lend themselves to photo essays.
Finally, Some More m4/3 MTF Testing: Are the 40s Fabulous?
Published on the Lens Rental Blog. Here's the scoop.
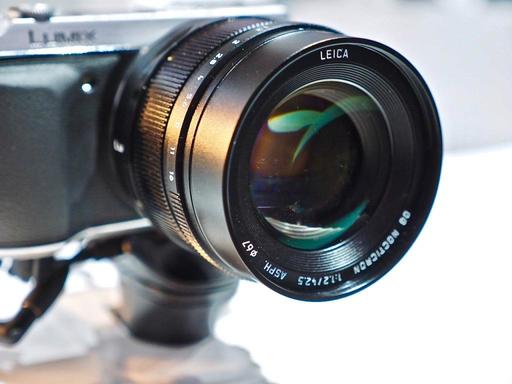
The performance of the Voigtlander 42.5mm f/0.95 ($799) is spectacular. Of course, you also have to be OK with manually focusing, but still, that's a lens worth considering.
If you want a f/1.2 lens in this focal length, well, let's face it, it will probably come down to whether you want Power OIS or not. If you don't, the Olympus 45mm f/1.2 PRO ($1,199) is slightly less expensive and has less variation. But a good copy of the Panasonic 42.5 Noctitron ($1,398) is also excellent.
Both of the less expensive lenses in this range deliver a lot of bang for the buck. They have very good image quality, and if you don't need the widest aperture, they give you a lot for 1/3 the price of the wide-aperture duo.
If I were most interested in this focal length for portraits, I'd probably want the Olympus Zuiko Digital f/1.8 ($349); that field curvature will help throw everything other than the subject out of focus. For landscapes or architectural shooting, the flat field of the Panasonic 42.5mm f/1.7 ($348) would be an advantage.
Dates Announced for the Burney Falls and Lassen Volcanic National Park Workshop
We have our cabin reservations secured for Sept. 27-29, 2018 for the Burney Falls and Lassen Volcanic National Park Workshop. Here's more about it.
The San Francisco Street Photography Workshop Update
I've published an informative article on the San Francisco Street Photography Workshop that you may want to take a look at.
San Francisco Street Photography - April 26-28, 2018 - We'll work entirely on location in San Francisco. Our hotel in picturesque Union Square will serve as our headquarters during the event. No rental car will be necessary. We'll explore the City's hidden treasures and capture them through our lenses. As always, we're adding new shooting locations again this year, including twilight assignments. This is San Francisco like you've never seen it before. And as a bonus, Olympus Visionary Mike Boening will be joining the teaching staff and leading sessions on street shooting and night photography. Two instructors, three days, and all for just $695. (That's right, it's 3 full days in one of the most photogenic cities in the U.S.)
Come Join me at the Skylum Photography Public Group
I'm now moderating the Skylum Photography Public Group, and I would love to have interested members from our audience join me there.
Updates and Such
I now have the dates for the Sonoma Country Hot Air Balloon and Drone Photography Workshop, June 8-10, 2018. We're combining two very fun aerial activities into one workshop. Be sure to get on the Reserve List for this one!
You can become a member of our Inner Circle by clicking on this link or by clicking on the Patreon tile that's on every page of The Digital Story.
B&H and Amazon tiles on www.thedigitalstory. If you click on them first, you're helping to support this podcast. And speaking of supporting this show, and big thanks to our Patreon Inner Circle members:
And finally, be sure to visit our friends at Red River Paper for all of your inkjet supply needs.
See you next week!
More Ways to Participate
Want to share photos and talk with other members in our virtual camera club? Check out our Flickr Public Group. And from those images, I choose the TDS Member Photo of the Day.
Podcast Sponsors
Red River Paper - Keep up with the world of inkjet printing, and win free paper, by liking Red River Paper on Facebook.
The Nimbleosity Report
Do you want to keep up with the best content from The Digital Story and The Nimble Photographer? Sign up for The Nimbleosity Report, and receive highlights twice-a-month in a single page newsletter. Be a part of our community!
Want to Comment on this Post?
You can share your thoughts at the TDS Facebook page, where I'll post this story for discussion.