This week on The Digital Story show: An f/1.8 zoom, bad form! and a recap of the TDS Sonoma Coast Photography Workshop - All of this and more in today's photography podcast.
Story #1 - The Sigma 18-35mm f/1.8 DC HSM zoom for Canon, Nikon, Pentax, Sony Alpha, and Sigma features a constant super fast aperture through the entire zooming range. I've been testing this fascinating optic, and report on its performance.
Technical highlights include equivalent focal length: 28.8-56mm (Canon APS-C), internal focusing, fast AF, well-damped zooming and focusing rings, and compatible with the Sigma USB dock. Retail is $799 US, which is an excellent value for this lens.
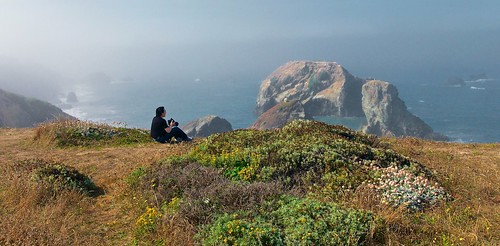
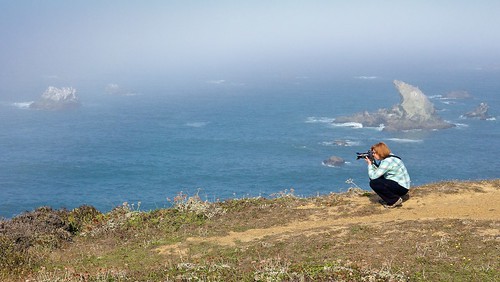
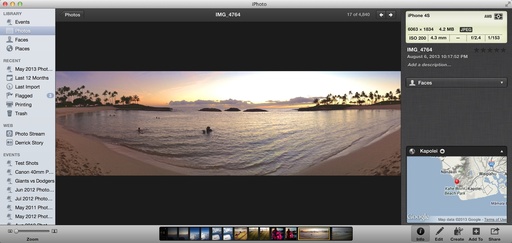
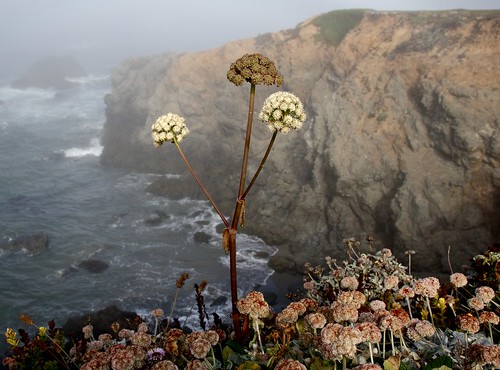
Image captured with the Sigma 18-35mm zoom on a Canon 60D during the Sonoma Coast Photography Workshop, August 2013. Photo by Derrick Story.
Story #2 - Bad Form! I've just learned, thanks to an email from Diane, that the Send Me Info form on the TDS Workshops page has been broken. That means those of you who have tried to get on the reserve list for the upcoming TDS Fall Color and Safari West workshop in October, or the Aperture Intensive in November, have not been acknowledged. This is terrible! I discuss where to go from here in the second story of today's show.
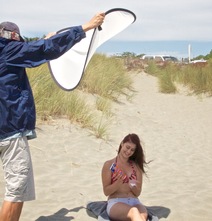
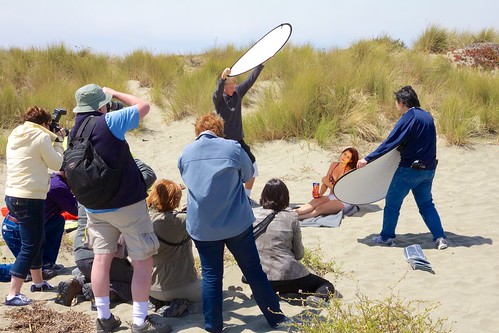
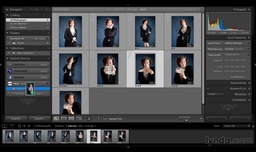
Story #3 - A recap of the TDS Sonoma Coast Photography Workshop that just concluded. Oh my gosh, talk about some beautiful photography and a group of wonder people. Here why.
Listen to the Podcast
In addition to subscribing in iTunes, you can also download the podcast here (30 minutes). You can support this podcast by purchasing the TDS iPhone App for only $2.99 from the Apple App Store.
Monthly Photo Assignment
The August 2013 photo assignment is Street Scene.
More Ways to Participate
Want to share photos and talk with other members in our virtual camera club? Check out our Flickr Public Group. And from those images, I choose the TDS Member Photo of the Day.
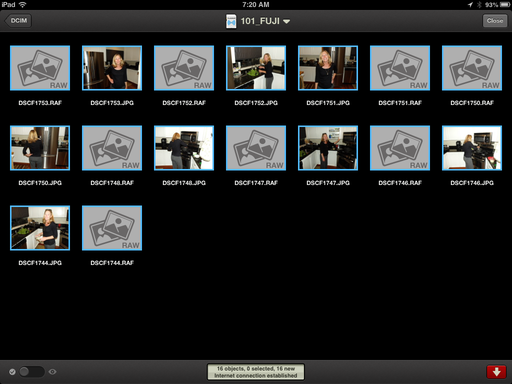
iPad for Digital Photographers
If you love mobile photography like I do, then you'll enjoy iPad for Digital Photographers -- now available in print, Kindle, and iBooks versions.
Podcast Sponsors
Red River Paper -- Keep up with the world of inkjet printing, and win free paper, by liking Red River Paper on Facebook.
Make Your Photos Sizzle with Color! -- SizzlPix is like High Definition TV for your photography.Special Summer Sale! Just add "TDS: in the comments space of your SizzlPix! order, and you will get 20 percent off the entire order. Limited time offer. Take advantage now.
Need a New Photo Bag? Check out the Lowepro Specialty Store on The Digital Story and use discount code LP20 to save 20% at check out.
Want to Comment on this Post?
You can share your thoughts at the TDS Facebook page, where I'll post this story for discussion.