This is The Digital Story Podcast #529, April 26, 2016. Today's theme is "How to Be the Influencer." I'm Derrick Story.
Opening Monologue
Within every social group, there are influencers for different areas. There's the restaurant expert, wine connoisseur, computer nerd, fitness fanatic, and yes, the photography guru. Chances are good that you're the imaging influencer in your world. And today's show discuses how to be effective in that role.
How to Be the Influencer
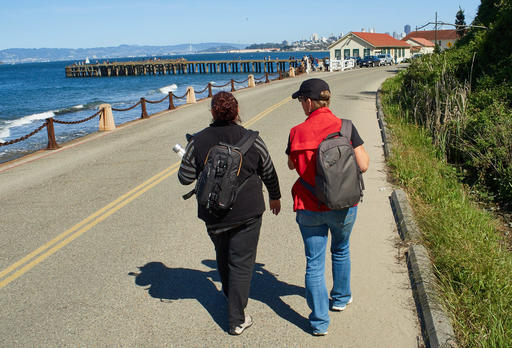
I spent the last weekend at a father/son event at the University of Santa Clara where my son is a member of Sigma Pi. The fraternity boys plan a weekend full of activities to show their dads a good time.
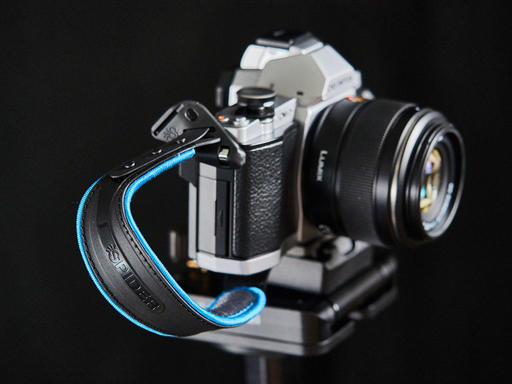
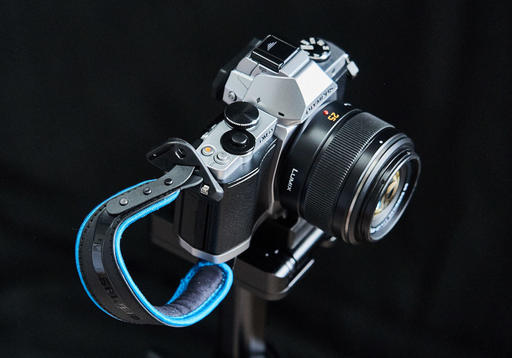
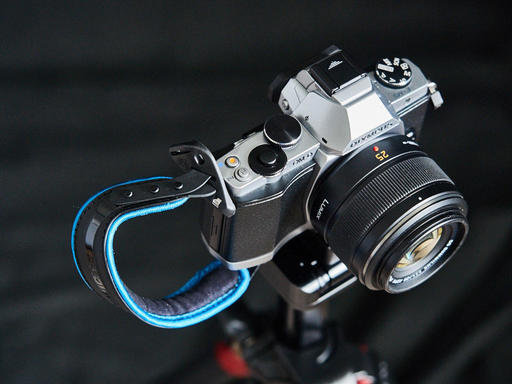
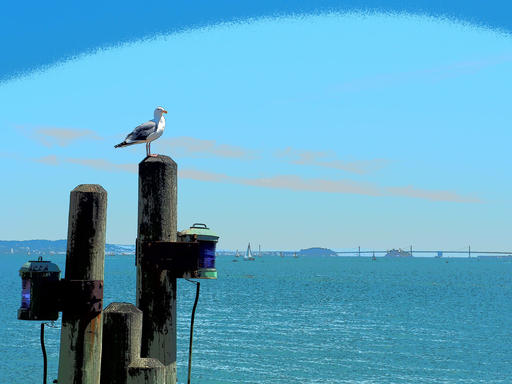
Over the two days, there's lots of casual conversation that sooner or later leads to our personal interests. In my case, this was accelerated as soon as I pulled out my OM-D E-M5 Mark II to capture a few memories. "What kind of camera is that?" For some reason, I was surprised that everyone didn't already know. Then I realized, I was just anointed the photography influencer for my group.
As such, there are a few things to keep in mind. Here are a few tips to help you influence effectively.

- Listen First, Talk Later - If you're going to help someone with their photography questions, you actually have to hear their queries first.
- Don't Be a Fan Boy - Yes, we all love our choice of camera and photo management software. But what works for us might not be the right fit for someone else. Draw on your extensive photographic knowledge and try to recommend things that work for the other person.
- Don't Offer Too Many Choices - I learned long time ago that when someone asks for a camera recommendation, they want my favorite, not a top ten list.
- Help Them with the Things They Don't Ask - You're probably not going to get too many questions about backup, for example, but you can really help them out by offering a easy to use solution.
- Don't Dis Their Current Approach - As part of the conversation, you'll probably hear about their current choices and approaches. Stay positive and don't dis what they're already doing. Frame your recommendations as improvements, not overhauls.
Here's the list of new cameras that have RAW files supported by Photos for OS X, Preview, and Aperture:
- Fujifilm X-E2S
- Fujifilm X70
- Leica S (Typ 007)
- Leica X-U (Typ 113)
- Nikon D5***
- Nikon D500***
- Panasonic LUMIX DMC-ZS60 / DMC-TZ80
- Sony Alpha ILCE-6300
- Sony Alpha SLT-A68
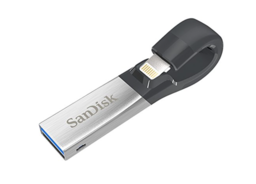
SanDisk iXpand Flash Drive for iOS Devices
SanDisk wants to expand the storage capability of mobile photographers and with the new SanDisk iXpand Flash Drive. This device plugs directly into the Lightning port of iPhones and iPads, providing between 16 and 128GBs of external memory - perfect for photographers who want to travel light.
The devices uses the free iXpand Drive app, which has a camera function, allowing users to shoot and save photos or videos directly to the drive instead of on their iPhone or iPad. The app also provides the option to automatically back up content from social networking sites, as well as play back music within the app.
App Camp for Girls
We launching App Camp For Girls Orange County at Rancho Santa Margarita Intermediate School August 8-12, and a Phoenix camp July 25-29. App Camp For Girls seeks to address the gender imbalance in technology professions by inspiring middle-school age girls with a broad introduction to the process of app development, from brainstorming and designing ideas to building and pitching their apps. We believe that the experience of creating an app that runs on a device in one week can spark the enthusiasm that will propel girls to pursue further tech education. More information and signup at appcamp4girls.com.
Updates and Such
Eastern Sierra Reservation Forms Went Out - I sent out the workshop reservation forms to the Reserve List this weekend. If you were on the list and didn't get a form, please send me an email. The Eastern Sierra photography workshop begins Thursday evening, Oct. 20 and runs through Sunday, Oct. 23rd. If you want to get on the next round reserve list, then go to the TDS Workshops page and use the Send Me Info form to get on the list.
Out of Chicago Update - The debut of The Nimble Photographer Workshop sold out on Friday, June 24. Because there is a wait list, we've added a second workshop on Thursday June 23. I hope you can join me in Chicago this coming June. There's still time for Early Bird pricing.
And finally, be sure to visit our friends at Red River Paper for all of your inkjet supply needs.
See you next week!
More Ways to Participate
Want to share photos and talk with other members in our virtual camera club? Check out our Flickr Public Group. And from those images, I choose the TDS Member Photo of the Day.
Podcast Sponsors
Red River Paper - Keep up with the world of inkjet printing, and win free paper, by liking Red River Paper on Facebook.
ImageFramer Take your photos to the next level with ImageFramer. Visit www.apparentsoft.com today.
MacPaw Creators of CleanMyMac 3 and other great software for Apple computers. Visit www.macpaw.com today.
The Nimbleosity Report
Do you want to keep up with the best content from The Digital Story and The Nimble Photographer? Sign up for The Nimbleosity Report, and receive highlights twice-a-month in a single page newsletter. Be a part of our community!
Want to Comment on this Post?
You can share your thoughts at the TDS Facebook page, where I'll post this story for discussion.