This week on The Digital Story Photography Podcast: Analog Efex Pro 2 from Nik Software, Top Shape Camera, Bay Bridge Spectacular, and the $99 Fisheye - All of this and more on today's show with Derrick Story.
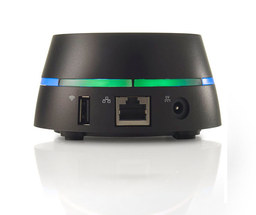
Story #1 - The Weekly Update: MBLOK - One memory for all devices. Always by your side - This 256GB storage cube could change the way you use your mobile devices.
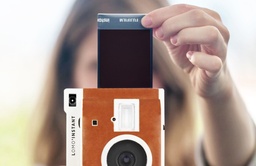
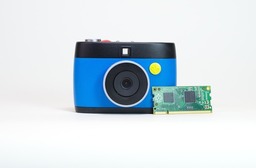
In other news, Lomo Instant, the world's most creative instant camera system also has a Kickstarter project.
And finally, Thomas Hawk posted an interesting piece titled, 20 Cool Things You Can Do With Nik Software's New Analog Efex Pro 2. "The purist film photographers out there are probably going to hate this new software, but for you digital photographers who dig an analog look and feel, you are going to love this." ($149 for the package.)
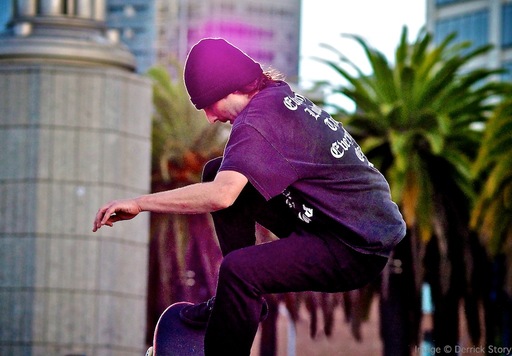
Story #2 - Top Shape - More and more, I see similarities between our digital cameras and high performance automobiles. One of those being the value of a little TLC. In this segment, I talk about firmware updates, LCD screen protectors, multicoated filters, and cases.
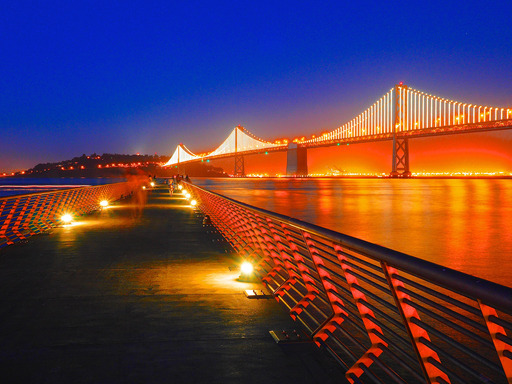
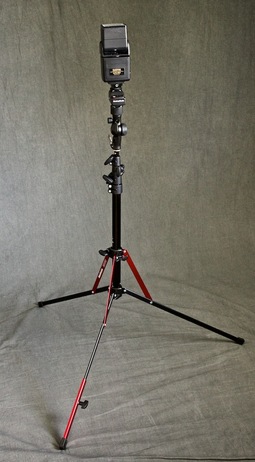
Story #3 - The Nimbleosity Report: The Olympus 9mm f8.0 Fisheye Body Cap Lens was put to the test this last weekend during a twilight shoot at the Bay Bridge. This super nimble $99 lens turned out to be quite a performer.
Story #4 - From the Screening Room - Portrait Project: Changing a Sky Background with Chris Orwig. This is a handy technique to know, not only for bland skies that need a little oomph, but any selection and mask in a photograph.
You can watch Chris in action by visiting the TDS Screening Room at lynda.com/thedigitalstory. While you're there, you can start your 7 day free trial to watch other design, photography, and computing titles, plus every other topic in the library.
Virtual Camera Club News
May is Wow and Double Wow Month For Graduation, Engagements, June Weddings, Birthday, Fathers Day ... and, because SizzlPix! loves making you a super hero with a camera strap around your neck, order TWO: one for them; one for yourself, and your second SizzlPix! is 25% off! Any two SizzlPix!, from the same image or two different, any sizes, any hanging options, save 25% on the second or more.
Save on Ground Shipping for Red River Paper: Use coupon code ground50c to receive a 50 percent discount on UPS ground shipping for Red River Paper. No minimum purchase required.
Photo Assignment for May 2014 is "Around the House".
If you haven't done so already, please post a review for The Digital Story Podcast in iTunes.
BTW: If you're ordering through B&H or Amazon, please click on the respective ad tile under the Products header in the box half way down the 2nd column on thedigitalstory.com. That helps support the site.
Listen to the Podcast
In addition to subscribing in iTunes, you can also download the podcast file here (31 minutes). You can support this podcast by purchasing the TDS iPhone App for only $2.99 from the Apple App Store.
More Ways to Participate
Want to share photos and talk with other members in our virtual camera club? Check out our Flickr Public Group. And from those images, I choose the TDS Member Photo of the Day.
Podcast Sponsors
lynda.com - Learn lighting, portraiture, Photoshop skills, and more from expert-taught videos at lynda.com/thedigitalstory.
Red River Paper -- Keep up with the world of inkjet printing, and win free paper, by liking Red River Paper on Facebook.
SizzlPix! - High resolution output for your photography. You've never seen your imagery look so good. SizzlPix.com. SizzlPix! now is qualified for PayPal "Bill Me Later," No payments, No interest for up to 6 months, which means, have your SizzlPix! now, and pay nothing until August!
Want to Comment on this Post?
You can share your thoughts at the TDS Facebook page, where I'll post this story for discussion.
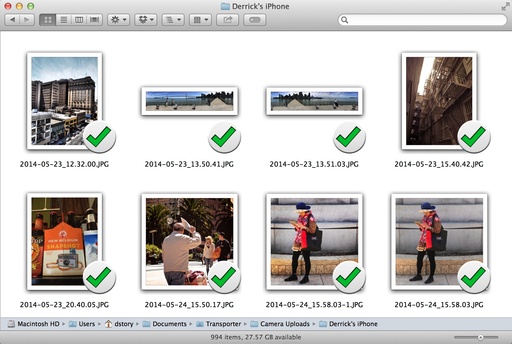 Browsing my backed-up iPhone images via the Mac desktop application.