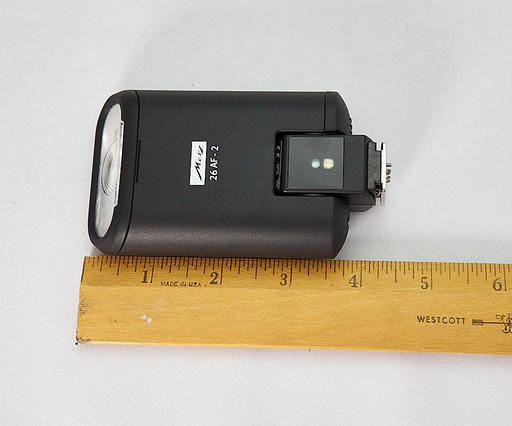
The petite Metz mecablitz 26 AF-2 flash ($139) solved a big problem for me: It provides a fill light for my editorial work that can bounce and wirelessly operates off-camera, yet fits in my shirt pocket. Now that I've used it on a number of assignments, I can't imagine work without it.
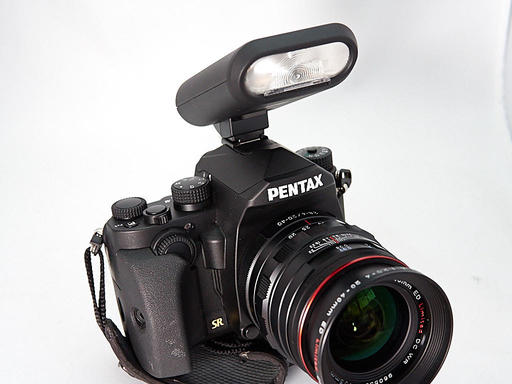
The 26 AF-2 comes in six flavors: Sony, Canon, Nikon, Pentax, Fuji, and Olympus/Panasonic/Leica. I've been using the Pentax model with my Pentax KP DSLR ($799) for editorial work. I like it so much that I'm going to get a second one for my Olympus OM-D E-M1 Mark II ($1,699) as well.
Overview of Feature Set
The Metz 26 AF-2 packs a lot of functionality into a small unit.
- Guide Number: 85' at ISO 100 and 85mm
- Coverage: 24-85mm
- LED Video Light with 2 Output Levels
- Tilts Upward 90 degrees
- Wireless Slave TTL Functionality
- Recycle Time: 0.3-8 Seconds
- 1st & 2nd Curtain Sync
- USB Socket for Firmware Updates
- Runs on 2 AAA Batteries
Wireless TTL Mode
It's a particularly good companion for cameras that have a built-in popup flash with wireless functionality, because that popup can serve as the controller for off-camera work with the Metz. The TTL exposures were quite good in wireless mode.
To set up, turn on the Metz, press the SLAVE button on the back of the unit, popup the flash on the camera, and enable Wireless TTL mode. The Metz can receive from channels 1-4, so at this point, all you have to do is take a picture.
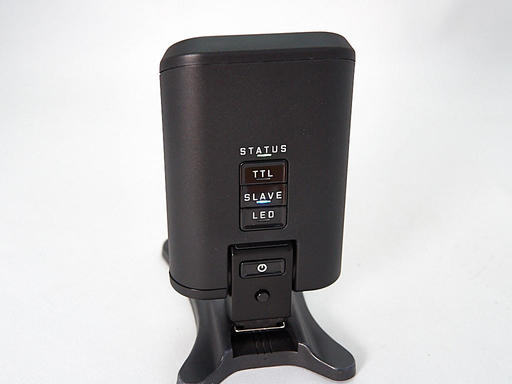 Slave Mode enabled.
The flash does come with its own portable stand that has a tripod socket on the bottom. So it's easy to position off-camera if you're not holding it (as I usually am). The slave sensor is in the front, so I typically position the flash at a slight angle so it can see the signal emitting from the camera.
On-Camera Flash
When the Metz is mounted directly on the camera, more controls are available, such as flash exposure compensation. I tested its coverage by taking a series of shots of a brick wall. I preferred the illumination when enabling the little recessed diffuser that is part of the the unit. I use this flip up gizmo for all of my direct flash shots because it creates better edge-to-edge lighting than without it.
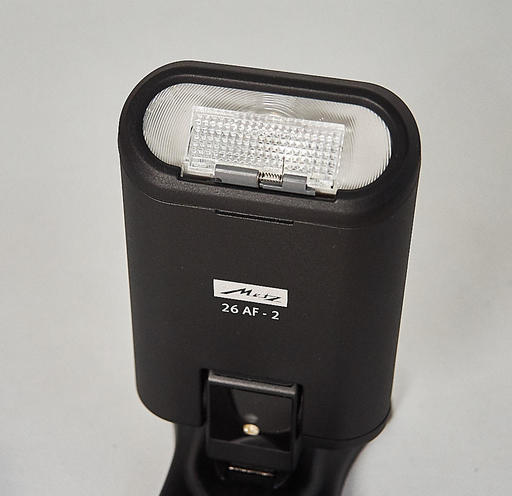 Recessed Diffuser pulled into place.
For most assignments, I can leave the flash on the camera in the down position, then raise it upward as needed, such as for bouncing light off the ceiling. In all honesty, the flash looks so good on the camera that it feels part of its original equipment.
LED Light
When you need a constant light source, such as for video, light painting, or even to help with your smartphone shots, the dual-power LED light is very handy. Push the LED button once, and it emits at full power, push it again and it shines at 50 percent. It's a nice option to have.
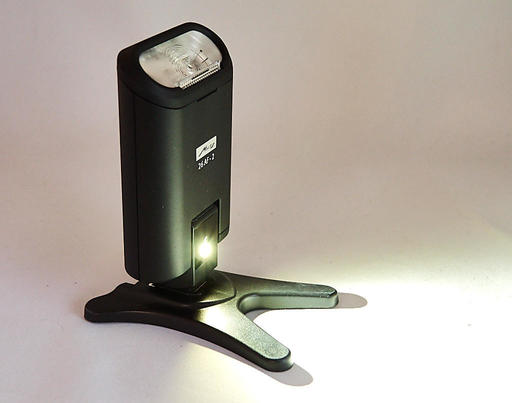 LED Light on
Firmware Updates and Current Features
There's also a USB port on the flash that can be used for firmware updates. But you better have a Windows machine handy if you want to do that. I couldn't find an updater that was Mac compatible.
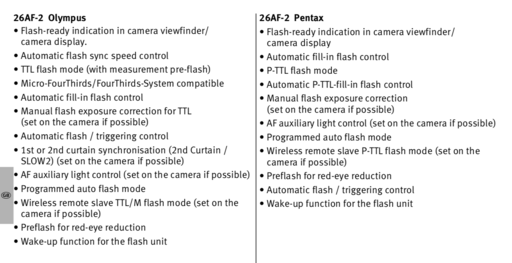 List of functions for Olympus and Pentax. The list is similar for the other brands as well.
The Bottom Line
The Metz mecablitz 26 AF-2 flash is an excellent tool to provide that spot of light that we often need while working in the field. It's easy to use, effective, and affordable. And if you don't have a reliable pocket strobe for your camera, I would definitely take a look at this one.
The Metz mecablitz 26 AF-2 flash has a high Nimbleosity Rating. What does that mean? You can learn about Nimbleosity and more by visiting TheNimblePhotographer.com.
Want to Comment on this Post?
You can share your thoughts at the TDS Facebook page, where I'll post this story for discussion.