This is The Digital Story Podcast #650, August 28, 2018. Today's theme is "The First Shoe Dropped - The Nikon Z7." I'm Derrick Story.
Opening Monologue
Since our last show, Nikon officially announced the Z6 and Z7 full frame mirrorless camera bodies with three new Z Mount lenses. This is the news that many Nikon users have been waiting for, not to mention thousands of other curious photographers, myself included. So how does the new camera stack up to the competition? We'll take a closer look at it in today's TDS photography podcast.
The First Shoe Dropped - The Nikon Z7
The Nikon Z7 ($3,546) and it's little brother, the Nikon Z6 ($2,146) have given us lots to think about over the last week. The bottom line for me is that they represent a bold, yet delayed move by Nikon. And as a mirrorless shooter, there are many things that I appreciate about this tandem. Let's take a closer look.
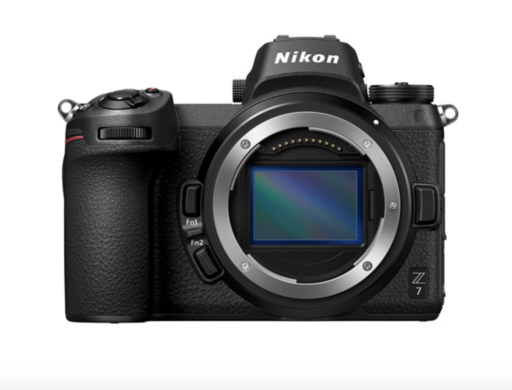
- 45.7 MP FX-Format BSI CMOS Sensor
- EXPEED 6 Image Processing Engine
- UHD 4K30 Video; N-Log & 10-Bit HDMI Out
- 493-Point Phase-Detect AF System
- Built-In 5-Axis Vibration Reduction
- 0.80x 3.6m-Dot EVF with NIKKOR Optics
- 3.2" 2.1m-Dot Tilting Touchscreen LCD
- 9 fps Continuous Shooting; ISO 64-25600
- Top-Panel Dot-Matrix OLED; XQD Card Slot
- FTZ Mount Adapter in the kit for $3,546
What I Like
At the top of the list is the built-in to the body is a 5-axis sensor-shift Vibration Reduction mechanism for up to 5 stops of stabilization regardless of the lens used. This system also works with adapted lenses when using the optional FTZ Adapter where 3-axis stabilization is used.
I'm also a big fan of the EN-EL15b rechargeable lithium-ion battery providing approximately 330 shots per charge with in-camera charging is supported. This camera is also compatible with EN-EL15 and EN-EL15a batteries, however do not support in-camera charging.
I'm impressed with the 3.6m-dot electronic finder for comfortable eye-level viewing. It has a high 0.80x magnification and uses NIKKOR optics to guarantee a sharp, clear image. The finder also has a Fluorine coating for easier cleaning. I'm also liking the 3.2" 2.1m-Dot Tilting Touchscreen LCD.
And finally, the overall Nikon quality factor for ruggedness and weather resistance makes this a camera that you can work with in the most demanding situations. The robust magnesium-alloy chassis is both dust- and weather-resistant to benefit working in harsh climates and inclement conditions.
What I Don't Like
The single XQD memory card slot that is compatible with CFexpress, enabling support for future media. I think there should be two slots, with the second one being SD. Just as the FTZ mount adapter helps photographers migrate to the new Z Mount system, an SD slot would allow the same thing for removable memory.
The overall size and weight with lenses mounted is substantial, and not that great savings over many DSLRs. Without lens, the dimensions are 5.3 x 4.0 x 2.7" / 134.0 x 100.5 x 67.5 mm with a weight of 1.29 lb / 585 g. Add the smallest lens available, the Nikon Z Mount 35mm f/1.8 ($846), and you add another 3.4" and 13 ounces. That's a lot of camera.
And finally, it is an expensive camera, costs $200 more than the Sony a7R III and $100 more than the Nikon D850. Its battery life is half of what Sony offers, and it is a larger camera as well.
Bottom Line
I'm thrilled that Nikon finally has a serious entry into the mirrorless space. Both the Z7 and the Z6 look like top shelf cameras that should appeal to existing Nikon DSLR photographers. I could see the Z6 making a excellent second camera for D850 photographers.
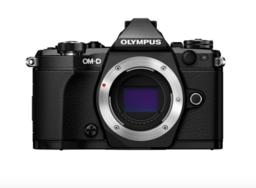
But I don't see Sony shooters jumping ship over these cameras, and I doubt many Olympus, Panasonic, or Fujifilm photographers will either unless they have a compelling need for full frame. And even then, it's going to be hard to choose the Nikon over the Sony offerings.
Panasonic Unveils the Lumix LX100 II with a 17MP Sensor and Touchscreen
Via Petapixel - Panasonic has announced the new Panasonic Lumix LX100 II, a new high-end compact camera (the seventh in the LX series) that succeeds the 12.8MP LX100 with a 17-megapixel Four Thirds sensor.
On the front of the camera is a LEICA DC VARIO-SUMMILUX 24-75mm (35mm equiv.) f/1.7-2.8 lens. Coupled with the relatively large sensor (for a compact camera), the camera is able to achieve shallow depth of field and beautiful bokeh. Photographers can directly control the aperture with the ring on the lens, which is suitable for things ranging from portraits to landscapes to macro (the minimum focusing distance is just 3cm/1.2in).
The built-in Live View Finder (LVF) has a 2.76-million-dot resolution, a roughly 100% color reproduction, a 16:9 Wide Screen aspect ratio, a 1.39x/0.7x (35mm equiv.) magnification, and a 100% field of view. Eye Sensor AF makes the camera start focusing as soon as you start looking into the LVF.
This looks like a solid upgrade. I'm disappointed, however, that there isn't a tilting LCD as part of the improvements.
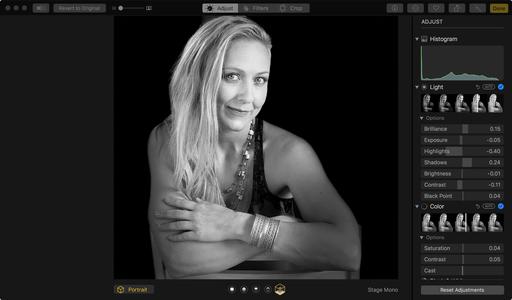
Free Webinar! Building a Powerful Digital Darkroom in Apple Photos
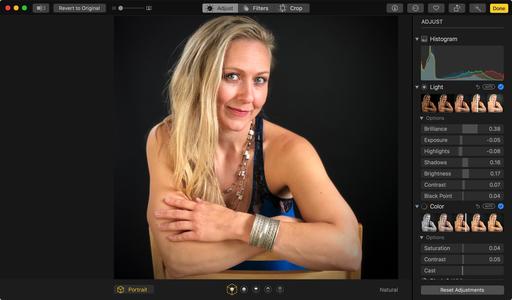
My publisher, Rocky Nook, is sponsoring a free webinar so that I can show you how to leverage the amazing editing extensions created by companies such as Skylum, DxO, and others to build your own custom digital darkroom right inside Photos for macOS.
It's an impressive workflow, really. Your iPhone images are automatically added to the app via iCloud, and it's so easy to include images from your mirrorless and DSLR cameras as well. You can process RAWs or Jpegs, it makes no difference. And once you perfect the image using extensions such as Luminar, DxO OpticsPro, RAW Power and others, the changes are automatically saved to your other devices and computers.
It's powerful and easy. But the part that I really like is that it's fun. Join me on Wednesday, August 29 at 11am PDT to see for yourself. You can Register Here. See you then!
Updates and Such
A big thanks to Marshall Lew, Bill Armon, Bob McCarney, and Ed Spenser for contacting me about film camera donations. I've already received some of the gear, and I'm working on those pieces to prepare for the store.
You can become a member of our Inner Circle by clicking on this link or by clicking on the Patreon tile that's on every page of The Digital Story.
B&H and Amazon tiles on www.thedigitalstory. If you click on them first, you're helping to support this podcast. And speaking of supporting this show, and big thanks to our Patreon Inner Circle members:
And finally, be sure to visit our friends at Red River Paper for all of your inkjet supply needs.
See you next week!
More Ways to Participate
Want to share photos and talk with other members in our virtual camera club? Check out our Flickr Public Group. And from those images, I choose the TDS Member Photo of the Day.
Podcast Sponsors
Red River Paper - Keep up with the world of inkjet printing, and win free paper, by liking Red River Paper on Facebook.
Portfoliobox - Create the site that your best images deserve by visiting Portfoliobox. And get a 20 percent discount by using our landing page!
The Nimbleosity Report
Do you want to keep up with the best content from The Digital Story and The Nimble Photographer? Sign up for The Nimbleosity Report, and receive highlights twice-a-month in a single page newsletter. Be a part of our community!
Want to Comment on this Post?
You can share your thoughts at the TDS Facebook page, where I'll post this story for discussion.