For the June 2012 Photo Assignment, TDS shooters found wisdom, humor, and direction in the words around them. See for yourself in our gallery, Signs. And which one will be the SizzlPix Pick of the Month?
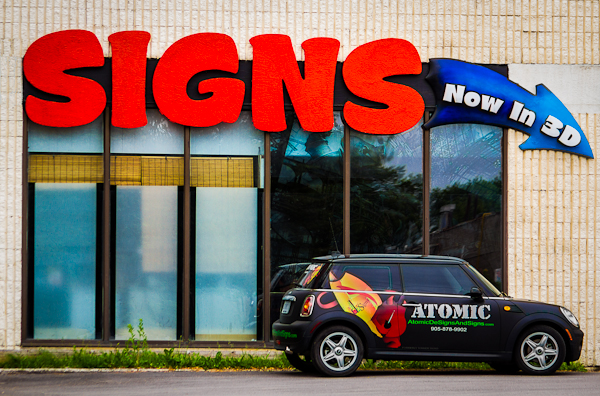
Photo by Gerry Legere. "After driving around town looking for ideas, I first spotted two spots which looked promising very close to each other," Gerry wrote. "But then, as a bonus, the photo I decided to include also had the word Signs. This image features great colors, and a car in front, which sported a sign on its side that helped to repeat the theme." To see all of the other terrific shots from Jume, visit the Signs gallery page.
Participate in This Month's Assignment
The August 2012 assignment is "Street Scene." Details can be found on the Member Participation page. Deadline is August 30, 2012.
Please follow the instructions carefully for labeling the subject line of the email for your submission. It's easy to lose these in the pile of mail if not labeled correctly. For example, the subject line for this month's assignment should be: "Photo Assignment: August 2012." Also, if you can, please don't strip out the metadata. And feel free to add any IPTC data you wish (These fields in particular: Caption, Credit, Copyright, Byline), I use that for the caption info.
Good luck with your August assignment, and congratulations to all of the fine contributors for June.
SizzlPix Pick of the Month for March and April Photo Assignments
-
 Now Available! The Digital Photography Companion. The official guide for The Digital Story Virtual Camera Club.
- 25 handy and informative tables for quick reference.
- Metadata listings for every photo in the book
- Dedicated chapter on making printing easy.
- Photo management software guide.
- Many, many inside tips gleaned from years of experience.
- Comprehensive (214 pages), yet fits easily in camera bag.
Technorati Tags: digital photography, The Digital Story, Photo Assignment