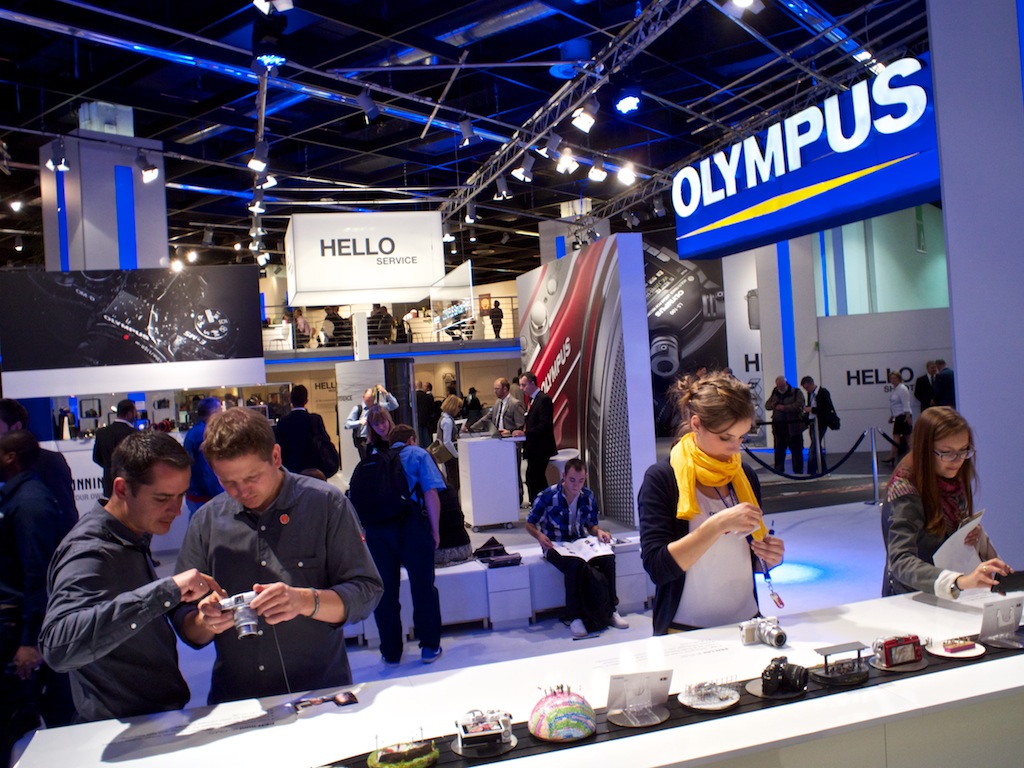
One of my stops today at Photokina was to take a closer look at the Samsung Galaxy Camera. In case you missed the announcement, this is the first compact camera that's WiFi and cellular connected, and controlled by the Android mobile operating system.
The front looks like a Samsung camera, including a collapsable zoom lens. But the back has the appearance, feel, and functionality of an Android-powered device. Yes, that means apps too.
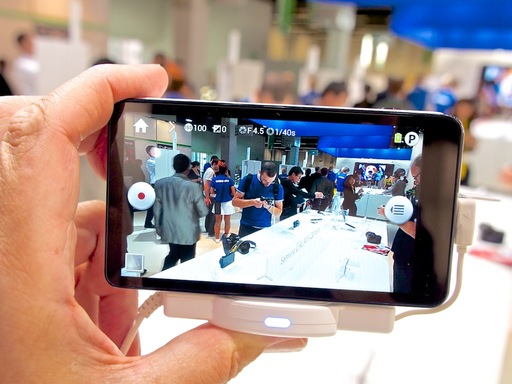 Taking a picture with the Samsung Galaxy.
The screen looks great. I opened and closed various apps and had a nice geeky moment with the device (except for one thing -- more on that in a minute). But then I wanted to take a picture, and I wasn't sure how to hold the camera. There's no place on the back to rest your thumb. It's all screen. After some trial and error, I ended up holding the Galaxy by the edges like I do my iPhone.
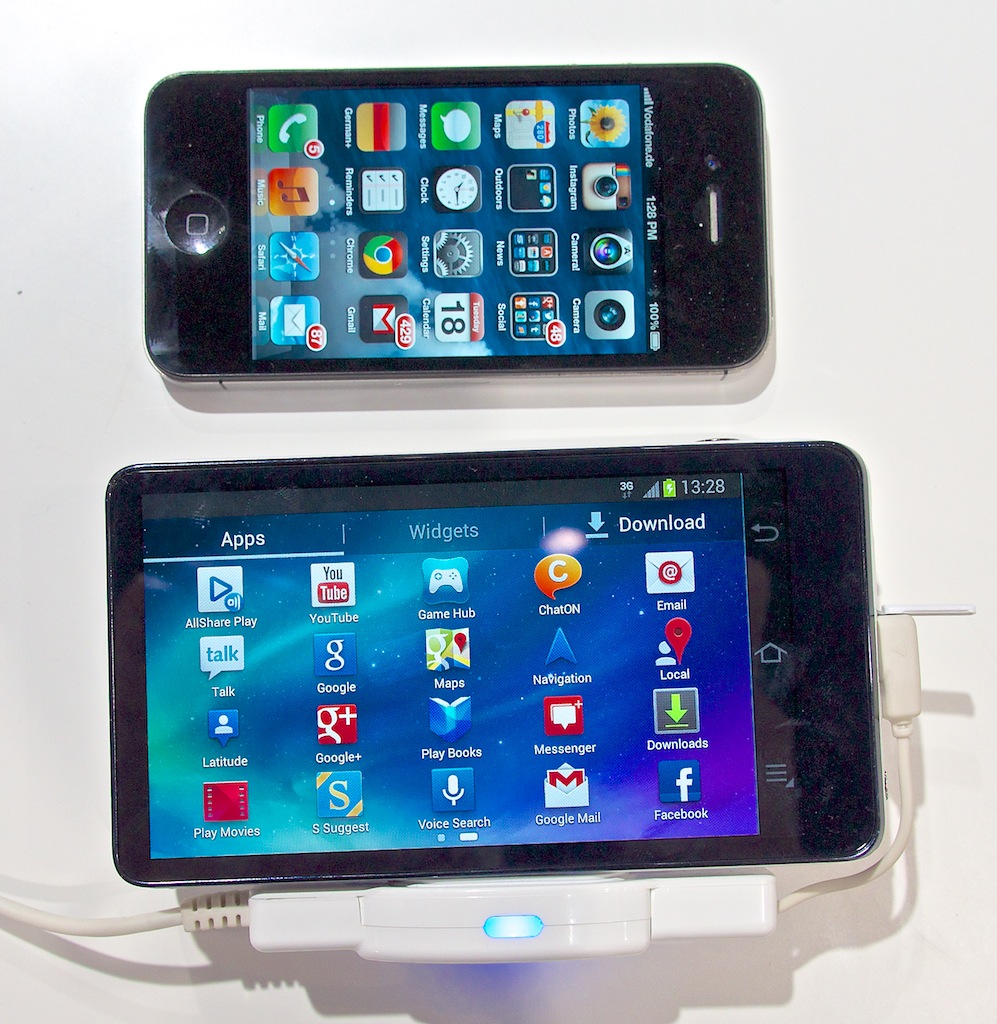
 Speaking of the iPhone, the Samsung Galaxy Camera is a bit larger than the iPhone 4S I always have with me.
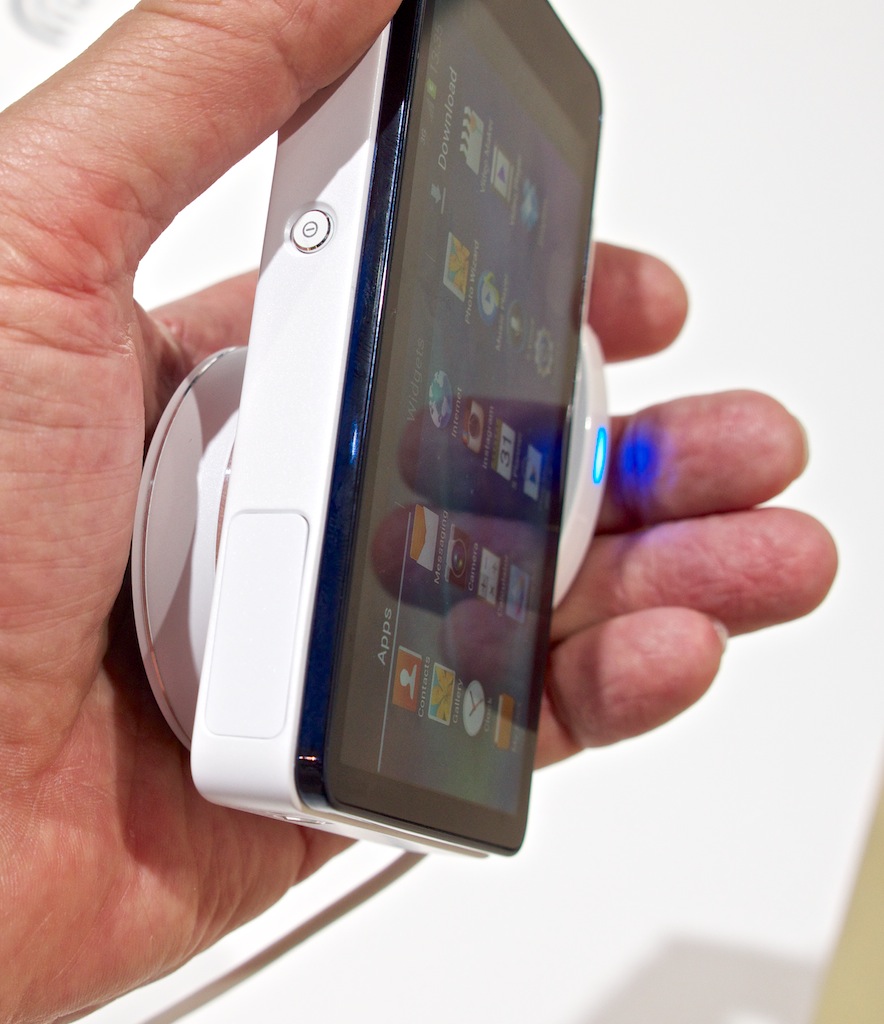
Now, back to when I was playing with the Android apps. I wasn't sure how the hold the device then either. The zoom lens was smack in the middle of my hand.
 The zoom lens wasn't that comfy in my hand when I was in "Android mode."
All of this led me to one, big question: how the heck should I hold it? I guess these are the little things you put up with when you're very enamored with the technology.
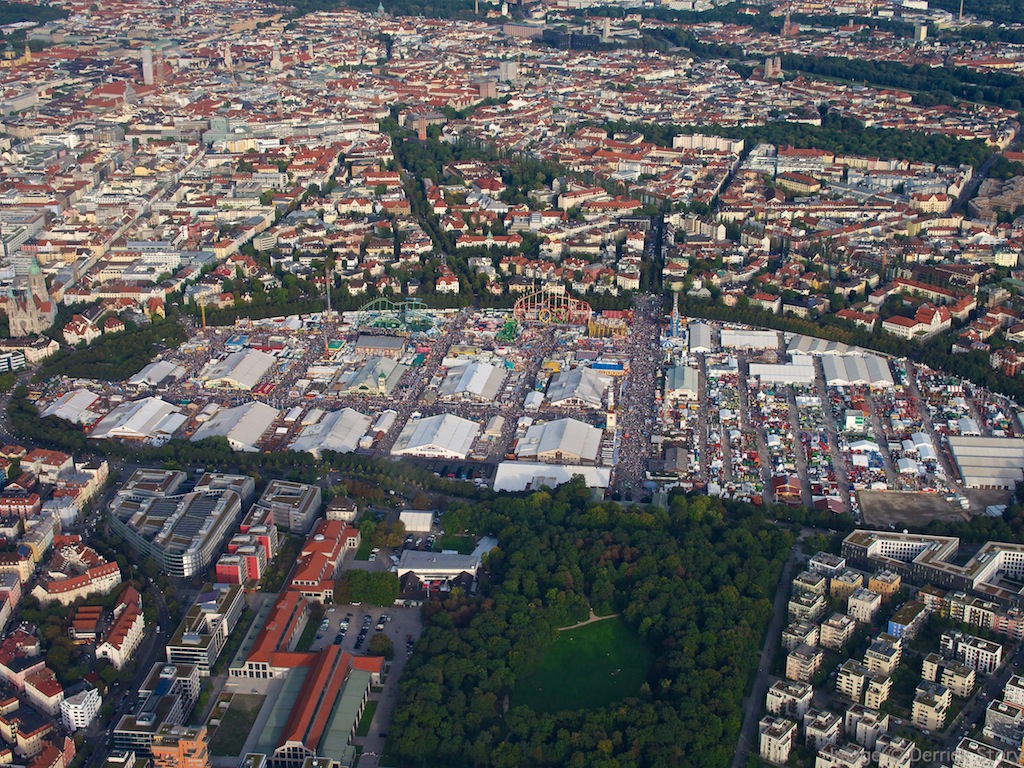
Live Photokina Coverage
I'm on the floor at Photokina, in Cologne, Germany. You can follow via Twitter and Instagram. Wrap-ups will be published here on The Digital Story.